

Packing an insulated cooler bag efficiently requires an understanding of basic thermodynamics to keep your food safe and beverages cold for as long as possible.
The Science of Cold Preservation: Convection and Conduction
To maximize the efficiency of your insulated bag, you must manage how heat transfer occurs inside it. Cold air is denser and heavier than warm air, meaning it naturally sinks. Warm air, being lighter, rises to the top. When you place ice packs at the very bottom of a cooler bag, you limit their effectiveness because the cold air remains trapped at the base while the warmer air hovers at the top, accelerating the warming of the products above. Placing the cooling elements on top of or between your food items ensures that the descending cold air flows over and surrounds the items below, creating a continuous convective cooling loop.
The Correct Order of Packing
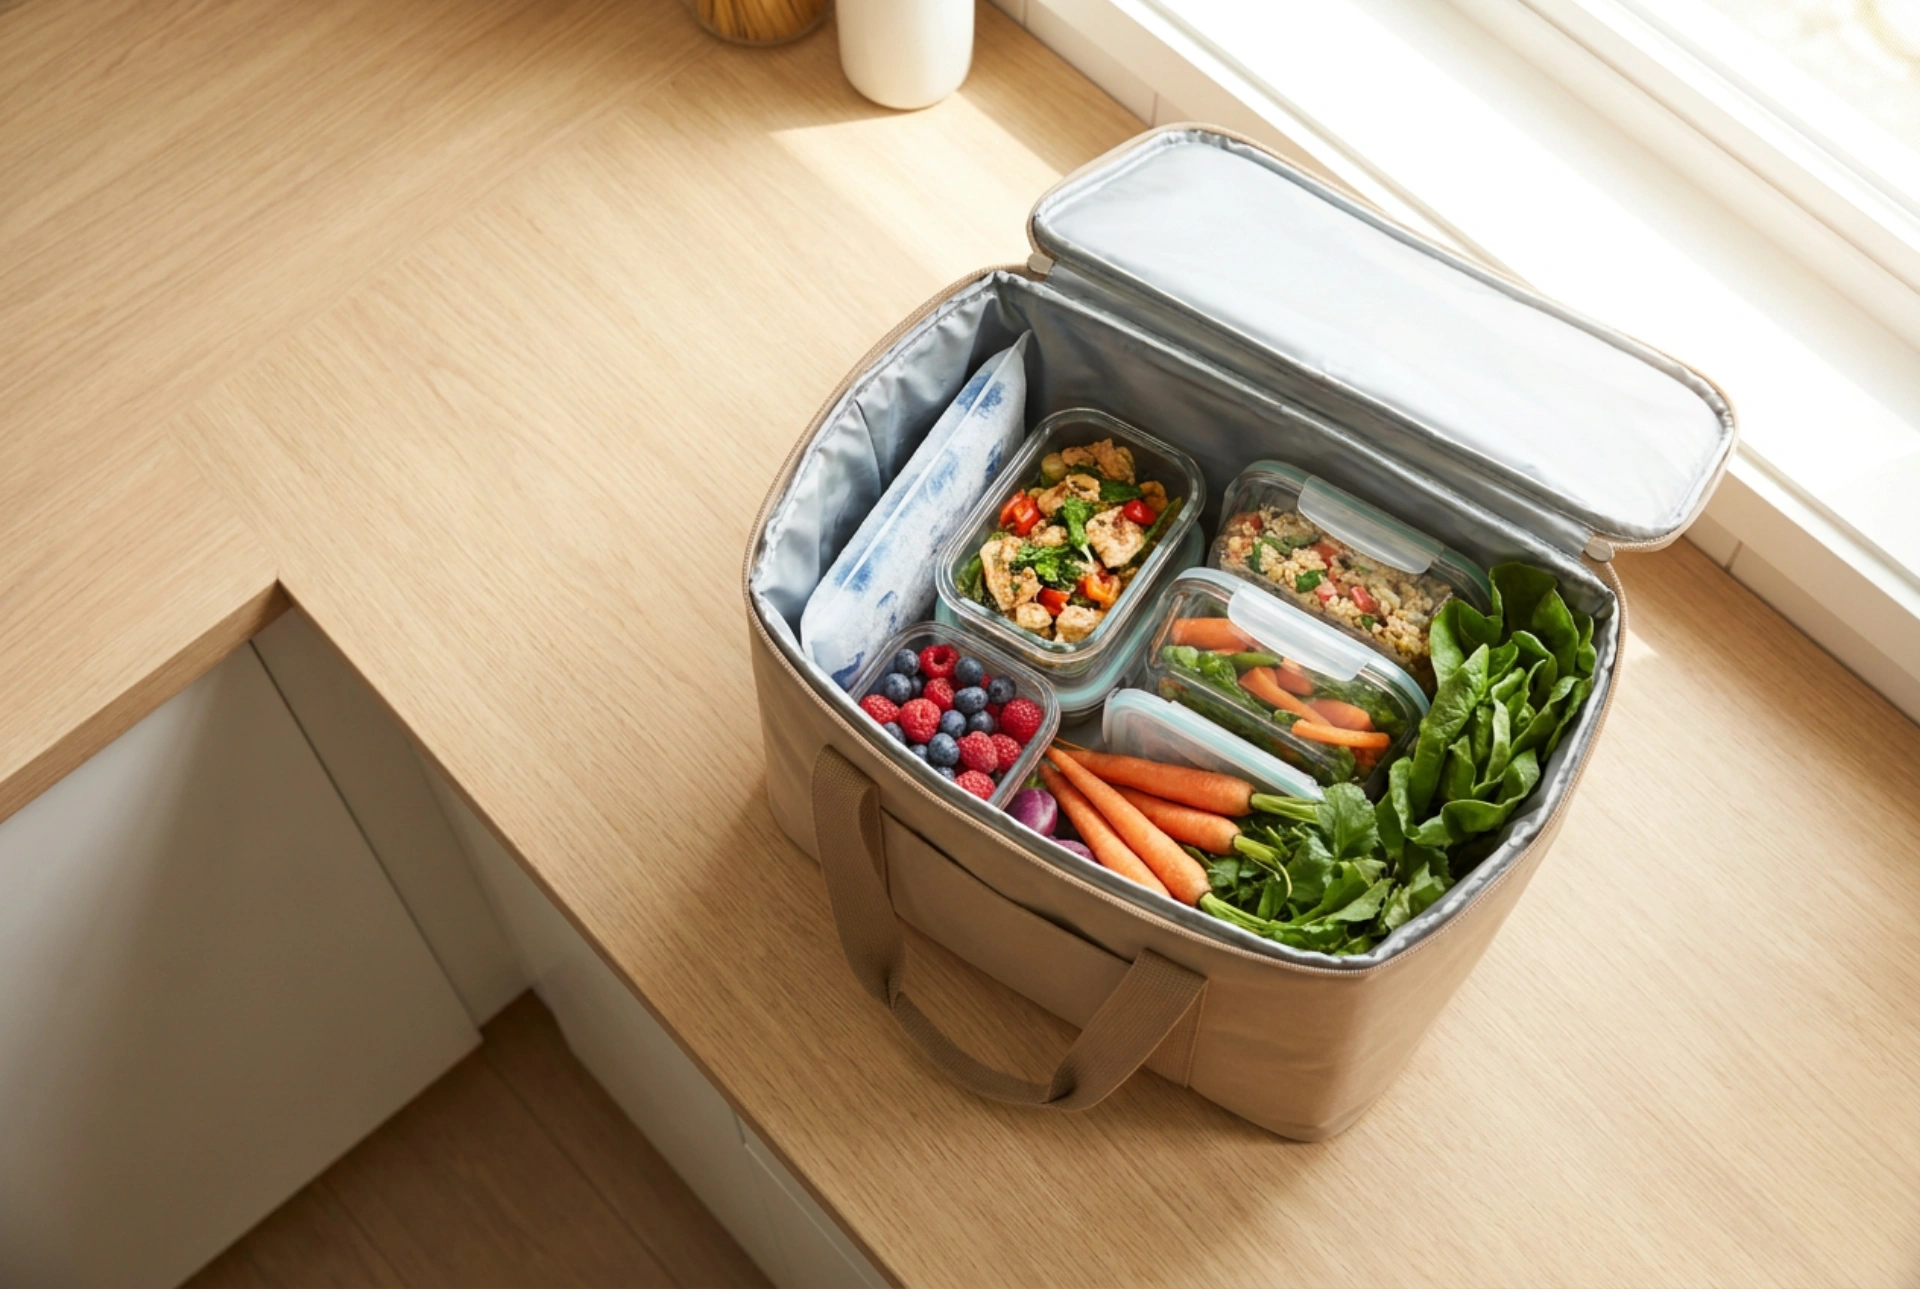
Achieving the longest possible thermal preservation requires a strategic, layered approach based on density, temperature, and physical protection.
- The Bottom Layer (Heavy and Sturdy Items): Start by placing heavy, dense, and pre-chilled containers or bottles at the very bottom. This provides a stable base and prevents delicate items from being crushed. Since this layer is furthest from the cold air sinking from the top, only place items here that are already thoroughly chilled or frozen.
- The Middle Layer (Delicate and Perishable Foods): Position your perishable meals, dairy, and meats in the middle. Wrap any highly temperature-sensitive foods in an extra layer of parchment paper or clean towels to act as a buffer, preventing direct contact with the ice packs which could cause localized freezing or frostbite on fresh produce.
- The Top Layer (Cooling Elements and Light Items): Lay your frozen gel packs or ice packs directly on top of the food containers. If you have extra space, place light, delicate items like soft fruits or sandwiches on the very top, nestled next to the cooling elements.
Eliminating Air Pockets to Prevent Heat Exchange
Air is a poor conductor of heat, but open air spaces inside a cooler bag allow for rapid heat convection every time the bag is opened. An empty pocket of air will quickly warm up and melt your ice packs. To combat this, pack the bag as tightly as possible. If you do not have enough food to fill the volume of the insulated bag, fill the remaining empty spaces with clean, rolled-up hand towels or crumpled clean paper. This traps the cold air in small compartments and prevents warm air from circulating freely.
Pre-Chilling: The Crucial First Step
An insulated bag works by slowing down the transfer of heat from the outside environment to the inside. If you place warm or room-temperature items into a cooler bag, the ice packs will immediately begin melting just to bring those items down to a cold temperature. Always pre-chill the bag itself by leaving it in a cool room or putting a sacrificial ice pack inside it for thirty minutes before packing. Ensure all food and beverages are refrigerated to at least 4 degrees Celsius before they are transferred to the bag. Pack the bag at the absolute last minute before your departure to minimize exposure to ambient room temperatures.