

Choosing the wrong adhesive for your photo album can lead to irreversible chemical degradation, warping, and discoloration of your physical prints over time. To preserve photographs for decades, you must understand the interaction between photographic emulsions, paper bases, and adhesive chemistry.
The Chemistry of Photo Degradation: Why Standard Glues Fail
Standard household glues, such as common school glue, hot melt adhesives, and pressure-sensitive tapes, contain compounds that are highly destructive to photographic prints. Most commercial adhesives are acidic or release volatile organic compounds (VOCs) as they cure or age. This acidity triggers a process called acid hydrolysis, which breaks down the cellulose fibres in both the photo paper and the album pages, leading to brittle paper and yellowing.
Furthermore, many generic adhesives contain lignin or sulphur compounds. When these substances come into contact with the silver halides or organic dyes in photographic emulsions, they cause fading, staining, and a metallic sheen known as silver mirroring. Moisture within water-based glues can also cause the gelatin layer of a photographic print to swell and cockle, resulting in permanent warping as it dries unevenly under mechanical tension.
Archival-Safe Adhesives: Inert Compounds to Choose
To safely mount photos, you must use adhesives that are chemically inert, acid-free, and ideally reversible. Understanding the active ingredients allows you to select the right product for your specific mounting style:
- Methyl Cellulose: A synthetically derived, water-soluble polymer that is pH-neutral, non-toxic, and resistant to insects and fungi. It dries clear and remains completely reversible with water, making it a favorite among paper conservators.
- Starch Pastes (Wheat or Rice Starch): Traditional adhesives refined to remove proteins and gluten, leaving pure starch. These pastes form strong, flexible bonds that do not embrittle with age and can be easily undone with a damp brush.
- Acid-Free Acrylic Adhesives: Found in high-quality double-sided archival tapes. Acrylic-based adhesives do not dry out, yellow, or bleed into adjacent paper layers like natural rubber-based adhesives do. Ensure they pass the Photographic Activity Test (PAT) standards.
Mechanical Mounting: The Tension-Free Solution
The safest mounting method involves no adhesive directly touching the photograph. Photographic paper expands and contracts with changes in ambient temperature and relative humidity. If a photo is rigidly glued to a heavy album page, this natural movement is restricted, causing the print to buckle or tear.
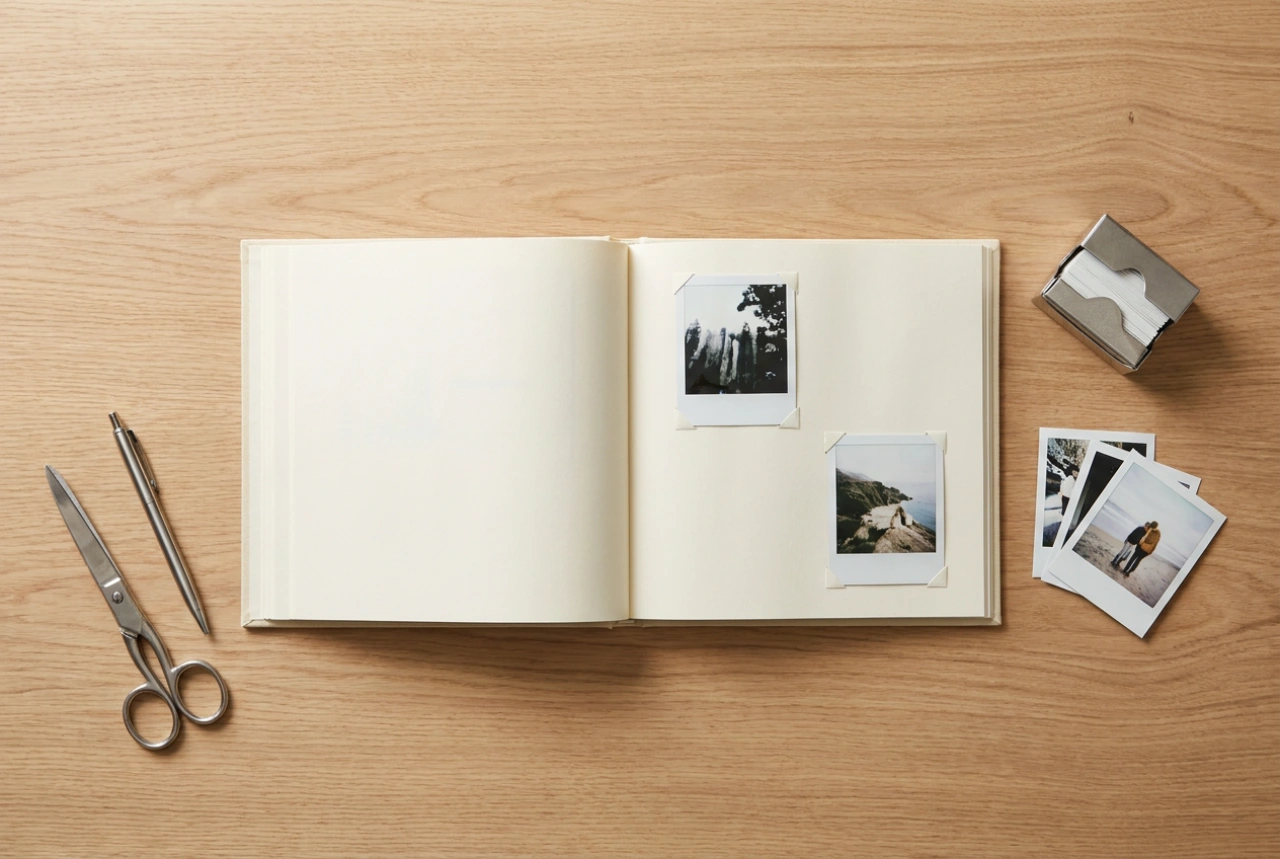
Using archival photo corners made of acid-free paper or inert polyester (Mylar) solves this physical challenge. The corners are adhered to the album page, holding the photograph securely by its edges while allowing the print to slide microscopically within the pockets. This mechanical freedom prevents stress accumulation and buckling, while ensuring the print can be removed at any time without physical or chemical damage.
A Professional Step-by-Step Mounting Protocol
Proper application requires a clean environment, precise tools, and a systematic order of operations to avoid transferring skin oils to the photographic emulsion.
1. Preparation and Handling
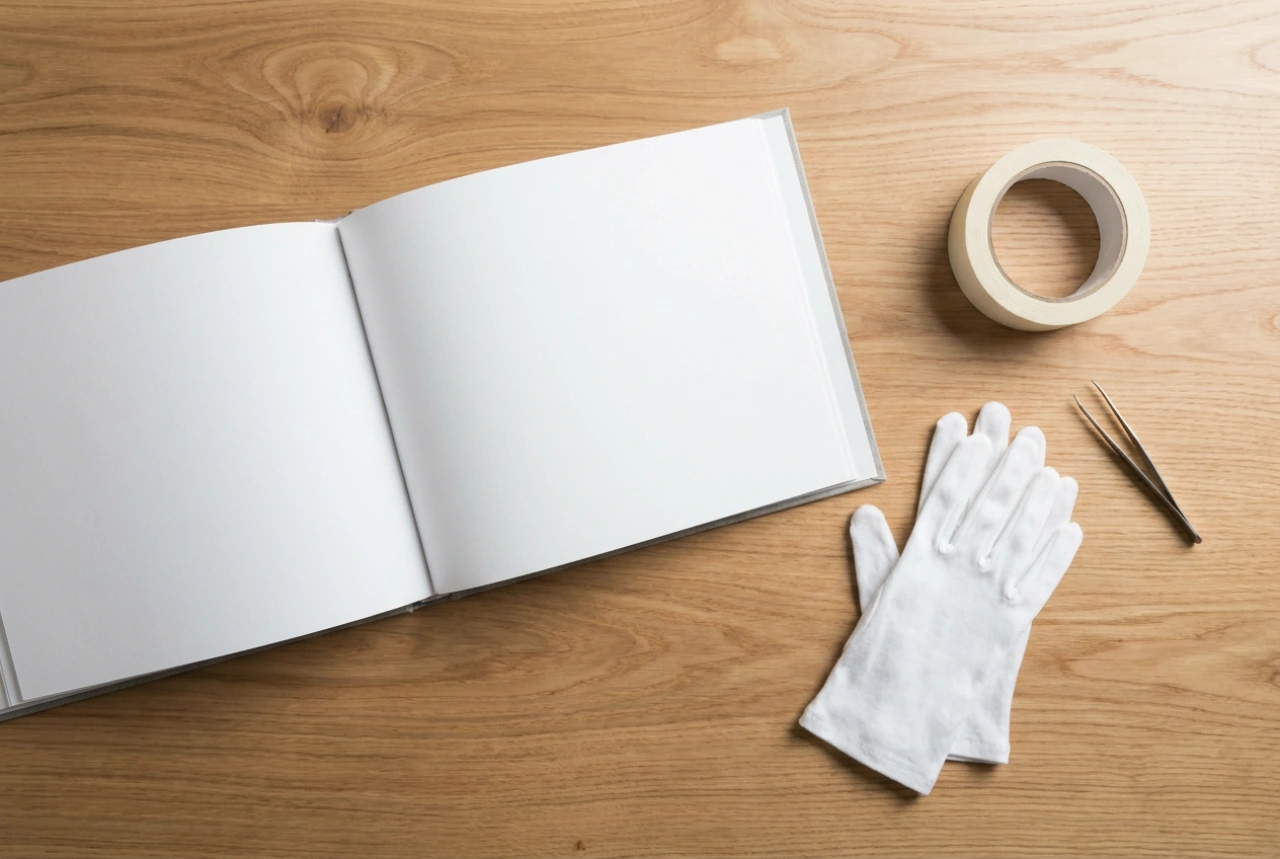
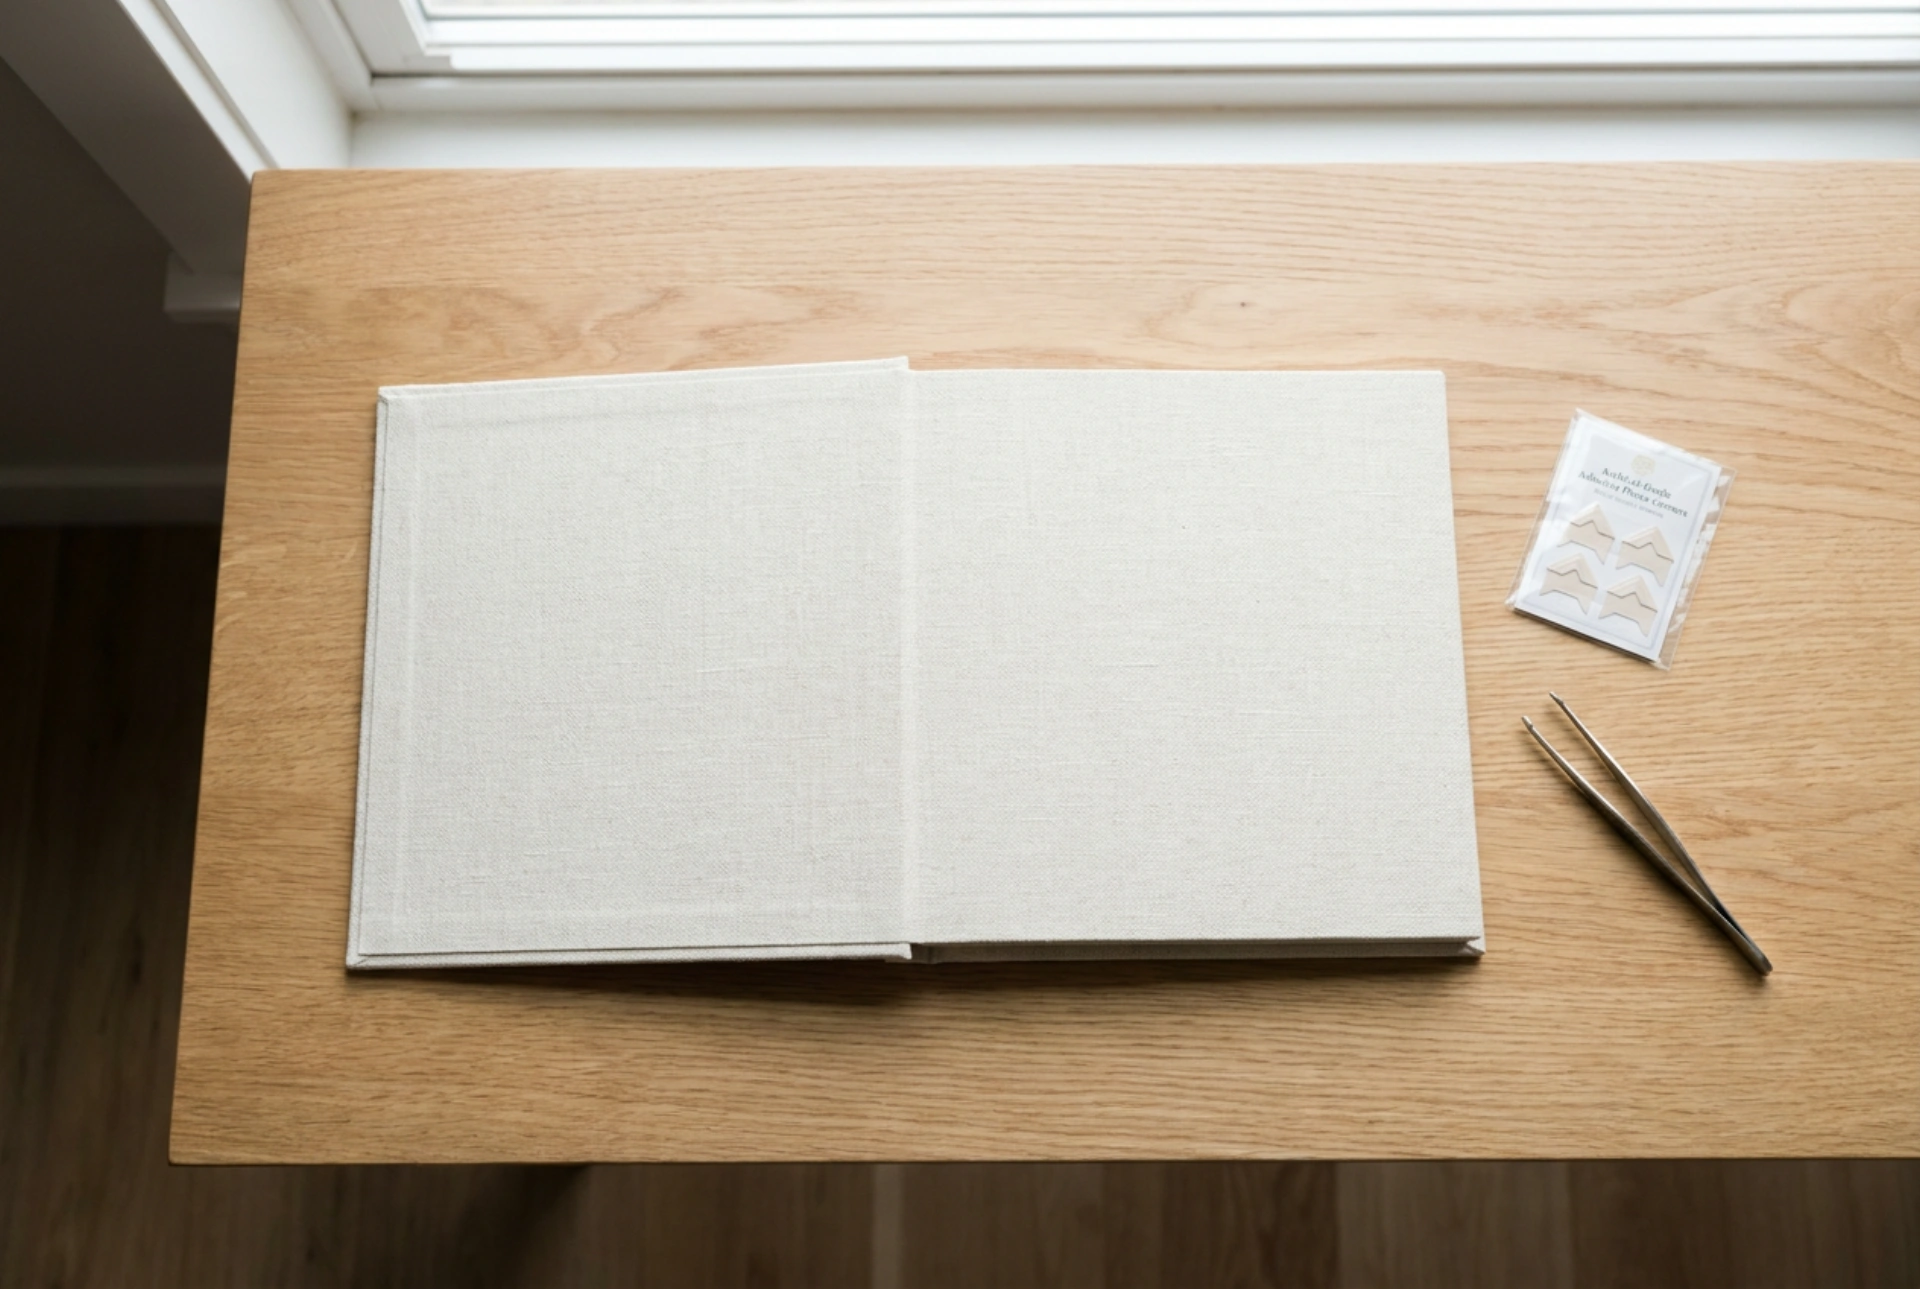
Wash and dry your hands thoroughly, or wear lint-free cotton or nitrile gloves. Lay the album flat on a clean, dust-free surface. Use professional stainless steel tweezers with rounded tips to handle the corners and position the prints without scratching the emulsion.
2. Aligning and Marking
Place the photograph in its desired position on the album page. Use a soft, acid-free graphite pencil to lightly mark the outer boundary corners. Remove the photo before applying any adhesive to ensure no stray marks or pressure indents damage the print.
3. Applying Photo Corners
Slip the archival corners onto the corners of the photograph first. Peel the protective backing off the adhesive on the underside of the corners. Carefully align the photo with your pencil marks and press down firmly on the corners, not the print itself.
4. Burnishing and Curing
Place a clean sheet of glassine or silicone release paper over the mounted photograph. Use a bone folder or the smooth edge of a plastic tool to burnish (rub gently with uniform pressure) over the adhesive corners. This pressure activates the adhesive, ensuring a uniform, secure bond with the album page while protecting the photograph from physical abrasion.