

Maintaining the perfect temperature for baby formula while away from home requires a clear understanding of thermal dynamics and microbial safety. Using a thermal flask effectively ensures that sterile water remains at the correct temperature for safe, on-the-go feeding without risking bacterial proliferation.
The Science of Thermal Retention in Flasks
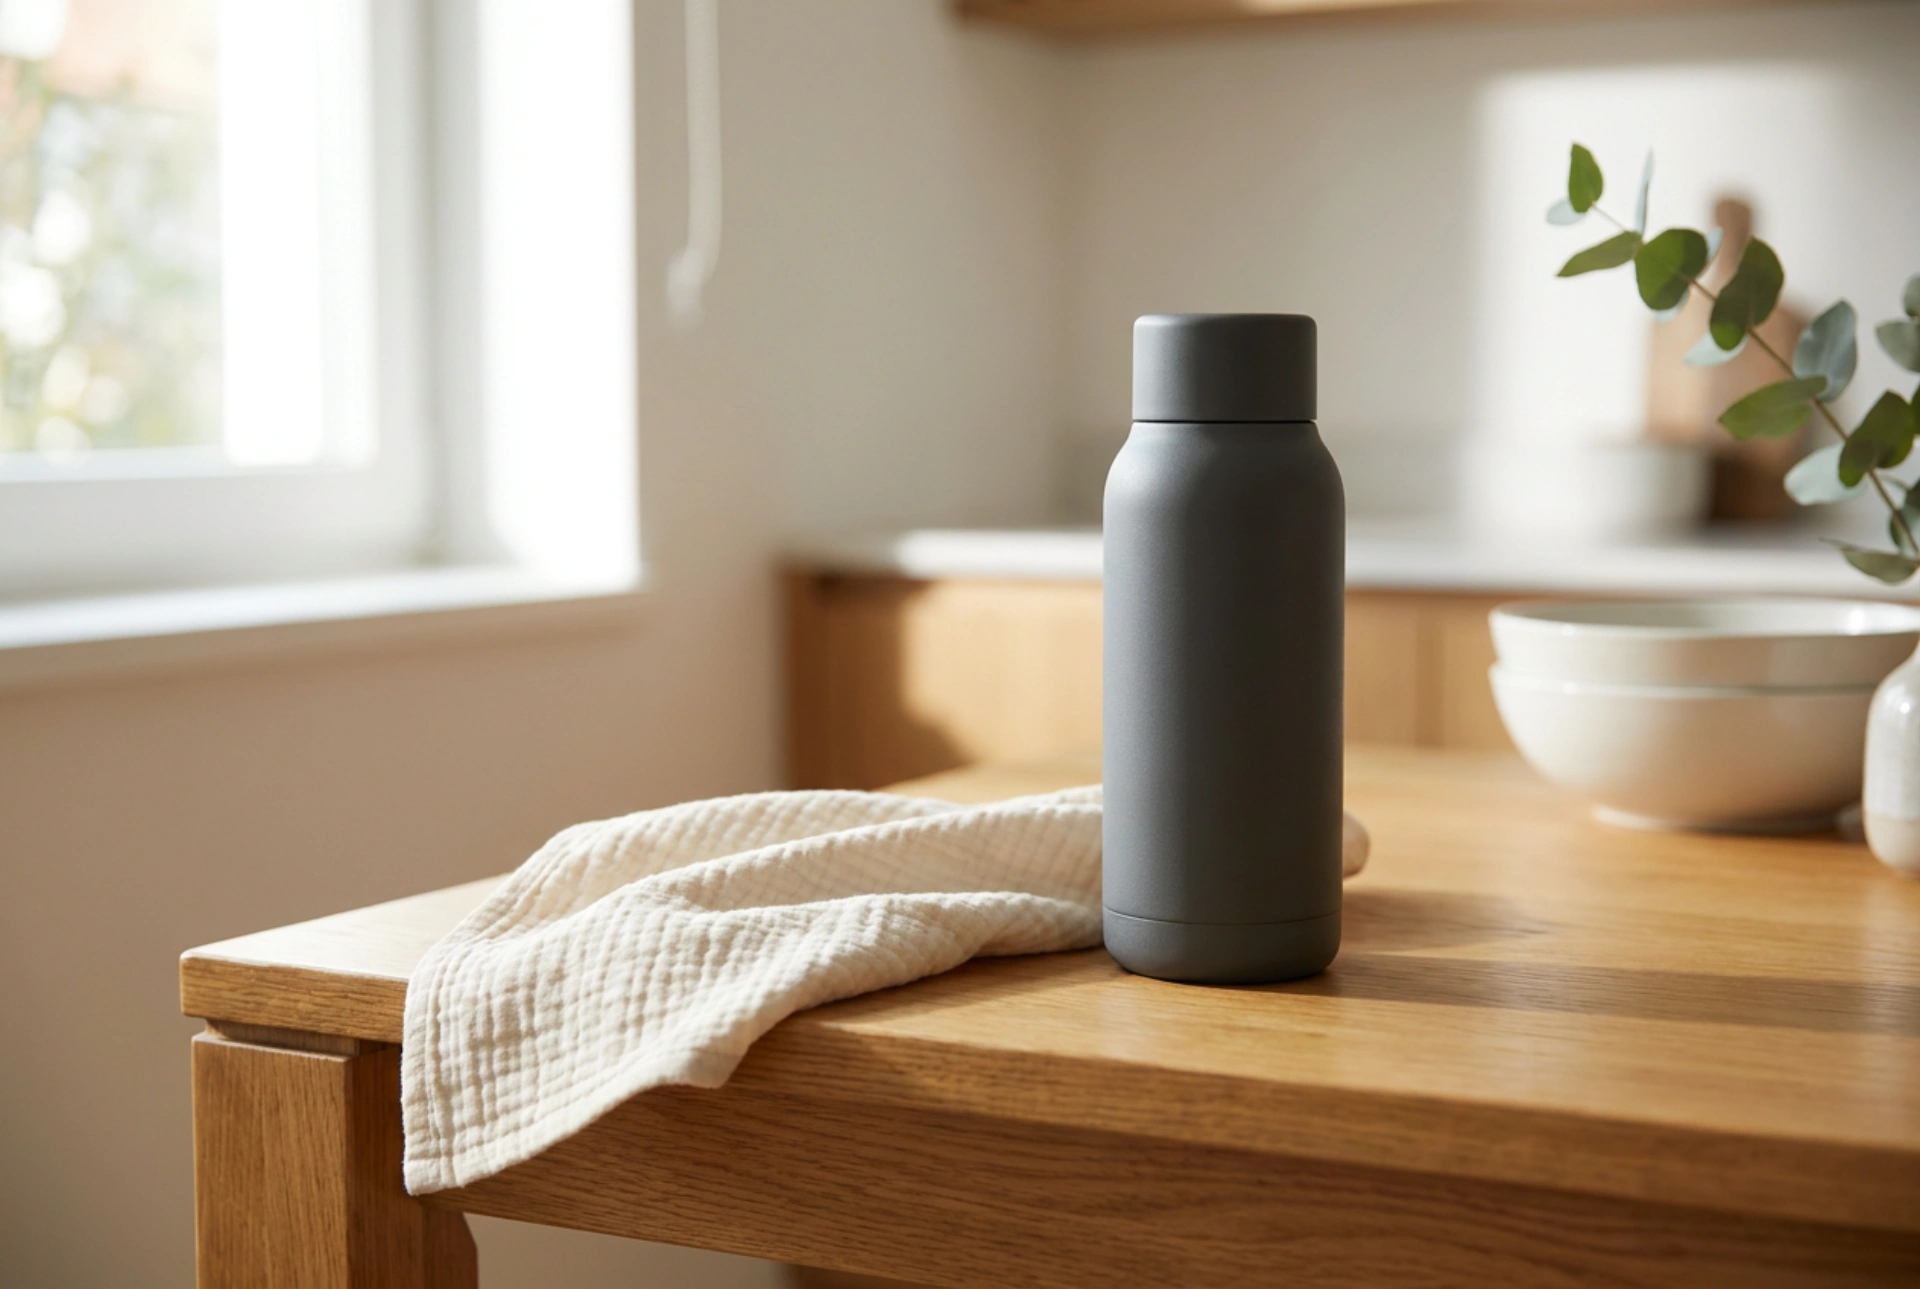
To maximize the efficiency of a baby bottle thermos, one must understand how heat transfer works. Most high-quality thermal flasks utilize double-walled vacuum insulation. Because a vacuum contains no air molecules, it prevents heat transfer via conduction and convection. The only remaining pathway for heat loss is radiation, which is minimized by reflective internal coatings on the stainless steel walls.
However, the thermal mass of the flask's inner wall can instantly absorb heat from hot water if it starts at room temperature. To prevent this initial temperature drop, always pre-heat the flask. Pour boiling water into the empty thermos, seal it, and let it sit for three to five minutes. This warms the stainless steel inner chamber. Discard this water immediately before filling the flask with the actual water intended for the feeding session. This simple step preserves the water's thermal energy for several additional hours.
Water Safety and the Microbial Danger Zone
Bacterial growth is highly dependent on temperature. The danger zone for microbial activity lies between 4°C and 60°C. Within this range, harmful pathogens such as Cronobacter sakazakii can multiply rapidly. Therefore, keeping prepared infant formula warm in a thermos is highly discouraged by pediatric health guidelines.
The safest methodology is to transport hot, freshly boiled water (above 70°C) in the vacuum flask, and carry the measured formula powder in a separate, dry container. At 70°C or higher, the water is hot enough to kill any potential pathogens present in the powdered formula itself, yet it will cool down quickly to drinking temperature once mixed and run under cold water, or when allowed to sit for a few minutes. Alternatively, you can carry sterile, cooled water in a separate baby bottle and use the hot water from the thermos as a water bath to heat the bottle up to the ideal consumption temperature of approximately 37°C.
Step-by-Step Guide for On-the-Go Preparation
To execute a flawless feeding preparation outside the home, follow a strict order of operations designed to maintain sterility and temperature control:
- Step 1: Sterilise and Pre-heat. Sterilise your baby bottles and prep the thermal flask using the boiling water pre-heating technique described above.
- Step 2: Fill the Flask. Fill the flask with water that has been boiled and cooled slightly, but remains above 70°C. Seal the airtight lid immediately to trap the steam and maintain pressure.
- Step 3: Measure the Powder. Portions of dry formula powder should be pre-measured into sterile, dry containers. Never mix the powder into the flask itself, as this creates an ideal breeding ground for bacteria and makes the flask extremely difficult to sanitise.
- Step 4: Combine at Feeding Time. When the infant is ready to feed, pour the required volume of hot water from the thermal flask into the sterile baby bottle. Add the pre-measured formula powder, secure the teat, and swirl gently to dissolve without introducing excess air bubbles.
- Step 5: Cool to Feeding Temperature. Test the temperature of the mixture on your inner wrist. If it is too hot, cool the sealed bottle by holding it under running cold tap water or placing it in a container of cold water for a few minutes.
Descaling and Maintaining Stainless Steel
To keep the thermal flask functioning optimally, the inner stainless steel surface must remain free of mineral scale. Tap water contains dissolved minerals like calcium and magnesium, which precipitate when heated, forming a white layer of limescale. This layer acts as an unwanted insulator, reducing the flask's thermal efficiency over time.
Do not use abrasive scrubbing pads or chlorine-based bleaches, as chlorine can compromise the chromium oxide protective layer of stainless steel, leading to corrosion. Instead, use household chemistry: fill the flask with a solution of warm water and citric acid or white vinegar (acetic acid). Let it sit for thirty minutes to dissolve the calcium carbonate deposits. Rinse thoroughly with clean water and allow the flask to air-dry completely with the lid off to prevent any anaerobic bacterial growth inside the damp chamber.