

Packing a thermal lunch bag requires more than just piling containers together; it demands an understanding of thermodynamics and seal physics to prevent messy leaks and temperature loss. By applying systematic packing techniques and choosing the right materials, you can ensure your meals remain intact and at safe temperatures throughout your commute.
The Thermodynamics of Food Storage
Inside a thermal bag, the primary objective is to slow down heat transfer, which occurs via conduction, convection, and radiation. The insulated walls of the bag, typically made of dense foam and reflective foil, resist radiation and conduction. However, thermal dynamics inside the bag depend heavily on what you pack. When warm food is sealed inside a container, the air inside expands due to heat, increasing internal pressure. If the seal has any structural weakness, this pressure pushes liquids outward, resulting in leaks.
To mitigate this pressure-induced leakage, always allow cooked foods to cool to room temperature before sealing them. This prevents the expansion of air and steam inside the container. Conversely, cooling food before sealing prevents the formation of a partial vacuum as the air contracts, which can warp thin plastic lids and break the seal's integrity during transport.
Choosing the Right Seals: Materials and Mechanics
The integrity of your container's seal is the most critical defence against spills. Not all containers are engineered for transit. To guarantee a leakproof environment, focus on the mechanical design of the closures and the material properties of the gaskets:
- Silicone Gaskets: Opt for containers featuring a continuous silicone ring inside the lid. Silicone is highly elastomeric, meaning it compresses to fill microscopic imperfections along the rim of the container, creating a true hermetic seal. Ensure the gasket is removable for cleaning, as trapped food particles can prevent a tight fit.
- Locking Latches: Four-hinge locking lids apply even, downward mechanical pressure across the entire gasket. This is superior to press-on lids, which rely solely on friction and are highly susceptible to popping open when compressed inside a crowded bag.
- Container Rigidity: Borosilicate glass or heavy-duty, BPA-free polypropylene containers maintain their structural shape under pressure. Flexible plastic containers flex and bend when squeezed, which instantly breaks the contact between the lid and the rim, releasing liquids.
The Strategic Packing Order: Gravity and Convection
The order in which you stack items inside your thermal bag directly impacts both temperature retention and structural stability. Packing is an exercise in gravity and space management:
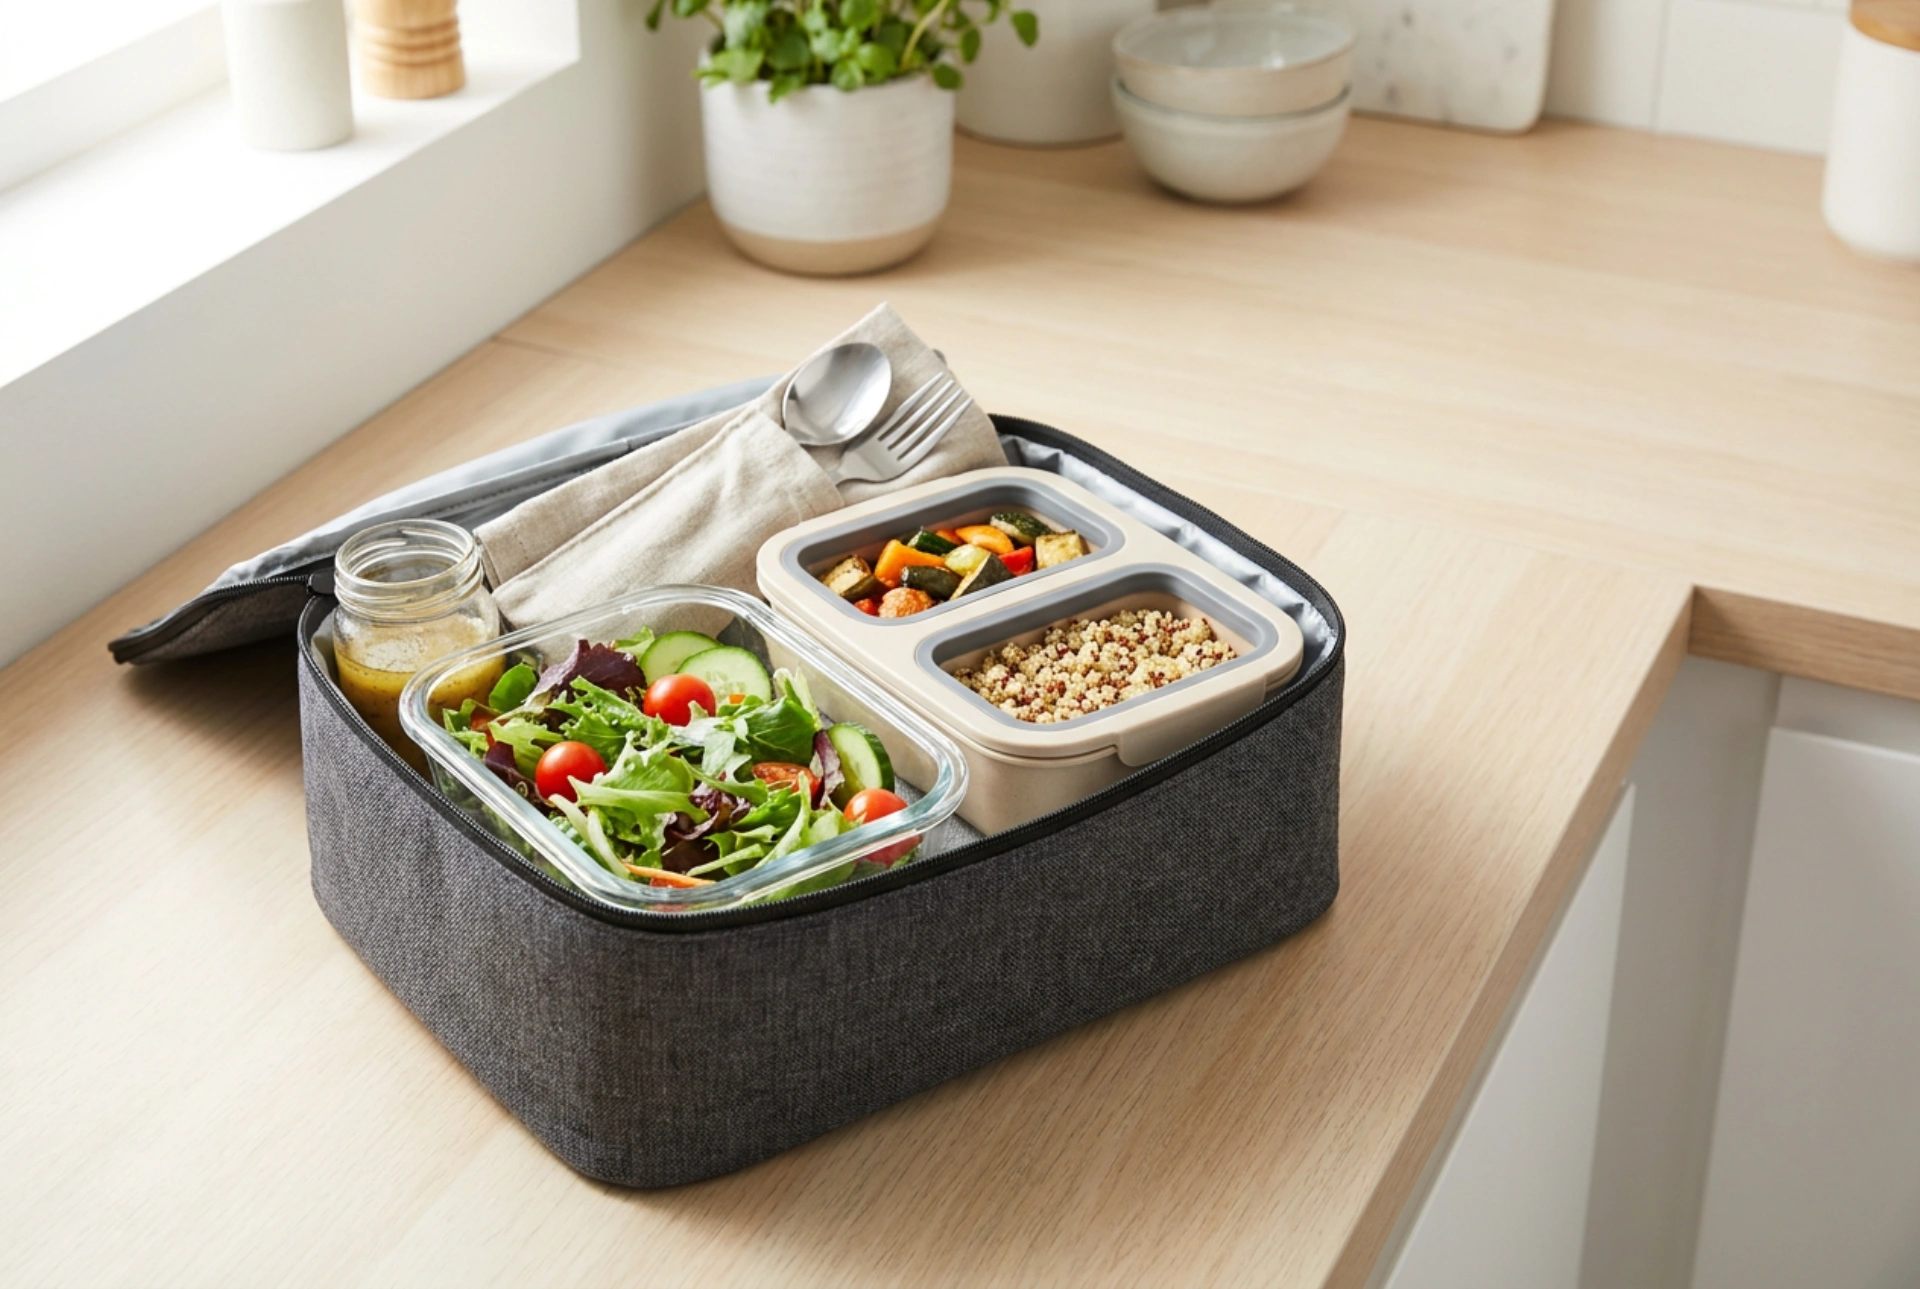
Always place the heaviest, flat-bottomed containers at the absolute base of the bag. This lowers the centre of gravity, preventing the bag from tipping or rolling during transit. Liquid-heavy items must sit flat on this stable foundation. Never stack containers on top of uneven or soft items like fruit or bagged snacks, as this causes shifting and tilting.
Additionally, eliminate "dead space" within the bag. Empty air pockets accelerate thermal convection, causing ice packs to melt faster and food temperatures to equalise with the outside environment. Fill empty spaces with clean, dry cloth napkins or small silicone dividers. This physically locks the containers in place, preventing lateral movement, while adding an extra layer of dry insulation.
Managing Condensation and Ice Pack Physics
Many suspected "leaks" are actually the result of condensation. When reusable gel packs melt, they absorb latent heat from the surrounding air. This rapid cooling causes the moisture suspended in the air inside the bag to condense into liquid water on the cold surfaces of the ice packs and containers, pooling at the bottom of the bag.
To prevent condensation pooling, wrap your gel ice packs in a thin, dry microfiber cloth or paper towel before placing them in the bag. This barrier absorbs the moisture created during the phase change of the gel pack without reducing its cooling efficiency. Furthermore, always place the ice packs on top of or alongside your food containers, never underneath. Because cold air is denser than warm air, it naturally sinks. Placing ice packs at the top creates a continuous, downward convective cooling loop, keeping the entire interior cold while preventing the bottom of your containers from sitting in direct contact with melting ice packs.