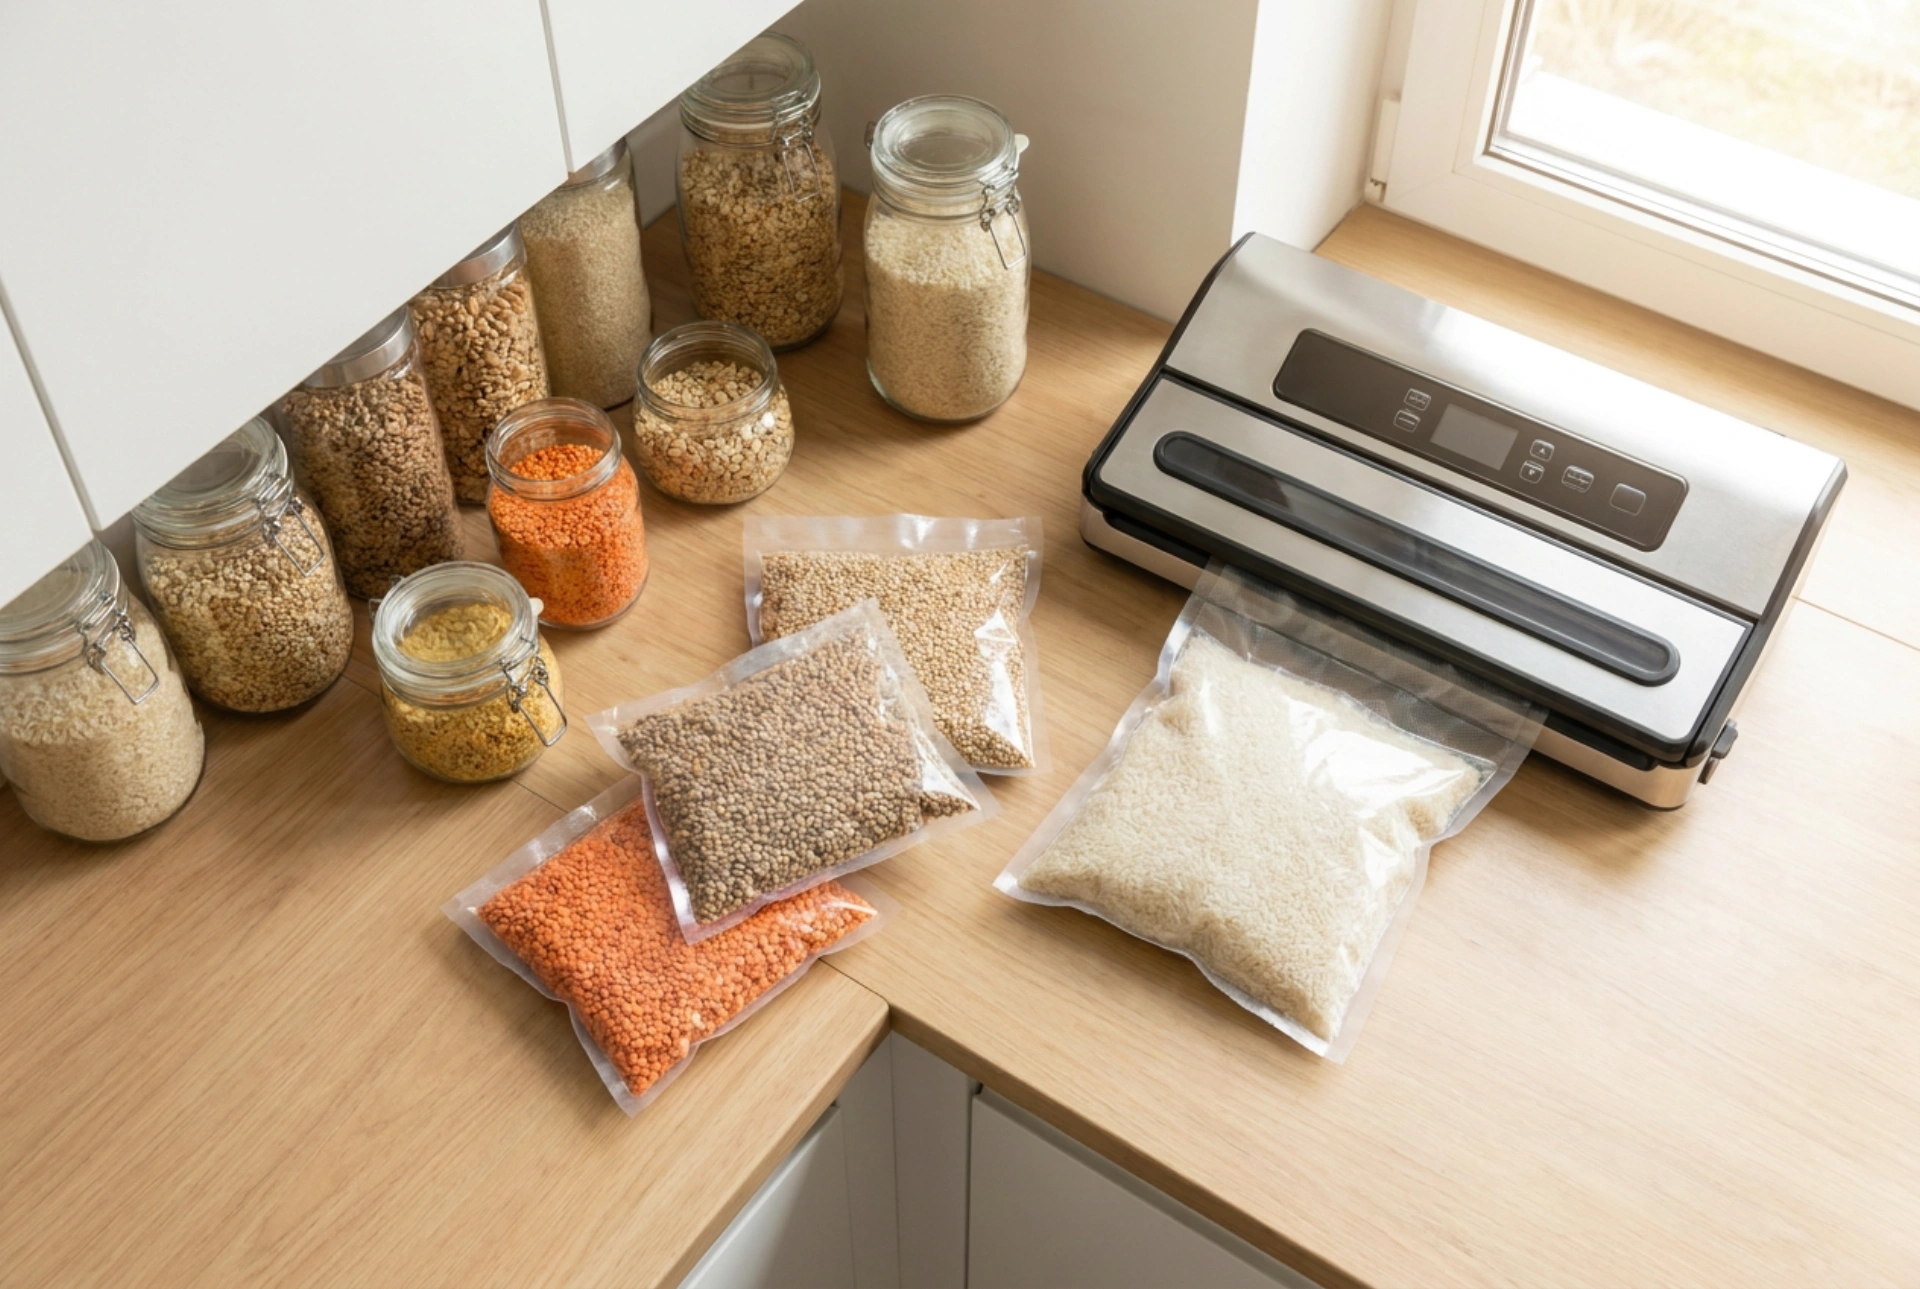


Vacuum sealing transforms pantry organisation by eliminating oxygen, the primary catalyst for food degradation, stale textures, and enzymatic spoilage. By understanding the physics of air pressure and atmospheric barrier materials, you can systematically extend the shelf life of your ingredients while saving space.
The Science of Vacuum Packaging and Shelf Life Extension
Food spoilage is primarily driven by aerobic micro-organisms, chemical oxidation, and moisture migration. When you expose food to ambient air, oxygen reacts with lipids, leading to rancidity in nuts, seeds, and whole grains. Aerobic bacteria and moulds also require oxygen to metabolise and reproduce. By evacuating the air from a storage container or pouch, you reduce the partial pressure of oxygen to negligible levels, halting these degradation pathways.
Additionally, vacuum sealing controls moisture transfer. In low-humidity environments, dry foods absorb ambient moisture and lose their crispness. Conversely, in the freezer, exposed food undergoes sublimation—where ice crystals turn directly into water vapour—causing freezer burn. A hermetic vacuum seal acts as a physical barrier against both moisture loss and ingress, protecting the structural integrity and cellular structure of the food.
Selecting the Appropriate Barrier Materials
Not all plastic bags are suitable for vacuum storage. Standard sandwich bags are highly permeable to oxygen over time. True vacuum pouches are manufactured using co-extruded layers of Polyamide (PA) and Polyethylene (PE). Polyamide provides an exceptional gas barrier, preventing oxygen from diffusing back into the package, while Polyethylene provides flexibility, water vapour resistance, and excellent heat-sealing properties.
- Embossed Pouches: Essential for external suction sealers. The textured channels allow the machine to draw air out uniformly from the entire length of the bag.
- Smooth Pouches: Typically used in chamber vacuum sealers, where air pressure is equalised inside and outside the bag before sealing.
- Glass Jars with Vacuum Lids: Perfect for dry goods that are accessed frequently. Using a dedicated hose attachment allows you to evacuate air from standard canning jars without consuming plastic bags.
Step-by-Step Technique for Flawless Sealing
Achieving a reliable, long-term seal requires precise technique and attention to the sealing zone. Any contamination along the sealing line will cause the vacuum to fail over time.
Step 1: Prep and Portioning
Divide your dry goods or frozen ingredients into realistic portions. Repeatedly opening and resealing a large bag introduces fresh oxygen and moisture, defeating the purpose of the initial vacuum cycle. Label the bag with the contents and date using a permanent marker while the plastic is flat and dry.
Step 2: Clean the Sealing Zone
Fold the top two inches of the bag outward before filling it. This prevents grease, moisture, flour dust, or small food particles from sticking to the inner sealing area. After filling, unfold the top, ensuring the sealing zone is completely clean and dry. If processing powdered ingredients like flour or cocoa, place a small piece of parchment paper over the powder to act as a physical filter, preventing fine particles from being sucked into the vacuum pump.
Step 3: Manage Liquid and Moisture
When sealing raw meats, stews, or wet vegetables, liquid can easily be drawn up into the vacuum channel, preventing the thermal heating element from fusing the plastic layers. To prevent this, flash-freeze wet foods on a flat tray for two to three hours before vacuum sealing them. Alternatively, place a folded strip of clean paper towel just below the sealing line inside the bag to catch migrating liquid during the suction cycle.
Maintaining Your Vacuum Sealer for Consistent Performance
To ensure a perfect hermetic bond, the heating element must reach and maintain a precise melting temperature. Wipe the silicone gasket and the heating strip regularly with a damp cloth to remove adhesive residues or dust. Allow the machine to cool for 20 to 30 seconds between sealing cycles to prevent the sealing bar from overheating, which can melt completely through the plastic rather than fusing it seamlessly.