

Creating a lasting photographic archive for a girl involves more than just pasting pictures onto paper; it requires an understanding of material science to protect these memories from chemical degradation over time. By applying correct archival techniques and structural design principles, you can build a physical narrative that remains pristine for generations.
The Chemistry of Photo Preservation: Selecting Safe Materials
Before planning your layout, you must consider the chemical environment of the album. Standard papers and adhesives contain lignin and acids that naturally break down over time, causing yellowing and brittleness in both the album pages and the photographic prints. When choosing a personalised album, ensure the paper is certified acid-free and lignin-free. Photographic prints are highly sensitive to chemical migration; adhesive residues containing polyvinyl acetate (PVA) or acidic solvents can dissolve photo emulsions or cause fading. Always opt for archival-grade double-sided tape or, ideally, self-adhesive photo corners made from chemically inert plastics like polypropylene or polyester. These materials do not outgas or degrade, preserving the silver halides or dye-sublimation layers of the prints.
The Physics of Layout: Negative Space and Visual Balance
A successful album layout relies on the principles of visual weight and structural balance. Rather than crowding every page, utilise negative space—the empty area around the photos—to give the viewer's eyes a place to rest. When organising a girl's album, a chronological flow is often the most intuitive, but thematic grouping can create stronger emotional resonance. Aim for a consistent focal point on each double-page spread. For instance, if you have one large 13x18 cm portrait on the right-hand page, balance it with two or three smaller 9x13 cm detail shots on the left. Maintain a uniform border width (typically 1.5 to 2 centimetres) between the photos and the page edges. This alignment creates a geometric grid that feels cohesive and professional, rather than cluttered.
Handling Techniques and Atmospheric Control
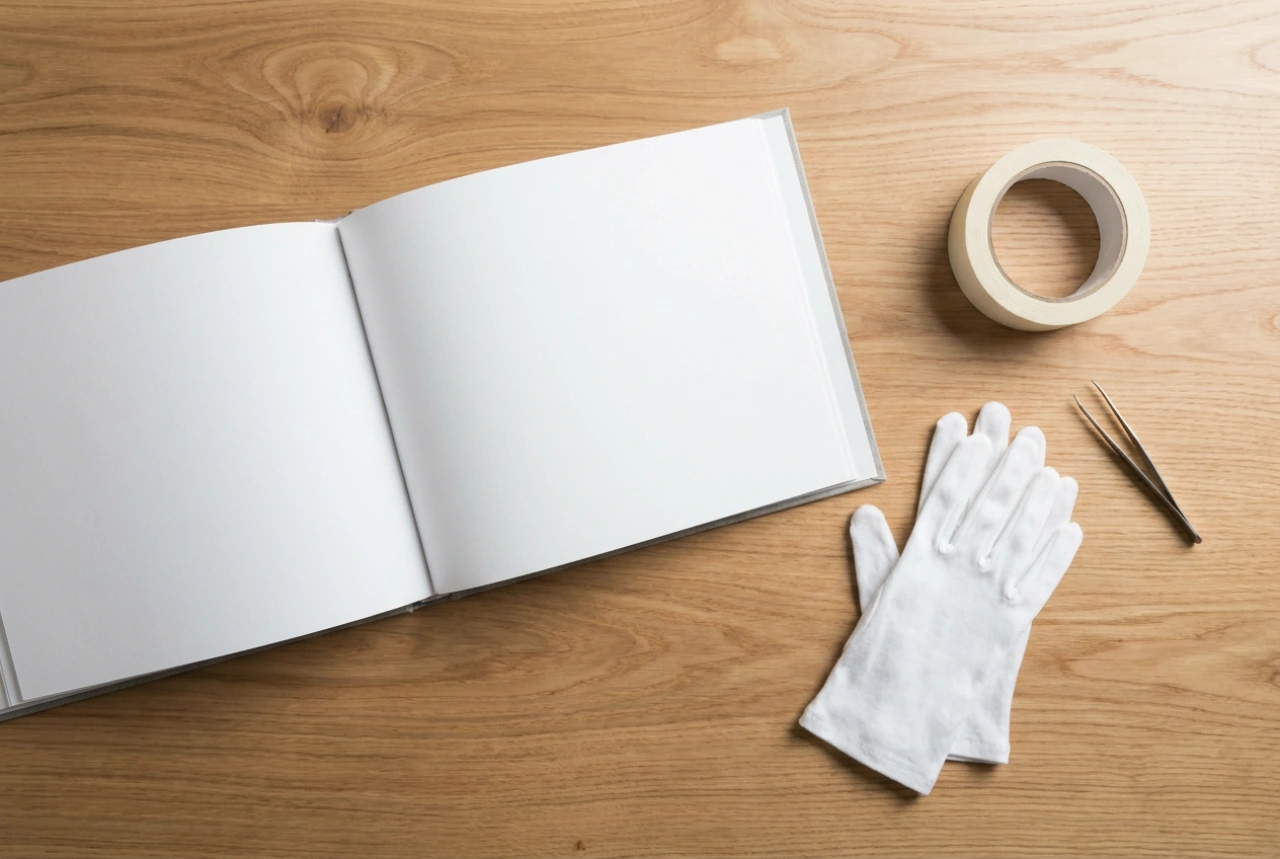
Human skin naturally secretes sebaceous oils, salts, and moisture, all of which are highly corrosive to photographic surfaces. When handling raw prints, wear lint-free cotton gloves or hold the photos strictly by their edges. Fingerprints left on glossy or matte prints can eventually oxidise, leaving permanent, dark smudges. Additionally, photographic paper reacts dynamically to fluctuations in ambient humidity and temperature. If a photo is glued flat across its entire surface, changes in humidity will cause the photographic paper and the album page to expand and contract at different rates, leading to unsightly warping and buckling. Using archival photo corners solves this physical problem: they secure the corners of the image while allowing the print itself to micro-expand and shift slightly within the pocket, preventing structural tension.
Integrating Memorabilia and Organic Elements Safely
It is common to want to include tangible mementos alongside photos, such as hospital wristbands, first locks of hair, or dried wildflowers. However, introducing raw organic matter or non-archival plastics directly to the photos can trigger rapid decay. Dried flowers, for example, contain natural oils and residual moisture that can attract mould spores or cause acid transfer to adjacent pages. To safely incorporate these elements, place them inside protective glassine pockets or archival-grade polyester sleeves. This creates a physical barrier that prevents direct contact with the photographic emulsion while still allowing the items to be visible. Secure these pockets with acid-free double-sided tape applied to the reverse side of the sleeve, ensuring no adhesive touches the memento itself.