

Achieving perfectly aligned labels on uniform spice jars transforms kitchen storage from a chaotic cabinet into a highly functional, visually satisfying workspace. While the task seems simple, manual application often leads to microscopic shifts that disrupt the linear flow, but understanding the physics of adhesives and using basic physical registration techniques guarantees a flawless result every time.
Preparing the Glass Surface for Maximum Adhesion
Before applying any self-adhesive label, the glass surface must be completely free of microscopic contaminants. Glass has high surface energy, which makes it an excellent substrate for pressure-sensitive adhesives. However, oils from hands, dust particles, and surfactant residues from standard dishwashing liquids create a barrier that prevents the adhesive from wetting the surface fully.
To ensure long-term bonding and prevent the corners of your labels from curling over time, clean each jar thoroughly using a lint-free microfibre cloth saturated with isopropyl alcohol. Isopropyl alcohol dissolves hydrophobic lipids instantly and evaporates rapidly without leaving any residue. Avoid using glass cleaners that contain silicones or synthetic fragrances, as these leave a micro-thin film that compromises the chemical bond of the adhesive.
Designing and Using a Physical Alignment Jig
Human vision is incredibly sensitive to horizontal deviations, a phenomenon known as vernier acuity. Relying on your eyesight alone to apply multiple labels at the exact same height will inevitably lead to visible inconsistencies. To achieve a perfectly straight line across dozens of jars, you must establish a physical reference point.
The most reliable method is to construct a simple, reusable alignment jig using a piece of stiff cardboard or a plastic card. Measure the desired distance from the bottom of the jar to the bottom edge of the label. Cut a strip of cardboard to this exact height. Place the jar horizontally against a flat surface, such as a table, pressing its base against a heavy, flat-edged object to prevent it from rolling.
Position your custom cardboard spacer against the base of the jar. This spacer now acts as a physical stop. When you lower the label onto the jar, let its bottom edge rest gently against the top of the spacer before allowing the adhesive to make contact with the glass. This physical constraint ensures every single label is applied at precisely the same millimetre-height, regardless of manual variance.
The Mechanics of Bubble-Free Label Application
Pressure-sensitive adhesives do not cure like liquid glues; instead, they rely on viscoelastic flow to conform to the micro-roughness of the glass. To activate this bond without trapping air pockets, the method of application is critical. Applying a label all at once by pressing the centre flat will trap air at the sides, creating unsightly bubbles that are difficult to expel.
To apply the label flawlessly, hold it by its vertical edges, curving it slightly so the vertical centre line of the label makes contact with the glass first. Once the centre line is anchored against your alignment guide, use a soft felt scraper or a clean thumb wrapped in a lint-free cloth to smooth the label outwards from the centre to the left edge, and then from the centre to the right edge.
This outward sweeping motion forces air ahead of the contact wave, preventing pockets from forming. Once the label is flat, apply firm, even pressure across the entire surface for ten to fifteen seconds. This mechanical pressure forces the adhesive to flow into the microscopic pores of the glass, securing a permanent, moisture-resistant bond.
Organising for Accessibility and Visual Continuity
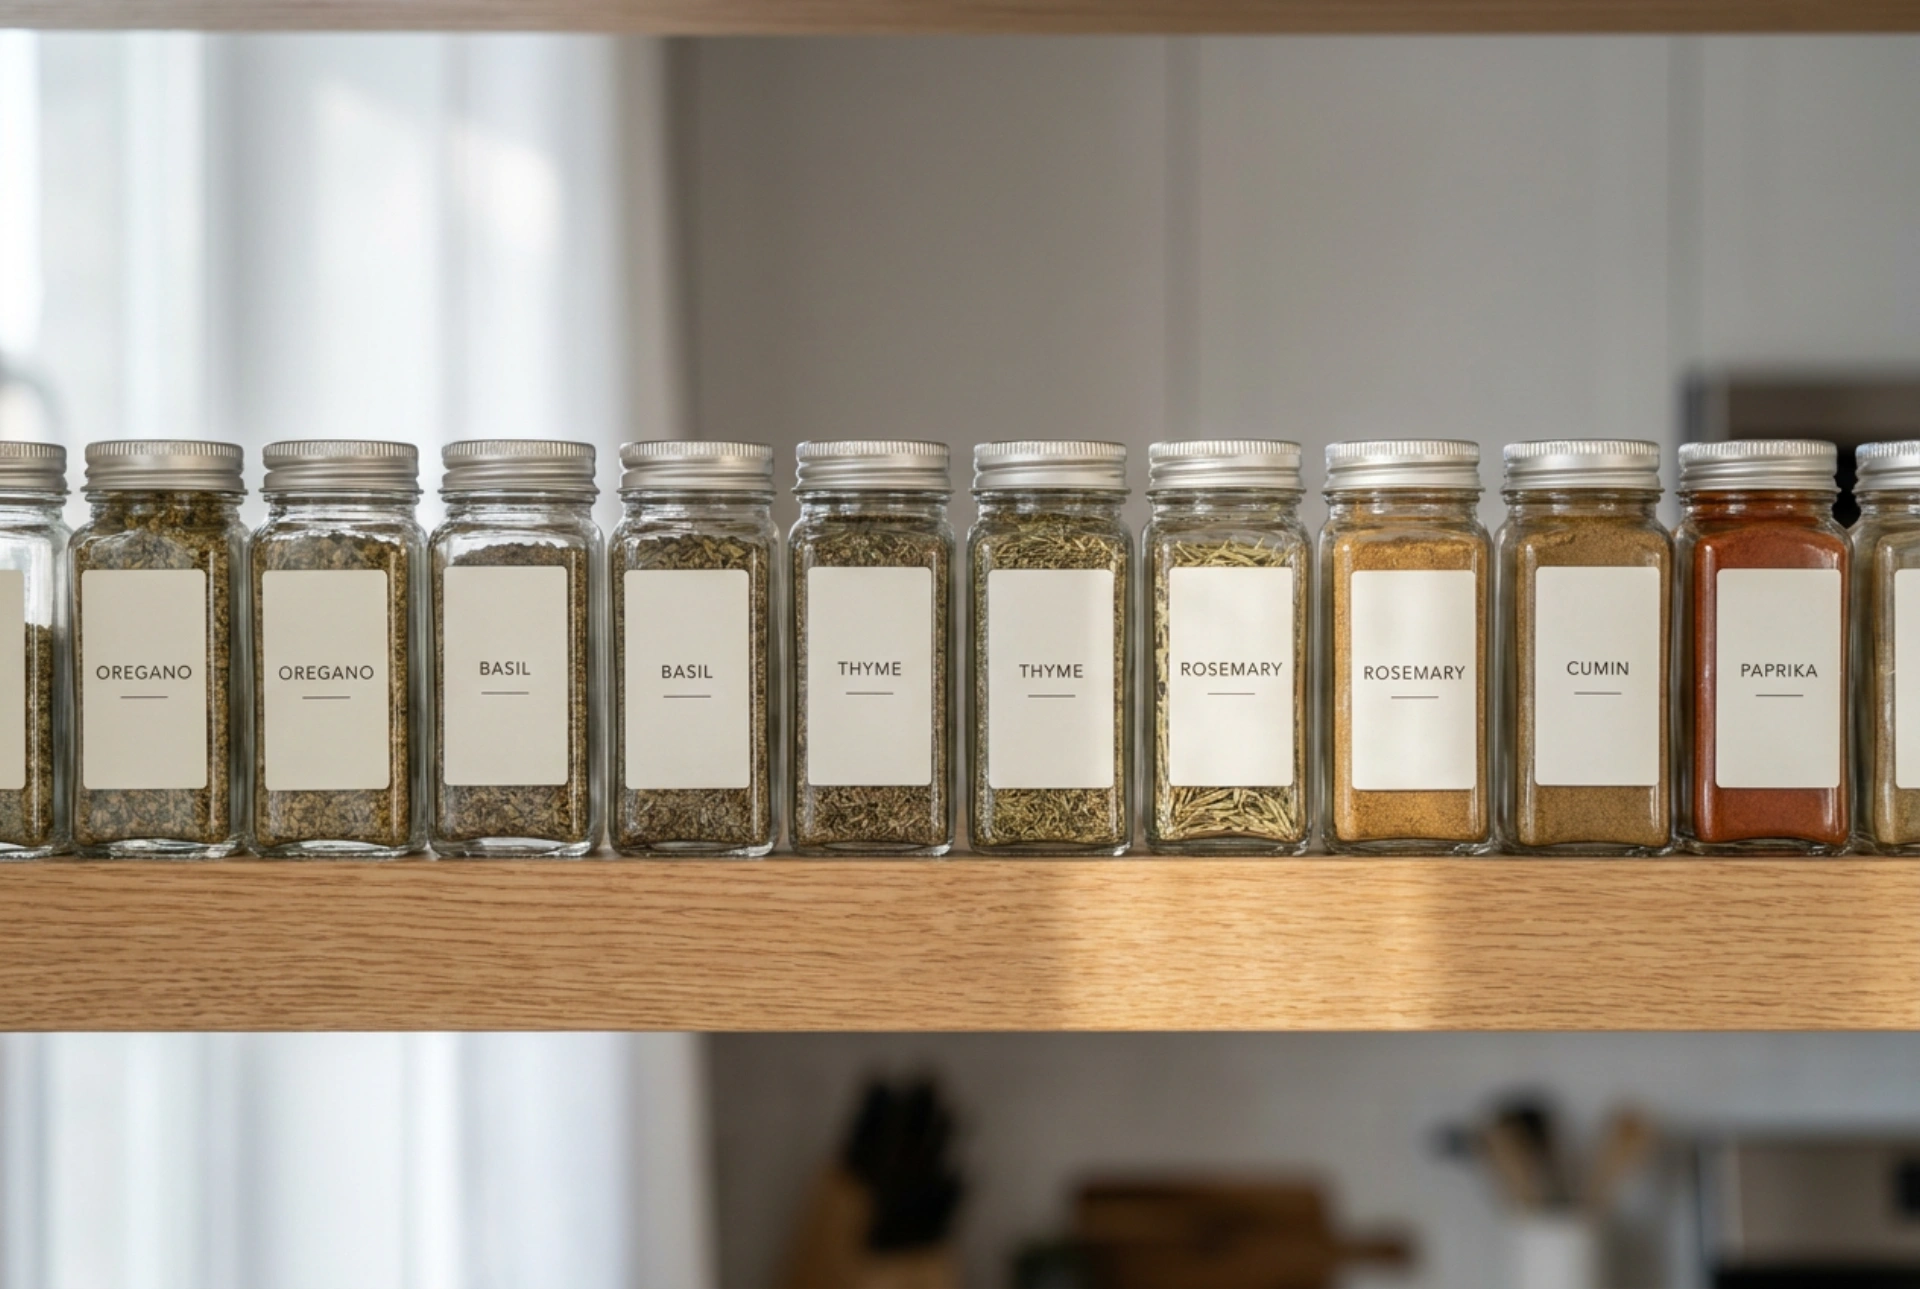
Once your jars are perfectly labelled, the final step is organising them to maintain this visual alignment during daily use. Arrange the jars on your shelf or in your drawer using a systematic hierarchy. For deep drawers, tiered spice inserts are highly recommended, as they keep the labels tilted upward at a consistent angle, making them instantly readable without requiring you to lift each jar.
If storing jars on open shelves, group them by usage frequency or categorise them botanically (herbs, seeds, ground spices, and blends). To preserve the longevity of both the spices and the labels, position your storage away from direct sunlight and heat sources, such as ovens or hobs. High temperatures and UV radiation accelerate the degradation of essential oils in your spices and degrade the acrylic polymers in label adhesives, causing them to yellow and peel over time.