

Cleaning a glass oil dispenser bottle requires more than a quick rinse with dish soap; polymerized oil creates a stubborn, sticky film that resists standard washing. Understanding the molecular behavior of lipids and applying the right combination of temperature, surfactants, and mild abrasives is the only way to restore pristine clarity and prevent rancidity.
The Chemistry of Sticky Oil Residue
Vegetable oils are composed of triglycerides. When exposed to air and light over time, these molecules undergo oxidation and polymerization. This chemical reaction links individual fat molecules into long, cross-linked chains, transforming liquid oil into a sticky, varnish-like lacquer. Because oil is highly hydrophobic, water alone cannot dissolve these bonds. To break down this polymerized layer, you must utilize chemistry to either emulsify the fats or chemically alter them through saponification, making them water-soluble.
Phase 1: Emulsification and Saponification
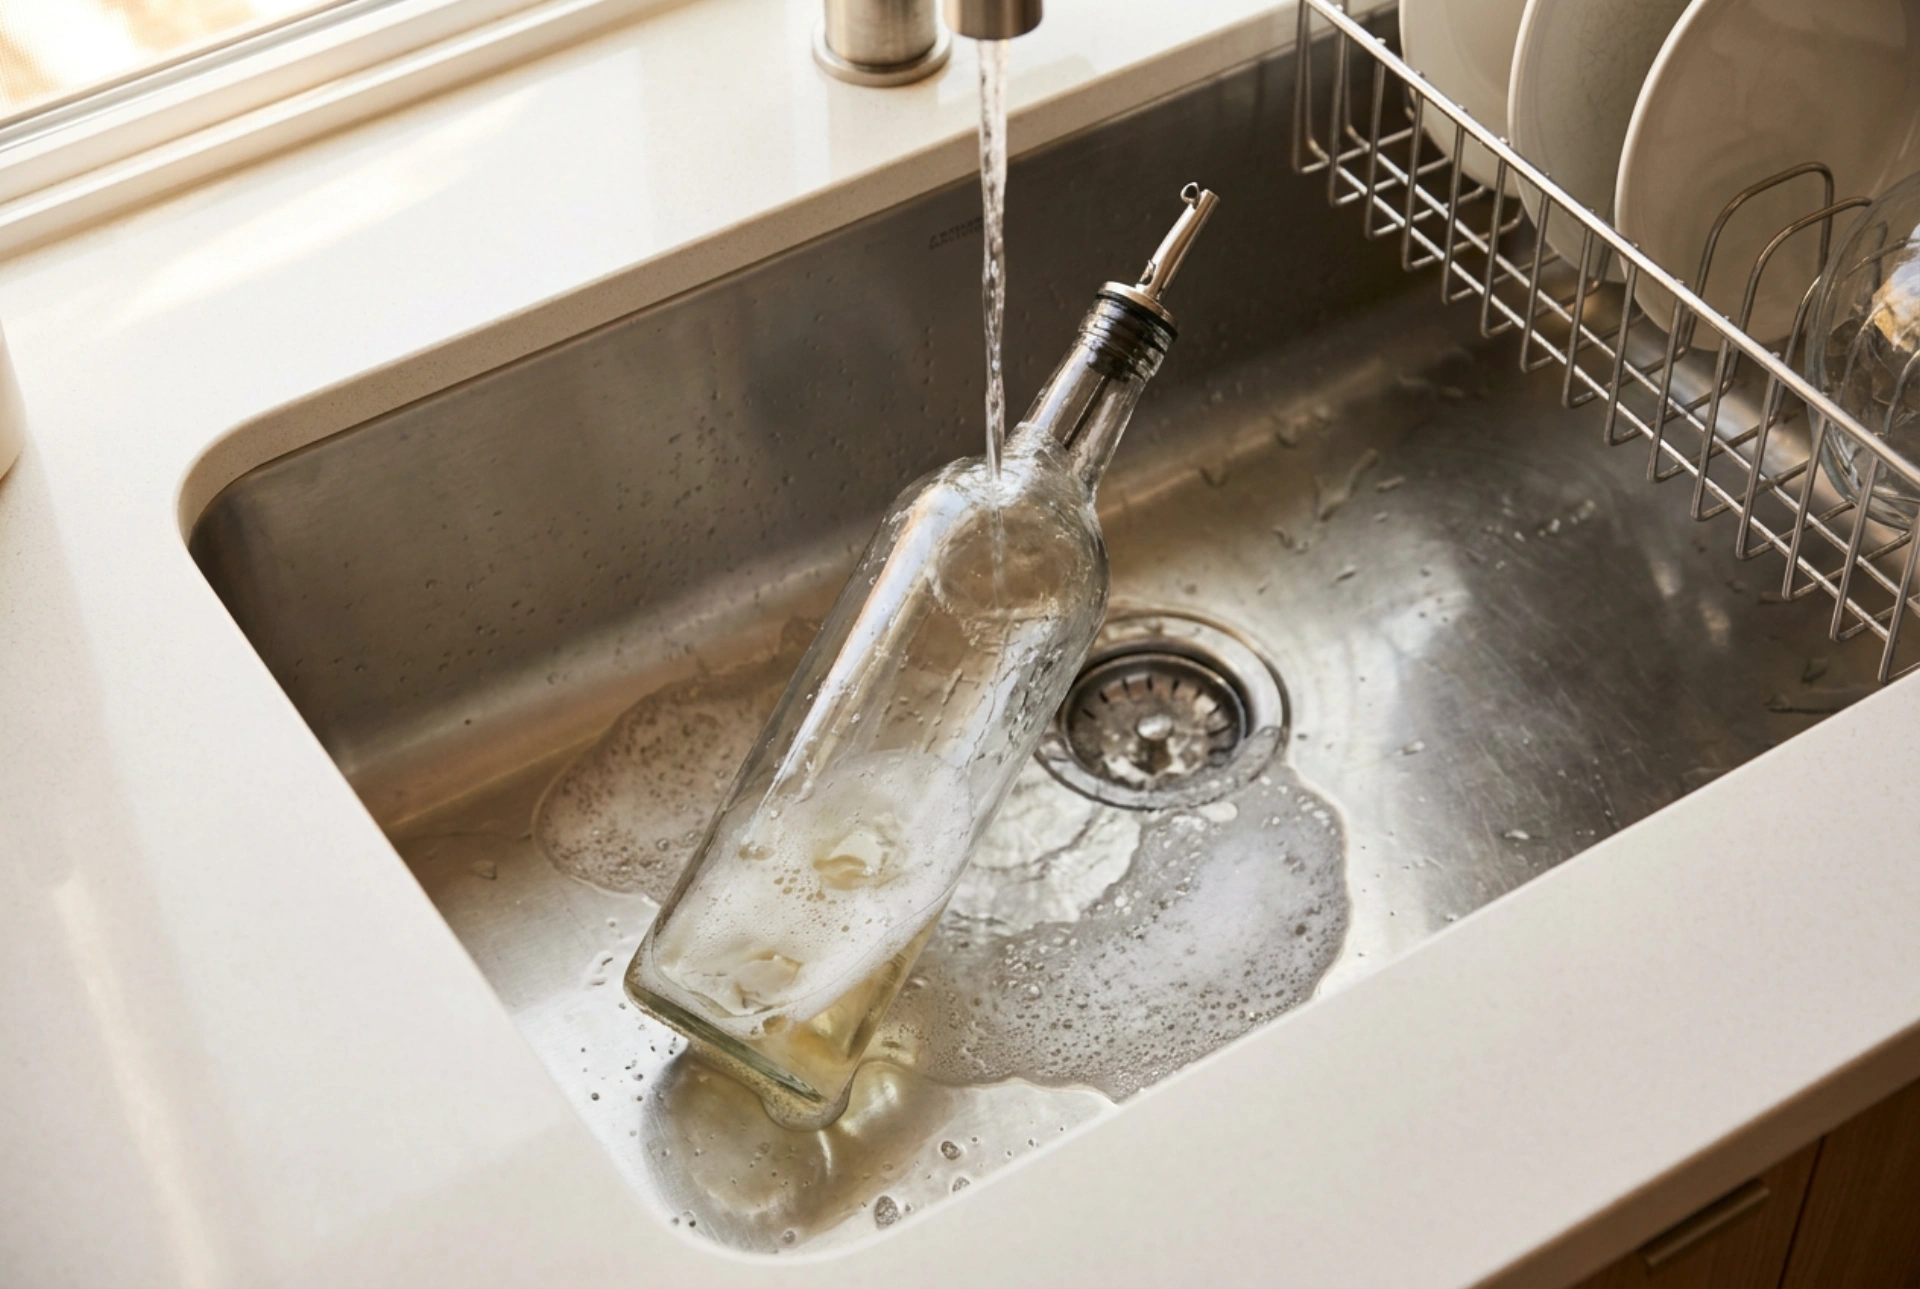
To dissolve the stubborn lipid film, standard dish washing liquid (a synthetic surfactant) is highly effective when paired with the correct thermal energy. Surfactants have dual-action molecules: a hydrophobic tail that attaches to the grease, and a hydrophilic head that bonds with water. When you rinse, the water pulls the surfactant—and the attached oil—away from the glass surface.
- Thermal Activation: Always start with hot water (around 50-60°C). Heat lowers the viscosity of the oil, bringing solid or semi-solid polymerized fats closer to their melting point, making them easier to detach.
- Alkaline Boost: If the residue is highly polymerized and sticky, introduce a mild alkali like sodium bicarbonate (baking soda). Soda increases the pH of the cleaning solution, initiating a mild saponification process that converts insoluble fatty acids into water-soluble salts (essentially turning the residue into soap).
Phase 2: Mechanical Agitation for Deep Cleaning
Because the narrow neck of an oil dispenser limits access, physical friction is necessary to dislodge the loosened film. Do not rely solely on soaking; use targeted mechanical methods to scrub the interior walls.
Using a Flexible Bottle Brush
A high-density nylon bottle brush with a flexible wire handle allows you to reach the bottom corners and the curved shoulders of the bottle. Ensure the bristles are stiff enough to scrape the glass without scratching it.
The Kinetic Scrubbing Method
If you do not have a suitable brush, you can create a gentle, localized abrasive slurry. Pour two tablespoons of coarse salt or dry, uncooked white rice into the empty bottle. Add a few drops of concentrated dish soap and a small amount of warm water (not enough to dissolve the salt completely). Seal the opening with your thumb or a solid stopper and shake vigorously. The physical impact of the salt grains or rice against the glass acts as hundreds of tiny scrapers, peeling the sticky film from the surface.
Cleaning the Metal Pour Spout and Silicone Gaskets
The dispenser spout, often made of stainless steel with a silicone or rubber gasket, requires delicate but thorough treatment. Oil accumulates in the narrow air-intake tube and the pouring channel, creating a breeding ground for bacteria and off-flavors.
First, disassemble the components by gently removing the silicone gasket from the metal pourer. Soak all parts in a solution of hot water, dish soap, and a teaspoon of citric acid. Citric acid helps dissolve any mineral scale that has bonded with the oil. Use a dedicated, ultra-thin straw brush (interdental brushes also work exceptionally well) to clean the inside of both the pouring spout and the tiny air-vent tube. Rinse thoroughly with hot water to ensure no soap or acid residue remains trapped inside the channels.
Crucial Step: Complete Dehydration Before Refilling
The most common mistake when cleaning oil containers is refilling them while microscopic water droplets are still present. Water promotes hydrolysis, a chemical reaction that breaks down triglycerides into free fatty acids, accelerating the rancidity process and ruining your fresh oil. To dry the bottle completely, rinse it finally with very hot water (which evaporates faster than cold water) and leave it upside down on a drying rack for at least 24 hours. Alternatively, you can accelerate drying by placing the washed glass bottle in an oven set to 60°C for 20 minutes, allowing the residual moisture to evaporate completely.