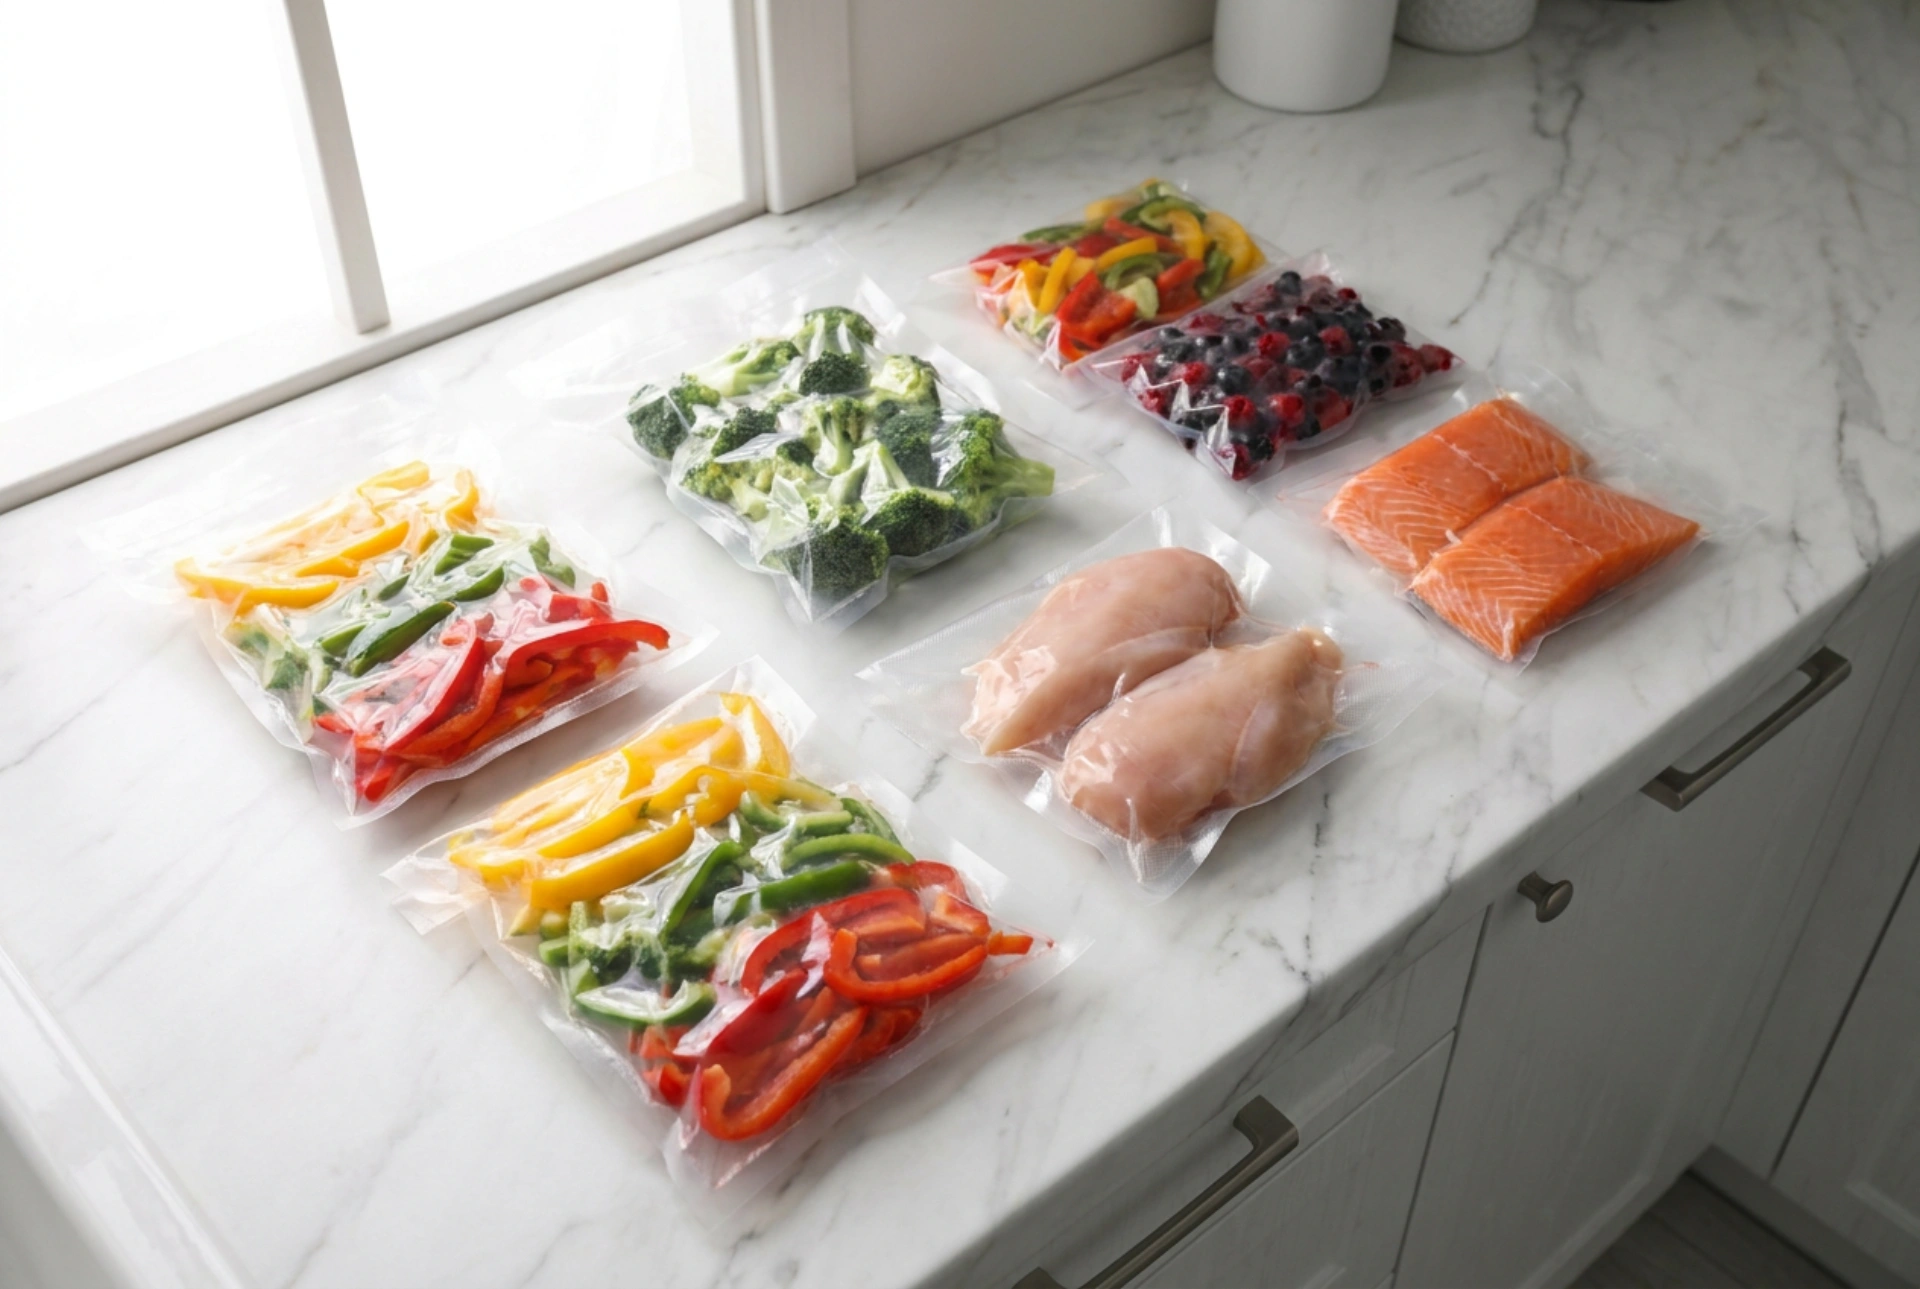


Vacuum sealing is one of the most effective methods for preserving food quality, extending shelf life, and maximising storage space in your pantry or freezer. By removing oxygen and creating an airtight barrier, you halt the primary processes that lead to food spoilage, freezer burn, and nutrient degradation.
The Science of Vacuum Preservation: Why Oxygen Removal Matters
At the core of vacuum sealing is the physical removal of atmospheric air from the packaging. Oxygen is a primary catalyst for food spoilage. It enables the growth of aerobic micro-organisms, such as moulds and certain bacteria, and drives chemical reactions like lipid oxidation, which causes fats to turn rancid. When you reduce the oxygen concentration inside the storage bag to below one percent, you effectively arrest these degradative pathways.
Furthermore, vacuum sealing prevents sublimation—the process where ice turns directly into water vapour without melting first. In a standard freezer environment, dry air circulates around exposed or loosely wrapped food, drawing out moisture and leaving dry, discoloured patches known as freezer burn. By removing the air pocket and sealing the food in a low-permeability polymer barrier, water molecules cannot escape, preserving the original texture, cellular structure, and moisture content of the food.
Essential Prep Work: Blanching, Pre-Freezing, and Protecting the Seal
Successful vacuum sealing requires proper food preparation to ensure safety, maintain texture, and prevent seal failure. Raw vegetables contain active enzymes that gradually degrade nutrients, colour, and texture, even at sub-zero temperatures. To stop this enzymatic activity, vegetables must be blanched—briefly submerged in boiling water, then rapidly cooled in an ice bath—and thoroughly dried before sealing.
- Managing Liquids and Wet Foods: Attempting to vacuum-seal fresh soups, stews, or wet meats directly can draw moisture into the vacuum chamber, ruining both the seal and the machine. To prevent this, pre-freeze liquids or moist items in shallow dishes or silicone moulds until solid before transferring them to vacuum bags.
- Protecting Against Punctures: Hard, sharp ingredients like dried beans, dehydrated pasta, or bone-in meats can easily puncture thin plastic film under the immense force of atmospheric pressure. Wrap these items in clean parchment paper or food-grade wax paper before placing them into the vacuum bag to act as a physical buffer.
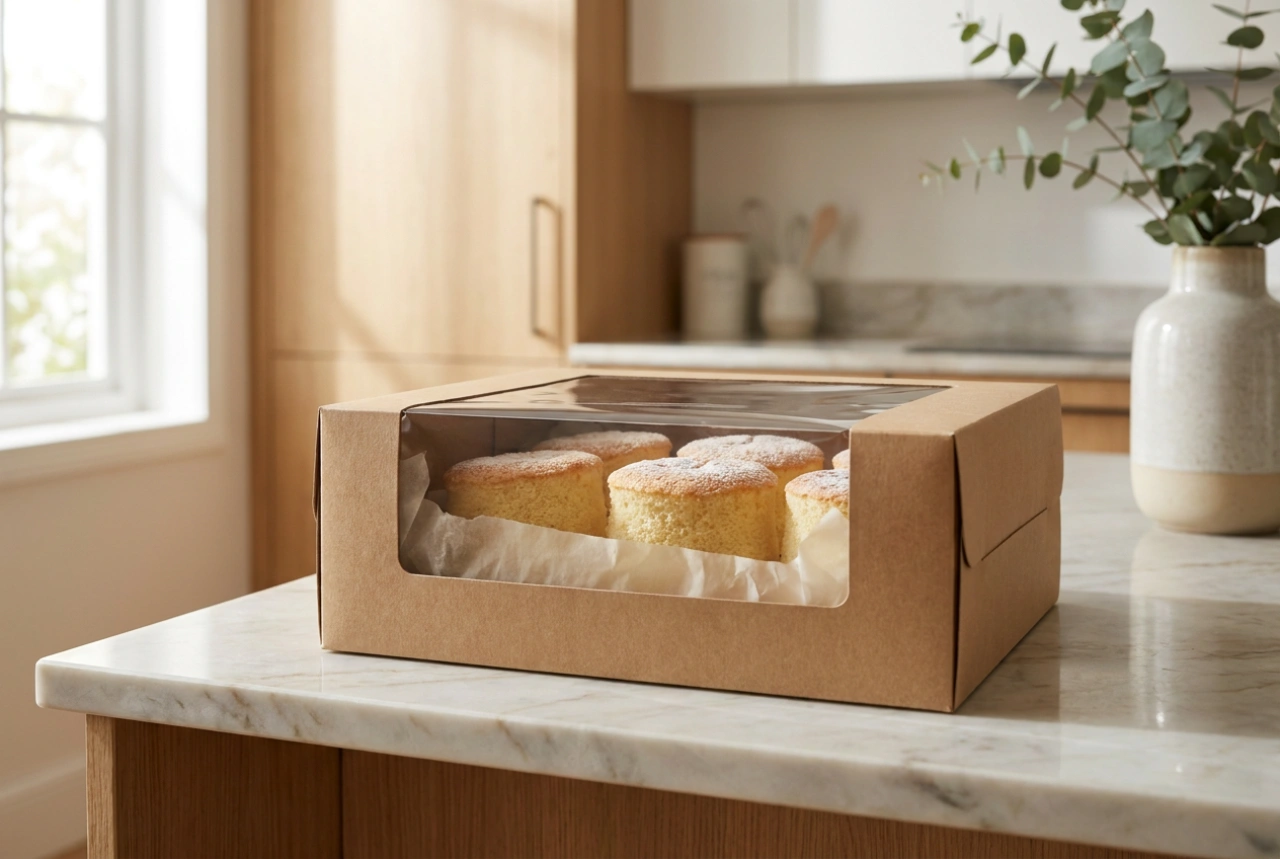
- Soft and Delicate Foods: Delicate items like berries or soft bakery goods will collapse under full vacuum pressure. Use the manual pulse function to control the air extraction, or pre-freeze them on a baking tray for two hours to harden their structure before sealing.
Mastering the Thermal Seal: Temperature and Cleanliness
The strength of a vacuum package depends entirely on the integrity of its thermal weld. Vacuum sealer bags are typically made of multi-layer polyethylene and nylon. The sealing element uses a high-resistance heating wire to melt these plastic layers together under pressure, forming a hermetic bond.
To ensure a perfect weld, the sealing area of the bag must remain completely dry, clean, and free of wrinkles. Any moisture, grease, or food particles trapped in the seal zone will vaporise during the heating phase, creating steam pockets that weaken the weld and cause slow air leaks over time. For maximum security when building long-term supplies, always wipe the inside neck of the bag dry with a clean paper towel before sealing, and consider applying a second, parallel heat seal slightly higher up the neck.
Strategic Stockpiling and Space Management
Vacuum sealing significantly reduces the physical volume of dry goods and proteins, allowing you to stack food efficiently. When freezing liquids or soft foods, lay the bags completely flat on a baking sheet inside the freezer. Once frozen solid, these flat bricks can be filed vertically in containers like books on a shelf, drastically increasing your storage capacity.
Always label every package with the contents and the exact sealing date using a permanent marker. Implement a strict First-In, First-Out rotation system to ensure older stock is consumed first. Store your sealed supplies in a cool, dark, and dry environment; light and temperature fluctuations can still degrade vacuum-packed food over time, even if the airtight seal remains fully intact.