

Creating a travel photo album that remains vibrant and structured for decades requires a careful blend of visual curation, physical organization, and material science.
Selecting the Right Materials: The Chemistry of Archival Preservation
When preservation is the goal, standard paper and general-purpose adhesives are the primary enemies of physical photographs. Traditional wood-pulp paper contains lignin, an organic polymer that slowly breaks down over time, releasing acidic compounds. This acidity causes paper to yellow and leads to the chemical degradation of photo emulsions, resulting in fading and discolouration. To prevent this, always select albums certified as acid-free and lignin-free.
The choice of protective sleeves is equally critical. Avoid any plastic components made from polyvinyl chloride (PVC). PVC contains volatile plasticisers that outgas over time, creating a sticky residue that chemically bonds with the photo emulsion, permanently ruining the print. Instead, utilise chemically inert plastics such as polypropylene, polyester (Mylar), or polyethylene. These materials do not degrade or react with photographic dyes, ensuring your travel memories remain chemically stable.
Visual Hierarchy and Narrative Sequencing
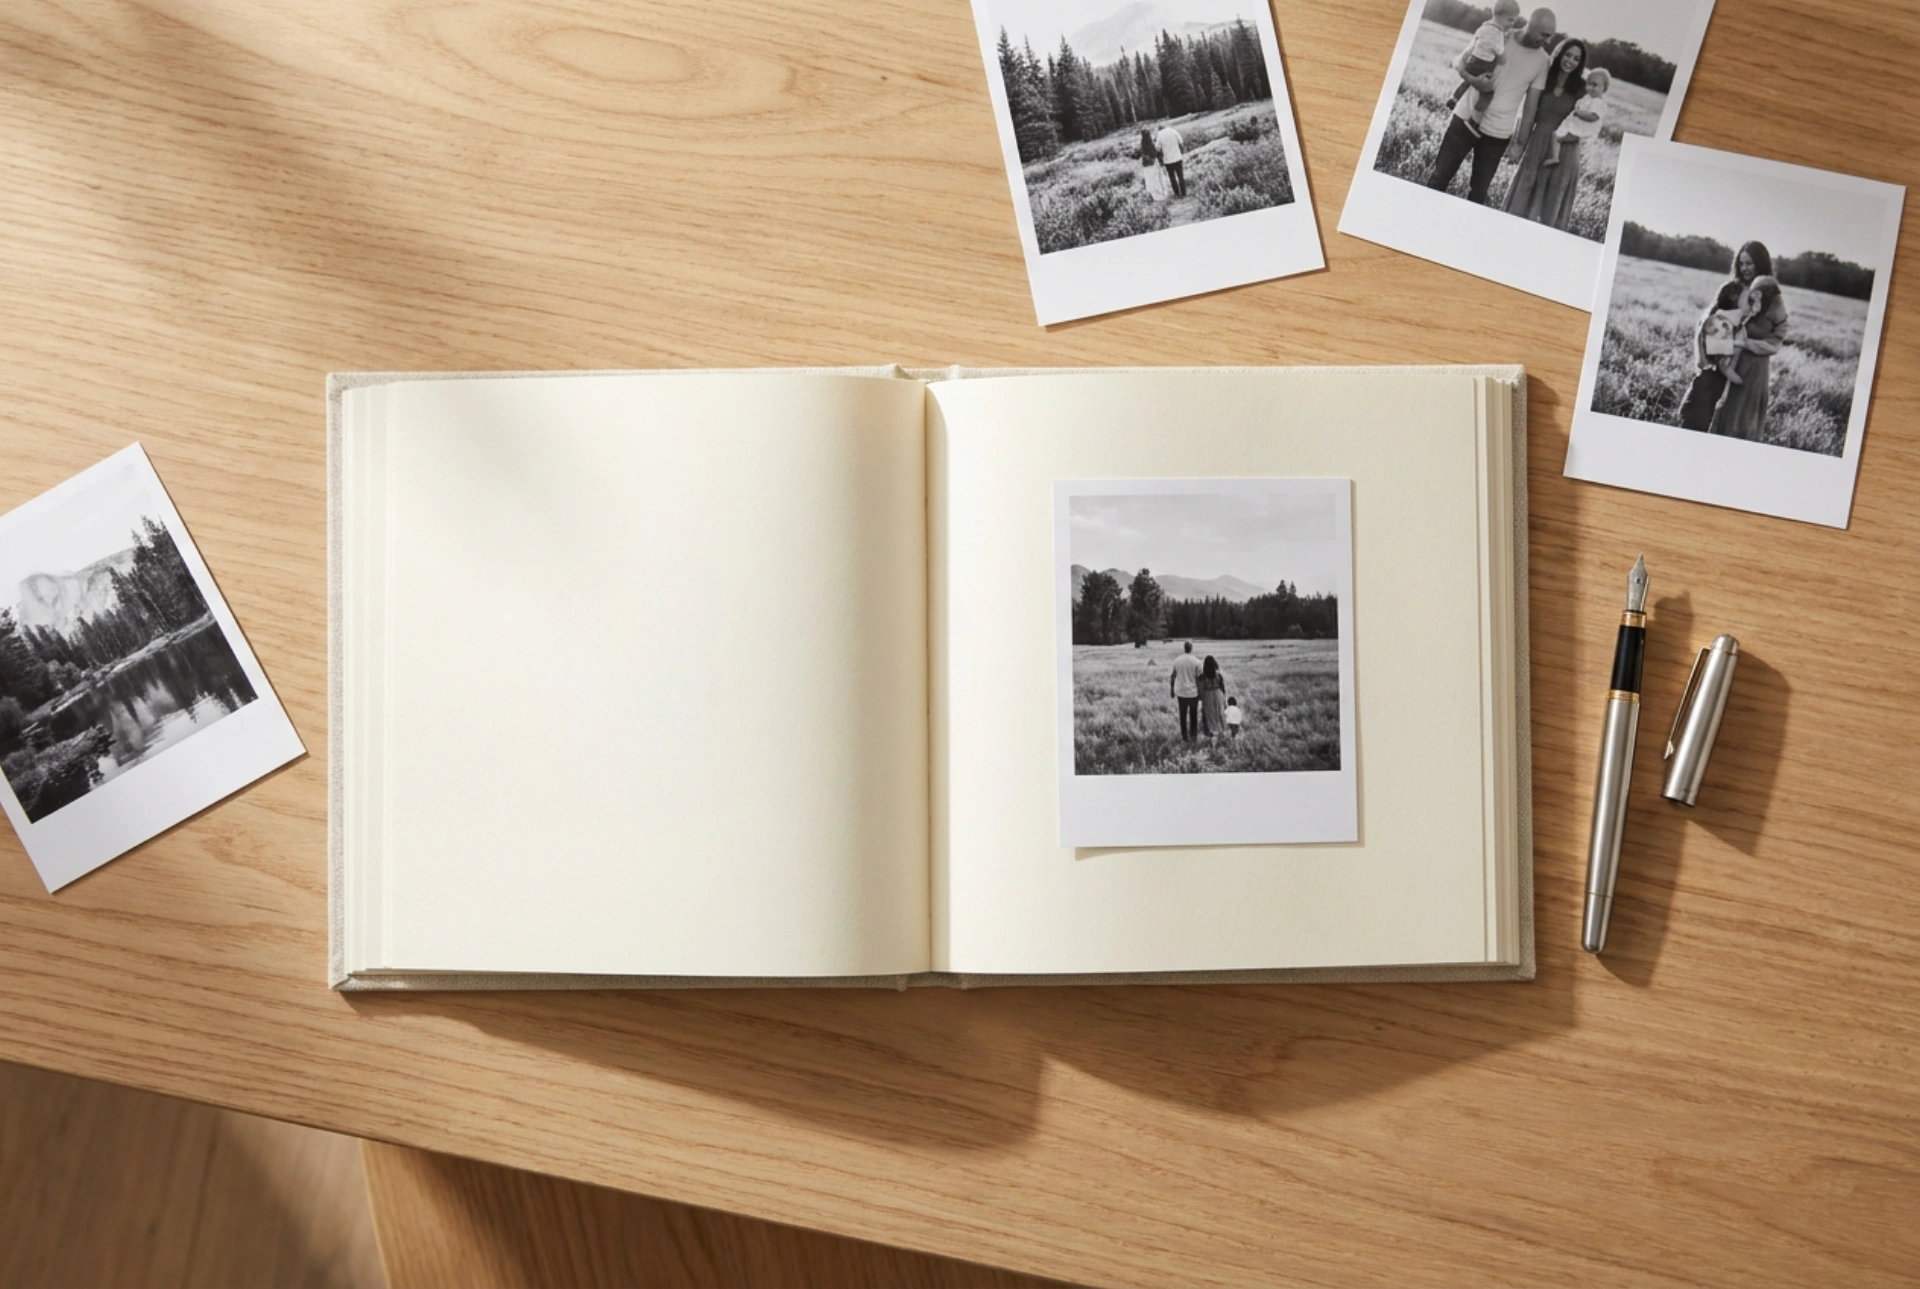
A clear album is not merely a chronological dump of images; it is a curated visual narrative. To establish a structured flow, apply cinematic sequencing principles to your page layouts:
- The Establishing Shot: Open each travel destination or chapter with a large, high-impact photo that sets the location, mood, or scale. This is typically a wide-angle landscape or architectural shot.
- The Narrative Core: Fill the inner pages with medium shots that depict activities, people, and interactions. Limit these to two to four images per page to avoid visual clutter and maintain breathing room.
- The Detail Shot: Close-up images of textures, local food, or signs add depth and context, serving as excellent visual punctuation marks between larger spreads.
Maintain a consistent grid system. Leaving consistent white space (or negative space) around your photos acts as a visual buffer, reducing eye fatigue and allowing the viewer's brain to process each image individually.
Mounting Techniques: Physics of Adhesion and Paper Tension
Securing photographs to paper requires an understanding of mechanical stress and moisture expansion. Photos and paper backing expand and contract at different rates when exposed to fluctuations in relative humidity. If you glue a photo down entirely with liquid craft glue, the moisture in the adhesive will swell the paper fibres, leading to warping, cockling, and eventual peeling as the materials dry.
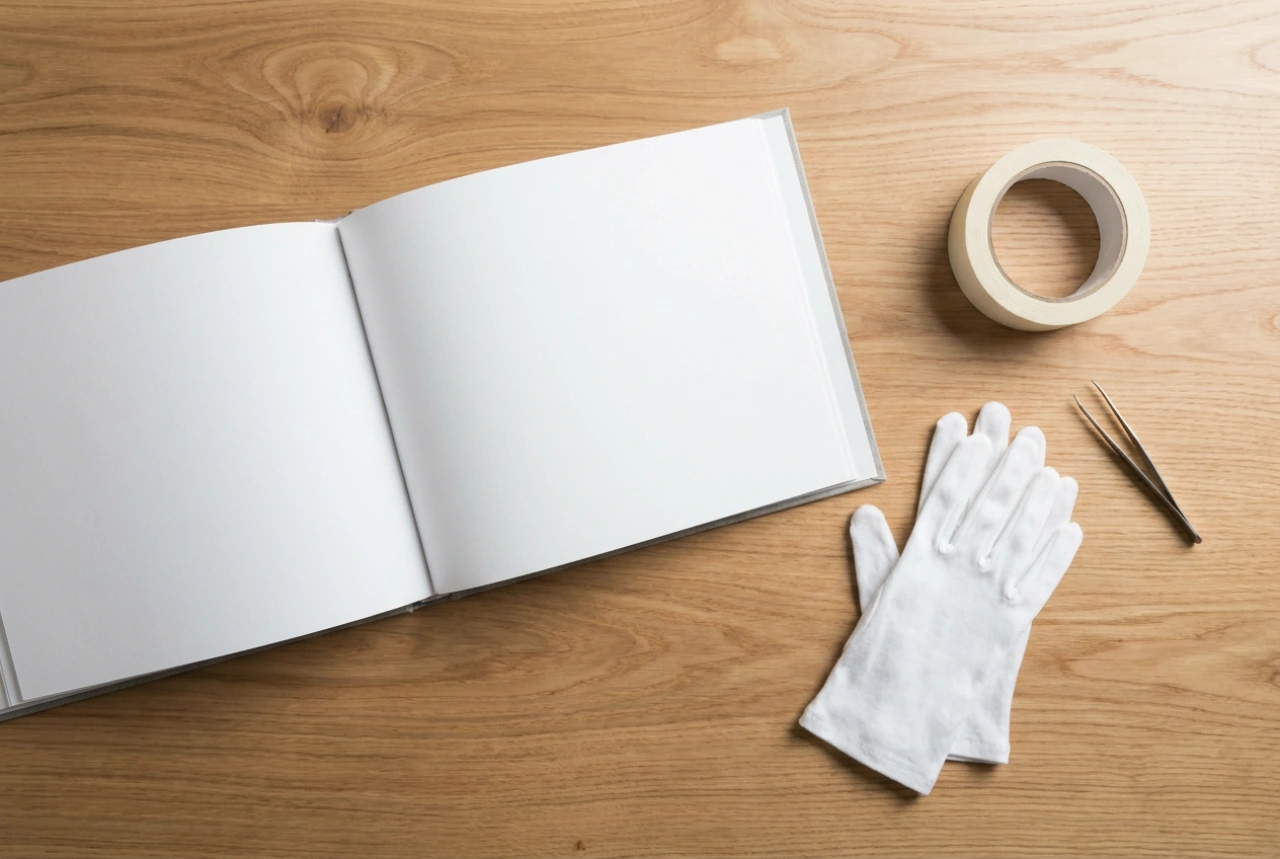
For secure, reversible mounting, use archival photo corners made of polyester or acid-free paper. Photo corners hold the print in place mechanically without any adhesive touching the photograph itself. This allows the photo to expand and contract freely within the corners, preventing buckling. If you prefer a flush mount, use dry, double-sided archival pressure-sensitive tape. Apply small strips only to the corners of the back of the print, keeping the centre free to accommodate minor structural shifts caused by environmental changes.
Integrating Ephemera Without Risking Contamination
Including transit tickets, maps, or local currency adds texture to a travel album, but these everyday papers are highly acidic and chemically unstable. Placing them in direct contact with your photographs will result in acid migration—the transfer of damaging acids from the ephemera directly onto the photo print.
To safely include these mementos, isolate them using physical barriers. Slip tickets and paper maps into separate polypropylene pockets, or mount them on a dedicated page separated from your photos by sheets of glassine paper. Glassine is a thin, semi-translucent paper that is air and water resistant, offering an ideal chemical shield between pages.
Optimal Storage Conditions
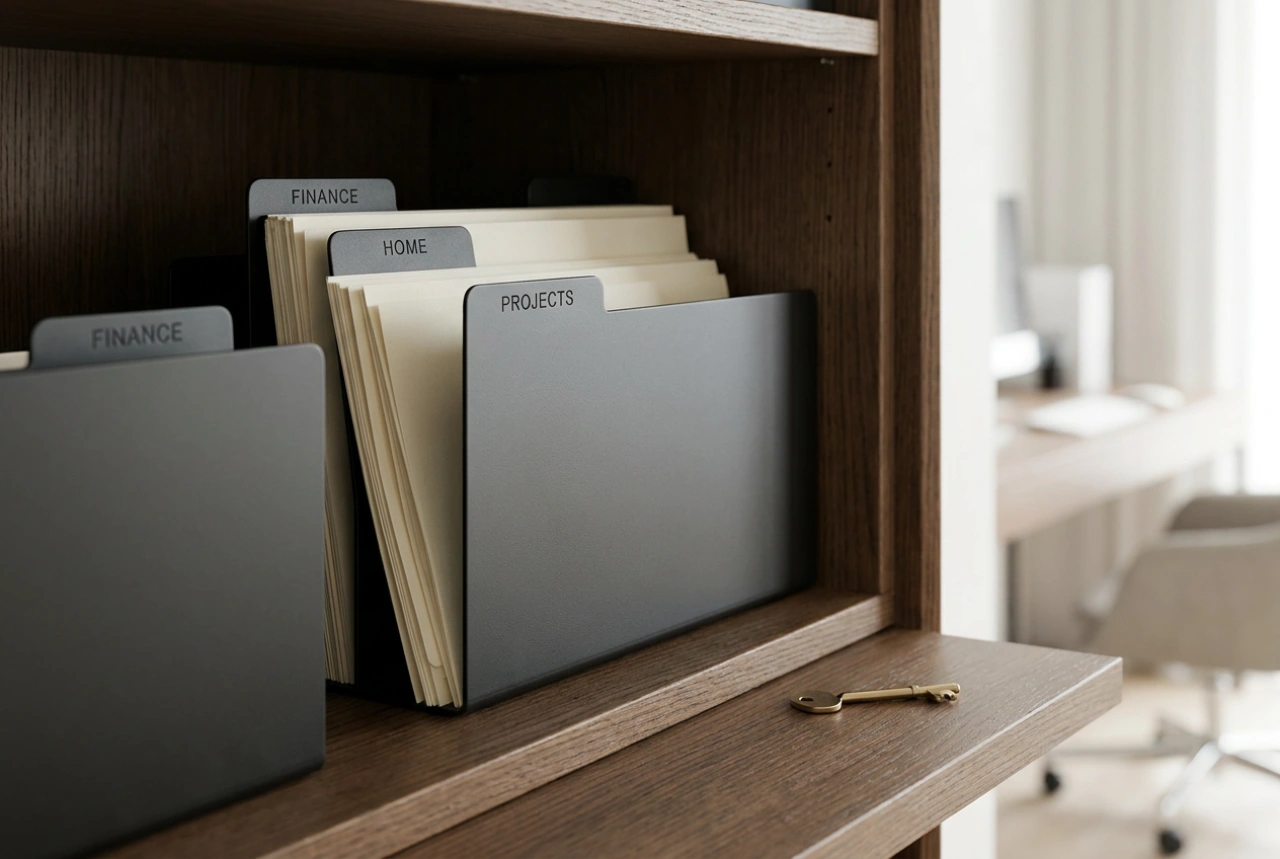
Even the most carefully constructed album will degrade if stored improperly. High temperatures accelerate chemical reactions, including the breakdown of dyes and paper fibres. Keep your completed albums in a climate-controlled room with a stable relative humidity of 30% to 50%. Avoid storing albums in damp basements, uninsulated attics, or in direct sunlight, as ultraviolet radiation and fluctuating moisture levels will rapidly degrade both the structural adhesives and the photographic prints.