

Preserving family history through photographic records requires more than just gluing prints into a binder; it demands a systematic approach to material science and archival labeling. By selecting chemically stable components and employing precise layout techniques, you can transform a loose collection of photos into a durable, multi-generational chronicle.
The Chemistry of Preservation: Selecting Archival Materials
Photographic prints are delicate structures composed of light-sensitive emulsions layered onto paper bases. Over time, these materials are highly susceptible to chemical degradation. To prevent yellowing, fading, and brittleness, every component of your chronicle—from the album pages to the adhesives—must meet archival standards. Standard paper contains lignin, a natural polymer that breaks down over time into acidic compounds. These acids migrate into the photographs, destroying the silver halide or dye layers.
When selecting a photo album, ensure the paper is certified as acid-free and lignin-free, preferably with a pH level between 7.5 and 9.5 (buffered with calcium carbonate to neutralize environmental acids). Avoid albums with plastic sleeves made of polyvinyl chloride (PVC). PVC releases hydrochloric acid gas as it degrades, which chemically attacks photo emulsions. Instead, use sleeves or mounting corners made of chemically inert plastics such as polyester, polypropylene, or polyethylene.
When choosing adhesives, avoid standard liquid glues or rubber cements. These adhesives contain volatile organic compounds (VOCs) and sulfur, which cause rapid silver mirroring—a metallic sheen that appears on black-and-white silver halide prints as silver ions migrate to the surface and oxidize. Instead, rely on physical mounting methods like photo corners. This mechanical attachment allows the paper and the photograph to expand and contract independently with seasonal fluctuations in humidity, preventing warping and buckling of the prints.
Ink Science: Choosing the Right Writing Instruments
The ink used to write your captions must endure the same environmental conditions as the paper. Standard ballpoint pens are unsuitable for archiving; their oil-based solvents easily migrate through paper fibers, creating greasy halos, while their high-pressure tips can physically emboss the delicate emulsion of photographs stored on adjacent pages. Water-based dye inks should also be avoided as they fade rapidly under UV light and run when exposed to moisture.
The optimal choice is a pigment-based technical pen or a lightfast archival gel pen. Unlike dyes, which dissolve in liquid, pigment inks utilize microscopic, insoluble mineral particles. These particles bind to the surface fibers of the paper, offering exceptional resistance to water, chemical solvents, and photo-oxidation from light exposure. Ensure the ink is labeled as acid-free and pH-neutral to prevent chemical degradation of the paper substrate over decades of storage.
Additionally, avoid writing on the reverse side of the photographs. If marking the backs of prints is absolutely unavoidable—such as when sorting loose photos before mounting—use a soft 6B graphite pencil, applying minimal pressure near the edges. Never use felt-tip markers or ballpoint pens on the back of a print, as the solvents can penetrate the paper backing and permanently stain the emulsion layer on the front.
Structuring the Metadata: Chronology and Context
A family chronicle is only as valuable as the information it preserves. To make the album a highly functional historical record, implement a strict metadata structure for every photograph. Avoid ambiguous descriptions or inside jokes that future generations will not comprehend. Instead, apply a consistent three-tier labeling system for each entry:
- Temporal data: Record the date in a standardized format, such as YYYY-MM-DD, to prevent confusion between regional calendar systems.
- Spatial data: List the specific location, moving from the specific venue to the city and country (e.g., St. Mary’s Church, Bristol, UK).
- Subject identification: Identify every individual in the photograph from left to right, using full first and last names (including maiden names where applicable), rather than informal nicknames.
To maintain visual clarity, keep the written descriptions physically separated from the image borders. A minimum buffer zone of five millimeters between the edge of the photographic print and the beginning of the text block prevents visual crowding and reduces the risk of accidental ink transfer during the closing of the album. To prevent physical friction between facing pages, insert a micro-thin sheet of acid-free glassine paper between each album page. Glassine is a translucent, glazed paper that is air and water resistant, acting as a protective barrier against mechanical wear.
The Order of Operations: Assembly and Layout
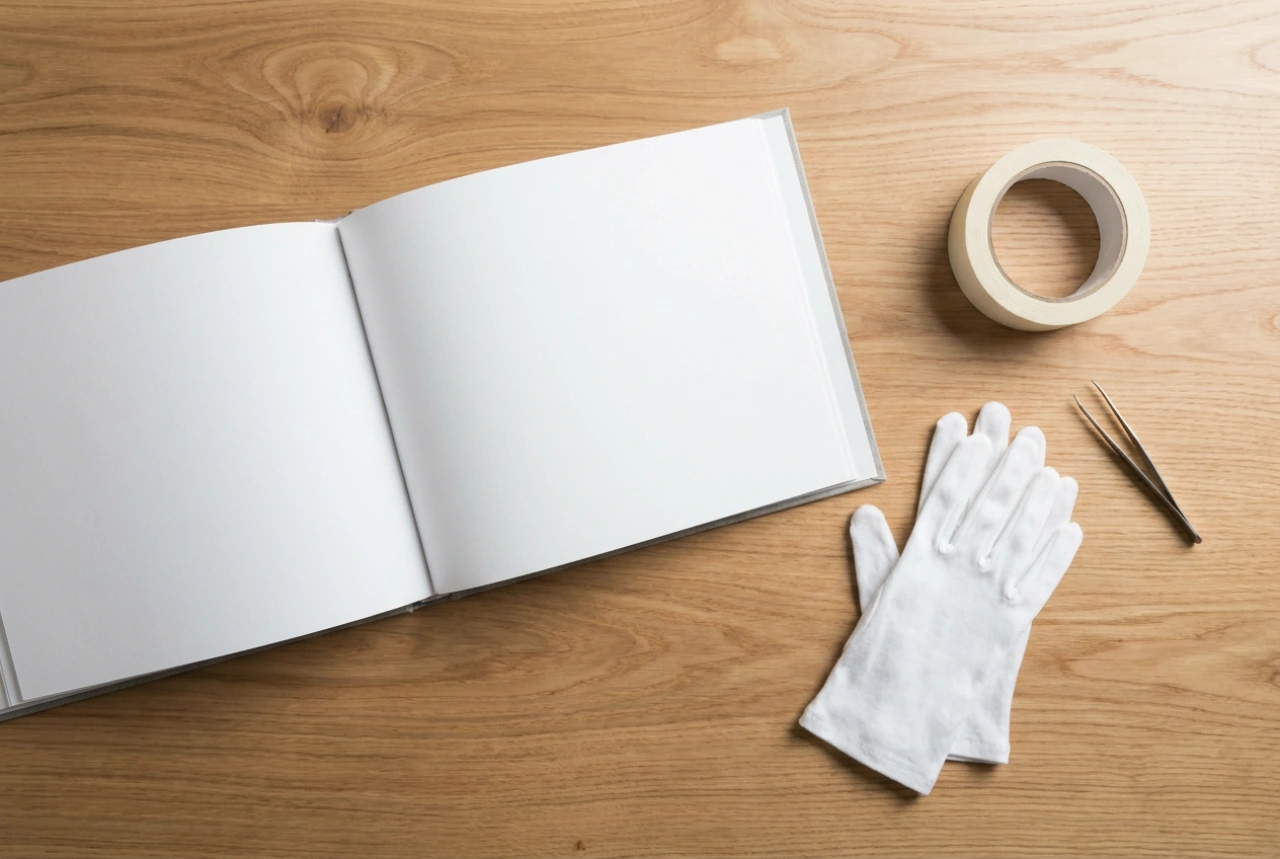
Executing the assembly of your photo chronicle in the correct physical order prevents accidental damage to both the physical prints and the written text. Always work on a clean, dry, non-porous surface, and wear lint-free cotton gloves to prevent the transfer of corrosive skin oils and moisture to the photographic emulsions.
Crucially, you must write all captions on the album page before mounting the photographs. Writing near a mounted photo introduces the risk of the pen slipping and scratching the emulsion, or the pressure of the pen leaving permanent indentations on the photograph itself. Lay out the page composition lightly with a soft graphite pencil, write the permanent text using your archival pigment pen, and allow the ink to cure completely for at least fifteen minutes. Once dry, gently erase any visible pencil guidelines and mount the photos using self-adhesive, acid-free photo corners.