

Transforming a chaotic collection of travel prints into a structured photo album requires a deliberate blend of spatial sequencing and emotional pacing. Rather than simply archiving images chronologically, a well-curated album recreates both the physical route and the atmospheric transitions of the journey, turning static pages into a dynamic narrative.
Mapping the Route: Establishing Spatial Chronology
Human spatial memory is deeply tied to physical transitions and landmarks. To guide a viewer smoothly through your travel route, begin each section with an "establishing shot"—a wide-angle landscape, a local transit hub, or a distinctive architectural feature that immediately grounds the location. These serve as visual anchors, signalling a shift in geography. To maintain a logical flow, integrate transitional elements like macro shots of train tickets, route maps, or window-view horizons between major destinations. This spatial pacing prevents cognitive jarring, allowing the brain to transition naturally from one city or landscape to the next, mimicking the actual physical movement of your journey.
Visual Pacing and the Emotional Arc
A monotonous sequence of high-contrast, packed images causes visual fatigue. To maintain engagement, design your pages around an emotional arc, balancing high-energy scenes with quiet, reflective moments. Group your prints by colour temperature and atmospheric density rather than strict time stamps. For example, vibrant afternoon market scenes should not be placed directly adjacent to a serene, misty morning landscape unless you are intentionally creating a sharp contrast. Use scale to dictate emotion: dedicate a single, large print to a profound moment of awe (such as a mountain summit) on one side of a double-page spread, and use the facing page for smaller, detail-oriented shots—textured stone, local cuisine, or street signage. This contrast between wide and tight shots mimics human eye movement, shifting focus from the grand environment to intimate observations.
The Materials Science of Archiving
The physical longevity of your album depends on the chemistry of its materials. Standard papers and cheap adhesives contain wood pulp and acids that yellow and degrade photographic paper over time. Always select acid-free, lignin-free cotton rag or alpha-cellulose papers for your album pages. When choosing adhesives, avoid standard liquid glues or acidic double-sided tapes, which will leach through the paper backing and chemically react with the photographic emulsion, causing discolouration and peeling. Instead, use archival-grade polyvinyl acetate (PVA) adhesive, photo-safe mounting corners, or acid-free pressure-sensitive tape. Additionally, wear lint-free cotton gloves when handling raw prints. Natural sebum (skin oils) and sweat contain salts and acids that permanently etch into the delicate silver-halide or pigment layers of your photographs, initiating slow, irreversible degradation.
Layout Grid Systems and the Value of Whitespace
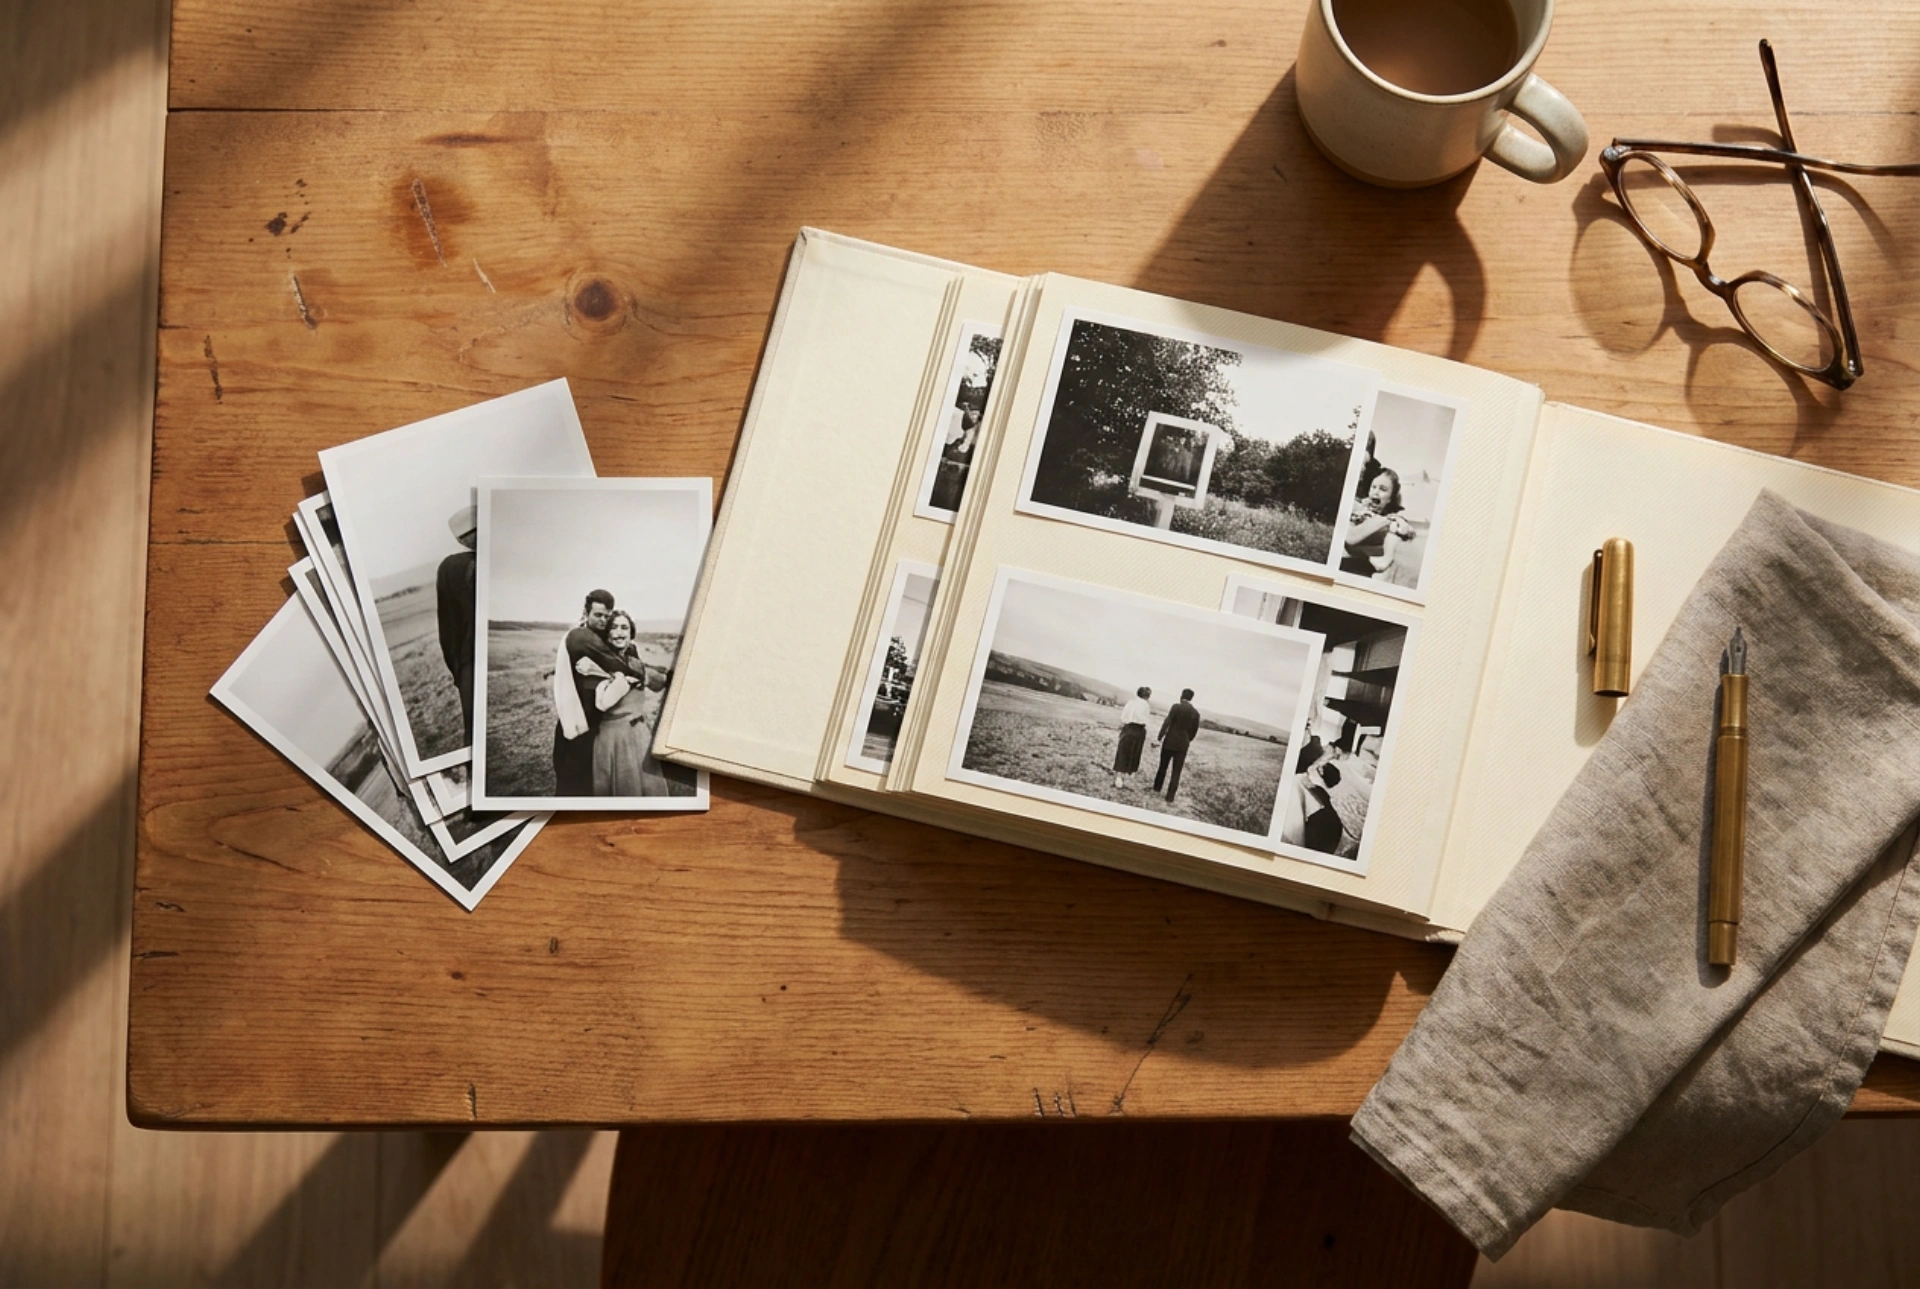
Effective album design relies on geometric balance and the deliberate use of negative space (whitespace). Do not feel compelled to fill every square centimetre of a page; whitespace acts as a visual buffer, allowing the eye to rest and process the emotional weight of each photograph. Apply a basic grid system to keep your layouts balanced. Keep a consistent margin around the edges of the pages and a uniform gap (usually 5 to 10 millimetres) between adjacent photos. When constructing a double-page spread, treat the two pages as a single unit. Avoid placing critical details or horizons directly across the central gutter, where the fold of the album will distort and obscure the image. Instead, position your primary focal point on the outer third of either page to guide the viewer’s eye seamlessly across the layout.
Step-by-Step Album Layout Strategy
- Phase 1: Culling and Categorisation. Group prints by geographic region first, then separate them into thematic colour palettes.
- Phase 2: Establish the Anchors. Place one high-impact, wide-angle establishing shot at the start of each location.
- Phase 3: Balance Scale. Alternate between large, expansive shots and clusters of detailed macro images to control visual energy.
- Phase 4: Secure with Chemistry in Mind. Mount the final sequence using acid-free corners to protect prints from permanent chemical damage.