

Efficiently organizing household containers with roll-fed self-adhesive labels requires more than just aesthetic placement; it relies on understanding material science and adhesive chemistry. Selecting the correct combination of label face stock, adhesive type, and printing method ensures labels remain legible and firmly attached even in high-moisture kitchen environments.
The Anatomy of Roll Labels: Why Format Matters
Self-adhesive labels on a roll offer significant advantages over sheet-fed alternatives due to their physical structure and manufacturing process. A roll label consists of three primary components: the face stock (the printable surface), the adhesive, and the release liner. The continuous nature of the release liner, typically coated with a micro-thin layer of silicone, allows for rapid, peel-and-stick dispensing without the risk of corner curling often found in sheet labels.
When labels are wound on a core, they maintain a slight structural tension that, when peeled, helps the backing paper release smoothly. This format minimizes exposure of the adhesive layer to airborne dust and oils from fingers prior to application, preserving the integrity of the chemical bond.
Chemical Composition: Acrylic vs. Rubber Adhesives
The success of container labeling depends heavily on the chemical makeup of the adhesive. Pressure-sensitive adhesives (PSAs) used on roll labels generally fall into two categories: acrylic-based and synthetic rubber-based.
- Acrylic Adhesives: Composed of synthetic acrylic polymers, these adhesives offer excellent resistance to ultraviolet (UV) light, temperature fluctuations, and chemical exposure. They undergo a slow curing process, forming stronger cross-linked bonds over 24 hours, making them ideal for long-term pantry storage on glass and high-density plastics.
- Rubber-Based Adhesives: These provide high initial "tack" (immediate stickiness) and are highly flexible. However, they are susceptible to oxidation, UV degradation, and loss of adhesion when exposed to kitchen oils or elevated temperatures near cooking surfaces.
For kitchen and pantry organization, acrylic-based adhesives on polypropylene (PP) or polyethylene terephthalate (PET) face stock are superior. Unlike paper, synthetic face stocks do not absorb grease or water, preventing the breakdown of both the label material and the underlying adhesive matrix.
Surface Energy and the Physics of Adhesion
Whether a label stays flat or peels at the edges is governed by the surface energy of the container material. High surface energy materials, such as glass and glazed ceramics, allow the liquid-like adhesive to "wet out" or spread evenly across the surface, maximizing the contact area and molecular attraction (such as Van der Waals forces).
In contrast, many utility plastics, such as polypropylene storage bins, have low surface energy. Adhesives tend to bead up on these surfaces rather than spread. To overcome this, pressure-sensitive labels require firm, uniform physical pressure during application to force the adhesive into the microscopic valleys of the plastic surface, establishing a mechanical and chemical lock.
Practical Protocol for Long-Lasting Label Application
To ensure maximum longevity and prevent premature peeling, follow this systematic preparation and application process:
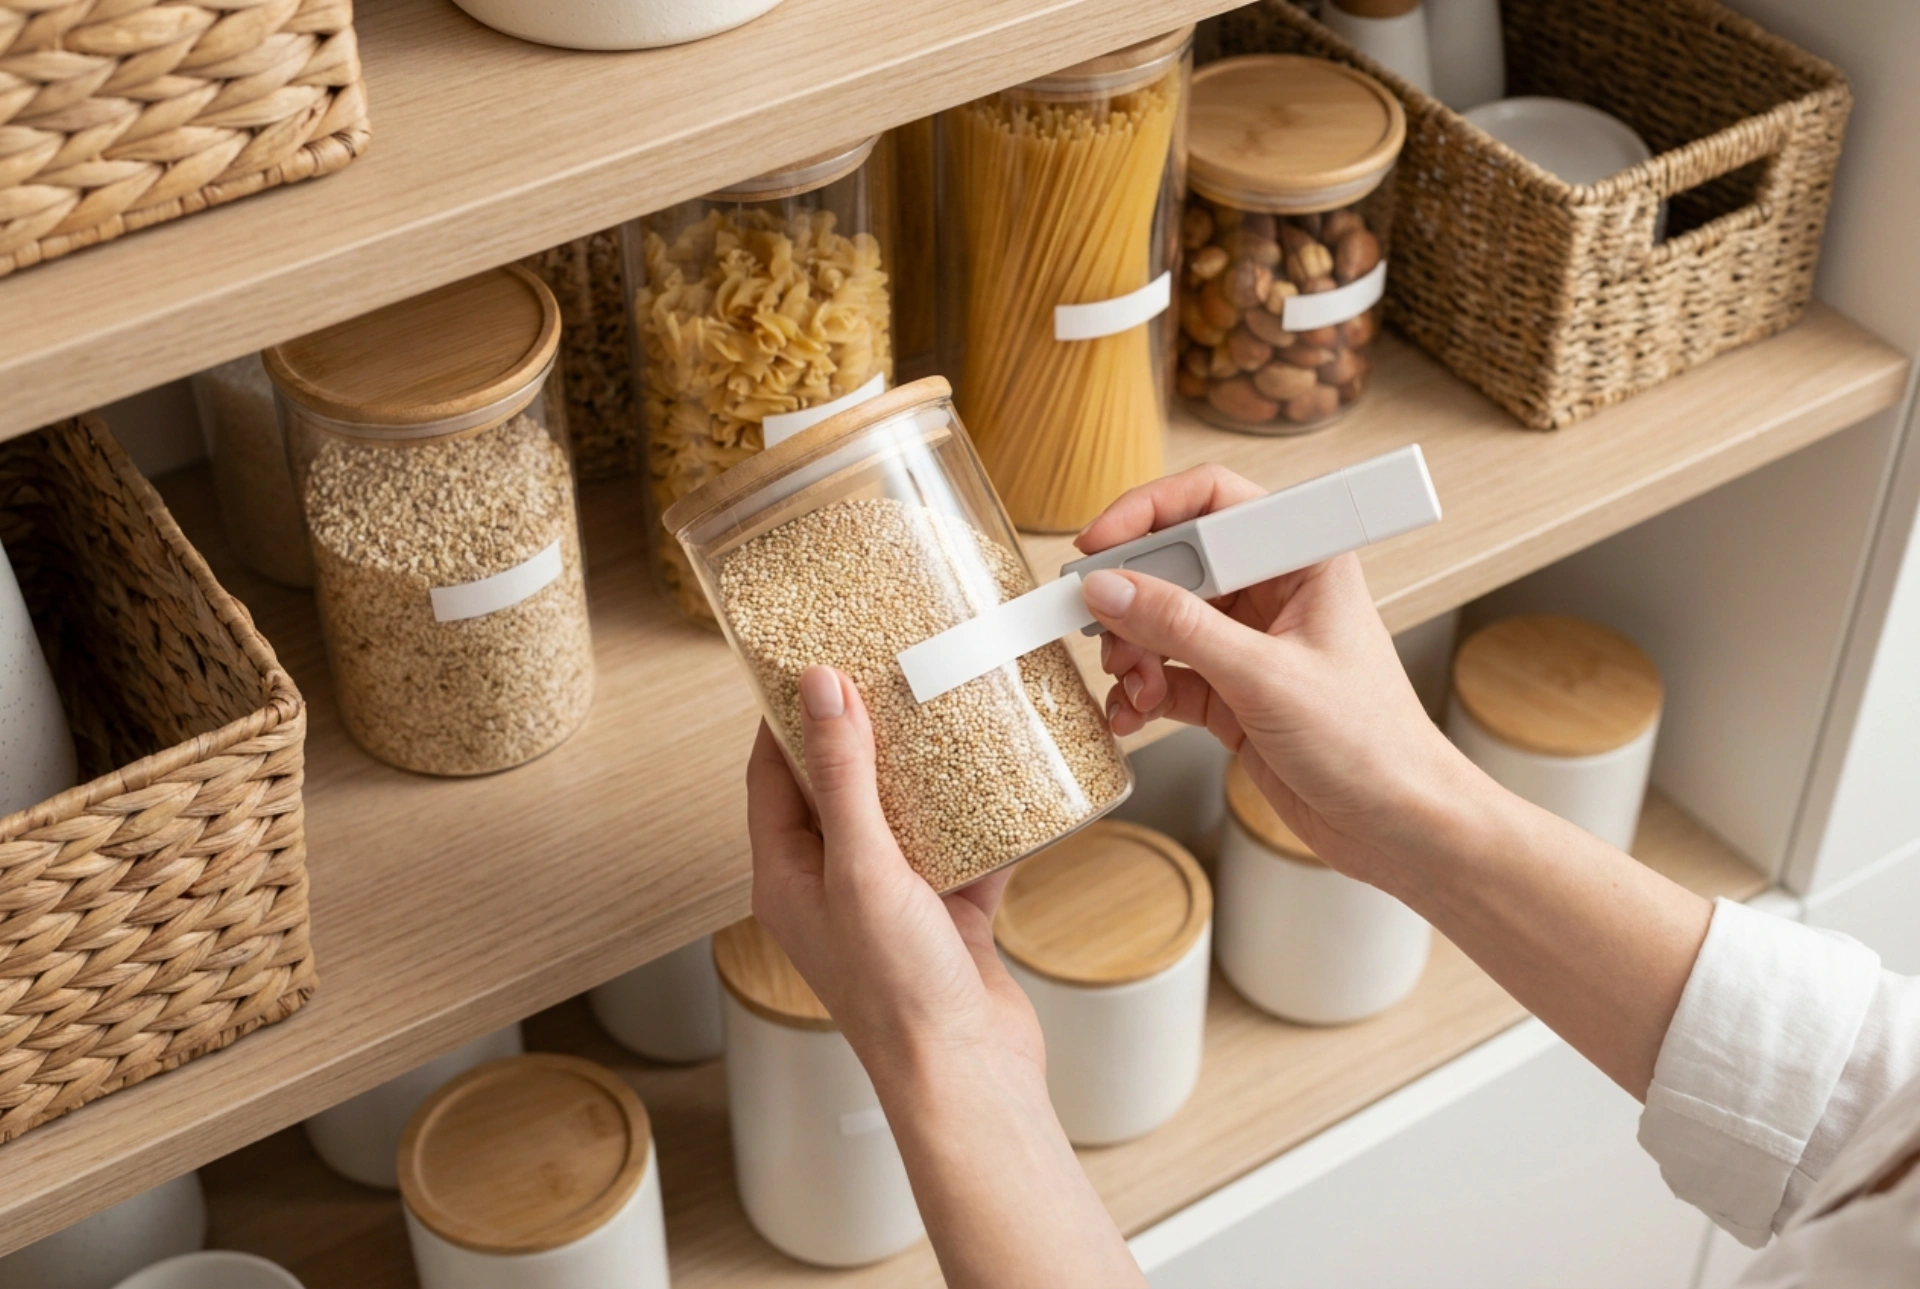
- Decontaminate the Surface: Clean the container surface thoroughly using isopropyl alcohol (90% or higher). Avoid standard glass cleaners or dish soaps, as they often leave behind surfactant residues or synthetic silicones that act as release agents, severely reducing adhesive performance.
- Temperature Optimization: Apply labels at room temperature (between 15°C and 23°C). Extremely cold glass or plastic constricts, preventing the adhesive polymer chains from flowing and bonding effectively.
- Center-Out Application: Align the label and press the center down first. Using a smooth plastic squeegee or a firm thumb, sweep outward toward the edges. This expels trapped air bubbles, which can expand with temperature changes and cause the label to lift.
- The Curing Phase: Allow the labeled container to sit at room temperature for at least 24 hours before exposing it to moisture, refrigeration, or heavy handling. This allows the acrylic adhesive to complete its wetting-out phase and reach its maximum bonding strength.
Removing Old Labels: Dissolving the Bond
When containers need to be repurposed, removing old labels cleanly requires breaking down the polymer chains of the adhesive. Acrylic residues are highly responsive to organic solvents. Applying a small amount of isopropyl alcohol or a food-grade terpene-based solvent (such as citrus oil) breaks down the cohesive forces of the acrylic matrix, allowing the residue to be wiped away cleanly without abrading the container surface.