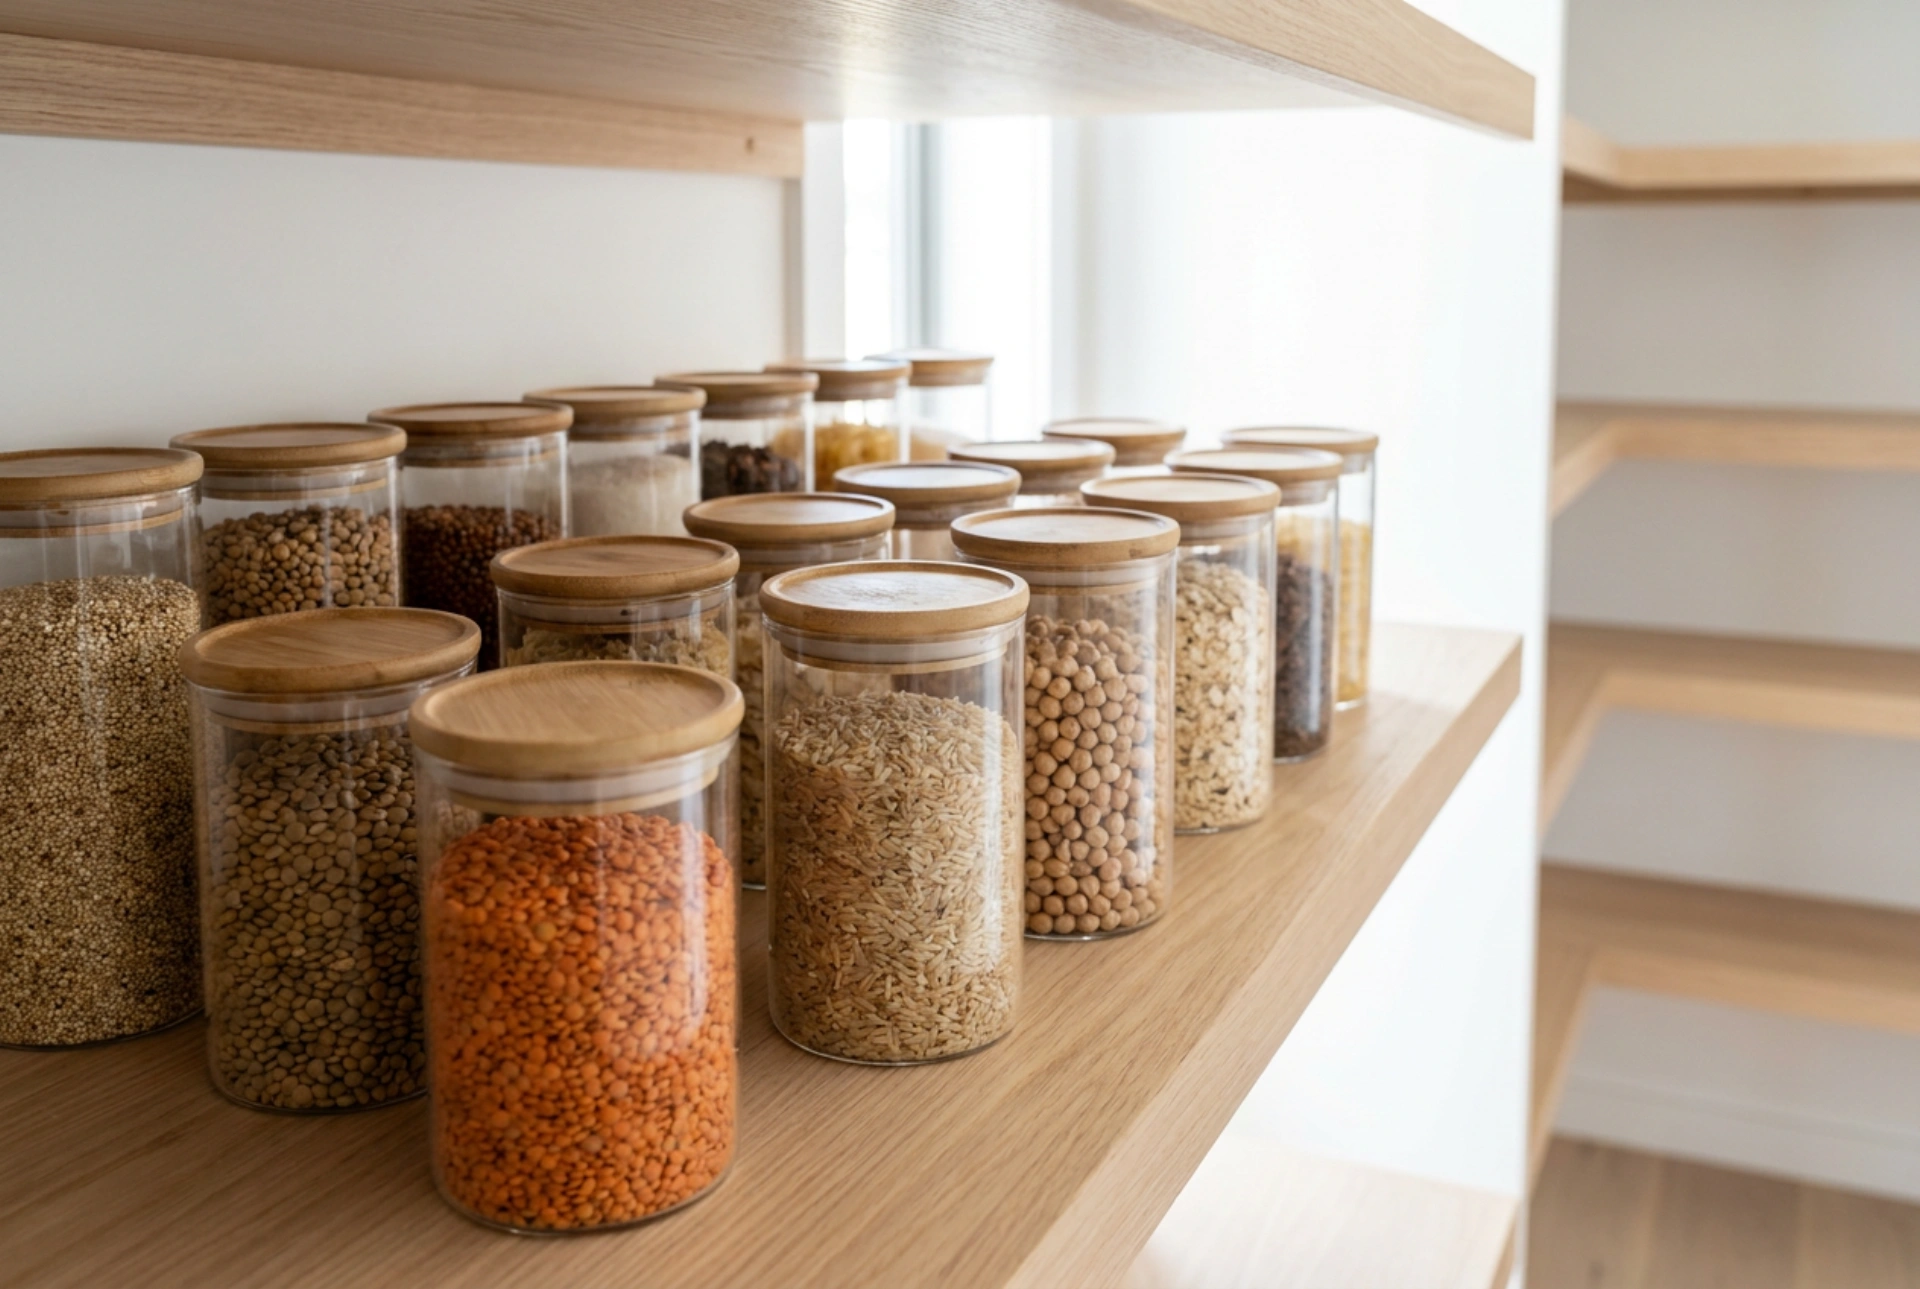


Storage jars with glass lids and wire bail clamps offer an exceptionally durable, plastic-free solution for preserving dry goods, provided you understand the physical principles of airtight sealing and moisture control. Using these classic vessels correctly prevents pantry pests, stops oxidation, and maintains the crisp texture of grains, legumes, and spices over long periods.
The Mechanics of the Hermetic Seal: Gaskets and Tension
The effectiveness of a glass-lidded jar relies entirely on a mechanical seal created by a flexible gasket compressed between two flat glass surfaces. Unlike screw-top plastic lids that can warp or strip over time, a wire bail system applies constant, even downward pressure across the perimeter of the lid. This pressure compresses the gasket, filling microscopic imperfections in the glass rim to block air exchange.
When selecting gaskets, you generally choose between natural rubber and silicone. Natural rubber is highly elastic and conforms perfectly to the glass, but it is susceptible to oxidation, UV degradation, and drying out over time, which causes it to crack and lose its seal. Silicone gaskets, while slightly less pliable, offer superior resistance to thermal changes, chemical degradation, and ozone. For dry goods, silicone is often preferred for its longevity, while rubber provides a slightly tighter immediate seal for highly hygroscopic ingredients like sugar or powdered spices.
Managing Internal Humidity and Preventing Condensation
Dry foods are highly hygroscopic, meaning they readily absorb water vapor from the surrounding air. When storing items like oats, flour, or dried beans, the relative humidity inside the jar must remain below 60% to prevent the growth of mold spores and bacteria. If even a tiny amount of moisture is sealed inside, temperature fluctuations in your pantry will cause the air to reach its dew point, leading to condensation on the inner glass walls.
To prevent this, you must thoroughly prep your jars before filling them. Wash them with warm water and a neutral detergent, then dry them completely. Air drying is rarely sufficient because moisture can linger in the crevices of the wire bail or the underside of the lid. Instead, place the washed, disassembled glass jars and lids in an oven preheated to 70°C (158°F) for 20 to 30 minutes. This thermal treatment evaporates all residual micro-moisture. Let the glass cool completely to room temperature before filling; packing warm jars creates a thermal differential that traps humidity inside once sealed.
Protection Against Photodegradation
While clear glass allows you to quickly assess your pantry inventory, it provides no protection against light. Ultraviolet (UV) and visible light waves trigger chemical reactions in stored foods—a process known as photodegradation. Light accelerates the oxidation of lipids in nuts and seeds, destroys essential vitamins (such as riboflavin and vitamin A), and bleaches the natural pigments in herbs and spices, stripping them of flavor.
To balance the aesthetic appeal of clear glass with scientific preservation needs, store your jars inside a dark pantry cabinet or drawer rather than on open shelves exposed to direct sunlight. If open shelving is your only option, restrict these jars to low-sensitivity items like white rice, dry pasta, and coarse salt, while keeping sensitive items like whole grains, nuts, and dried herbs in a dark space.
Maintaining Seal Integrity Over Time
To ensure your dry storage remains secure, you must periodically test and maintain the physical components of your jars. A simple way to test the seal is the inversion test (performed over a soft surface): fill the jar with water, seal it, and invert it. Any dripping indicates a compromised gasket or misaligned wire bail. Alternatively, listen for a distinct release of pressure when opening a properly sealed jar that has experienced minor temperature changes.
To extend the life of natural rubber gaskets, store them flat when not in use and wash them by hand. If a rubber gasket begins to stiffen, you can sometimes restore its elasticity temporarily by boiling it in water for three minutes to relax the polymer chains, though eventual replacement with food-grade silicone is the best long-term solution.