

Organising ceramic kitchen jars requires balancing accessibility with physical protection to prevent chips, cracks, and structural damage to your cabinetry. Managing these heavy, fragile containers efficiently relies on understanding friction, weight distribution, and impact reduction.
The Physics of Ceramic Storage: Weight and Friction
Ceramics are made from dense, fired clay coated with protective glazes. While highly durable against chemical erosion and moisture, they possess low tensile strength and high mass. This combination makes them highly susceptible to impact damage. When stored on smooth, unlined wooden or laminate shelves, the low coefficient of friction allows jars to slide during cabinet opening or closing. This kinetic movement can lead to collisions. To mitigate this, installing high-friction non-slip liners made of ethylene-vinyl acetate (EVA) or silicone is essential. These materials absorb kinetic energy and increase grip, securing the jars in place.
Strategic Placement: Ergonomics and Gravity
The height at which you store ceramic vessels directly impacts safety and physical strain. Because of their weight, placing heavy ceramic canisters above shoulder height increases the risk of drops and muscle fatigue. Keeping them in low-gravity zones prevents accidental damage.
Lower Cabinets and Deep Drawers
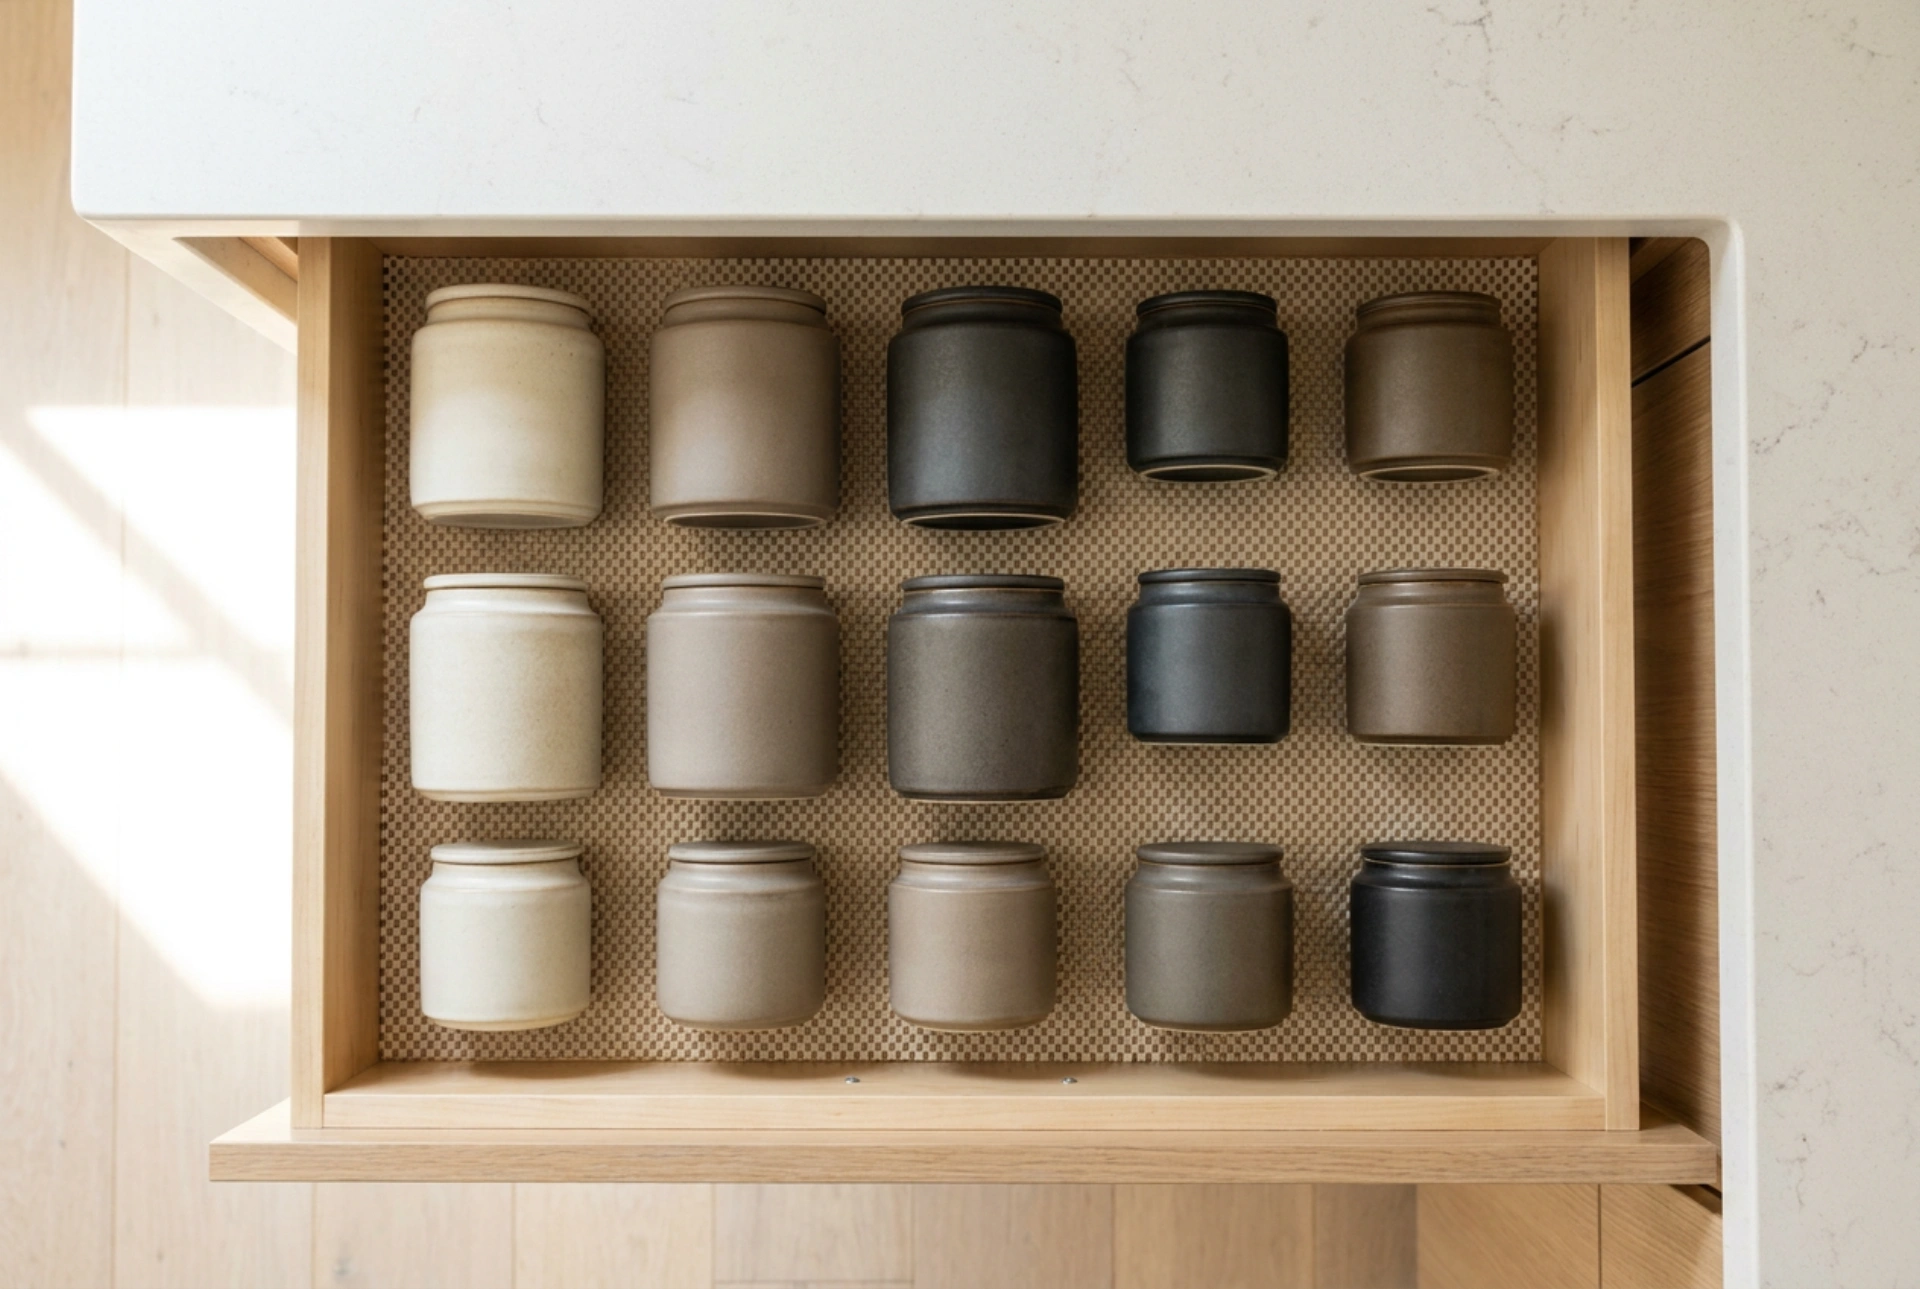
Deep drawers are the ideal location for heavy ceramic canisters. Applying a top-down visual organisation allows you to identify contents immediately. When opening drawers, lateral forces are applied to the jars; therefore, heavy-duty peg systems or adjustable compartment dividers are highly recommended to lock the containers into fixed coordinates and prevent sliding.
Eye-Level Shelving
If using wall cabinets, restrict ceramic storage to the lowest shelf. Keep lighter containers at the back and heavier, frequently used canisters at the front to limit the distance you must reach with a heavy load. This reduces the mechanical torque on your wrists and shoulders during daily use.
Systematic Grouping and Spacing Rules
To maintain an efficient kitchen workflow and prevent accidental impacts, follow a strict spacing and grouping protocol. First, categorise jars by their contents\' chemical properties. Keep ceramic jars holding moisture-sensitive goods, such as salt, sugar, or flour, away from high-humidity zones like the dishwasher, sink, or range cooker.
Second, establish a clearance zone. Never crowd ceramic jars so tightly that their glazed surfaces touch. A minimum buffer zone of 1.5 centimetres should be maintained between each vessel. This prevents the edges from clashing when you retrieve or replace a jar. For tight spaces, thin adhesive silicone bumpers applied to the widest circumference of each jar can act as invisible shock absorbers.
Preventing Glaze Wear and Micro-Cracks
Stacking ceramic containers is a common cause of premature wear. The unglazed base ring, also known as the foot ring of a ceramic pot, is highly abrasive. Placing this rough clay surface directly onto the delicate glazed lid of another jar causes scratching and micro-fissures over time. These tiny cracks weaken the structural integrity of the ceramic and can harbour bacteria.
If stacking is unavoidable due to space constraints, always insert a buffer material between the vessels. Circular inserts made of natural cork, dense felt, or silicone sheets distribute the weight evenly and prevent direct abrasive contact. Additionally, ensure the total weight of the stacked column does not exceed the structural load capacity of your cabinet shelf, which can sag over time under the weight of heavy stoneware.