

Installing a wall-mounted towel rail requires more than just finding an empty space on the wall; it demands an understanding of bathroom ergonomics, moisture dynamics, and substrate physics to ensure lasting stability. Positioning the rail correctly prevents damp towels from harbouring bacteria while ensuring they are within safe, intuitive reach from the shower or bath.
Determining the Optimal Zone: Ergonomics and Microclimates
The ideal placement of a towel rail balances physical accessibility with the room’s ventilation patterns. From an ergonomic perspective, the standard installation height for a hand towel rail ranges between 1100 mm and 1200 mm from the finished floor level, while full-sized bath sheet rails can be positioned up to 1500 mm. This range aligns with the natural reach of an adult, preventing excessive bending or stretching on wet, slippery surfaces.
Beyond height, consider the room's microclimate. Towels dry through evaporation, a process heavily influenced by air circulation. Placing a rail in a dead corner with poor airflow traps moisture, prolonging drying times and promoting fungal growth. Ideally, position the rail close to a radiator or underfloor heating path, but at least 500 mm away from direct water spray zones (such as the edge of an open shower screen) to prevent dry towels from absorbing ambient splashes.
Substrate Selection: Matching Anchors to Wall Materials
A towel rail must withstand constant downward pulling forces, meaning the mounting hardware must match the specific wall chemistry and structure. Different walls require different mechanical anchor mechanisms:
- Solid Masonry or Concrete: These walls offer excellent shear strength. Standard plastic expansion plugs work by compressing against the solid borehole walls when the screw is driven in, creating high friction resistance.
- Drywall (Stud Walls): Drywall has low shear and tensile strength. Standard plugs will tear out under the weight of a damp towel. You must use hollow-wall anchors, such as metal toggle bolts or self-drilling threaded plasterboard anchors, which distribute the load over a wider surface area behind the board. Whenever possible, anchoring directly into a timber stud using wood screws is the most secure method.
- Ceramic and Porcelain Tiles: Tiles are extremely hard but brittle. Standard masonry drill bits will slip and crack the glaze. You must use specialised drill bits and techniques to penetrate the tile layer before reaching the structural wall behind it.
Precision Drilling: Techniques for Tile and Masonry
Drilling into bathroom tiles requires thermal management and friction control. High-speed drilling generates intense heat, which can cause ceramic or porcelain to expand rapidly and crack. To prevent this, use a specialised diamond-tipped or tungsten-carbide spade bit.
First, apply a piece of heavy-duty masking tape over the marked drill spot. This breaks the surface tension of the glazed tile, preventing the drill bit from wandering and scratching the surrounding area. Keep the drill at a low rotation speed (RPM) and apply steady, moderate pressure. Do not use the hammer action setting on your drill while penetrating the tile; hammer action uses concussive force that will instantly shatter ceramic. Once you have successfully drilled through the tile layer and reached the underlying plaster or brick, you may switch to a standard masonry bit and engage the hammer action if necessary.
Moisture Proofing and Final Assembly
Once the holes are drilled, preventing moisture ingress into the wall cavity is critical. Water can migrate through the screw threads via capillary action, leading to hidden mould growth and structural decay within drywall or plaster. Fill each rawlplug hole with a small amount of neutral-cure sanitary silicone sealant before inserting the anchor. When the screw is tightened, the sealant forms a watertight gasket around the entry point.
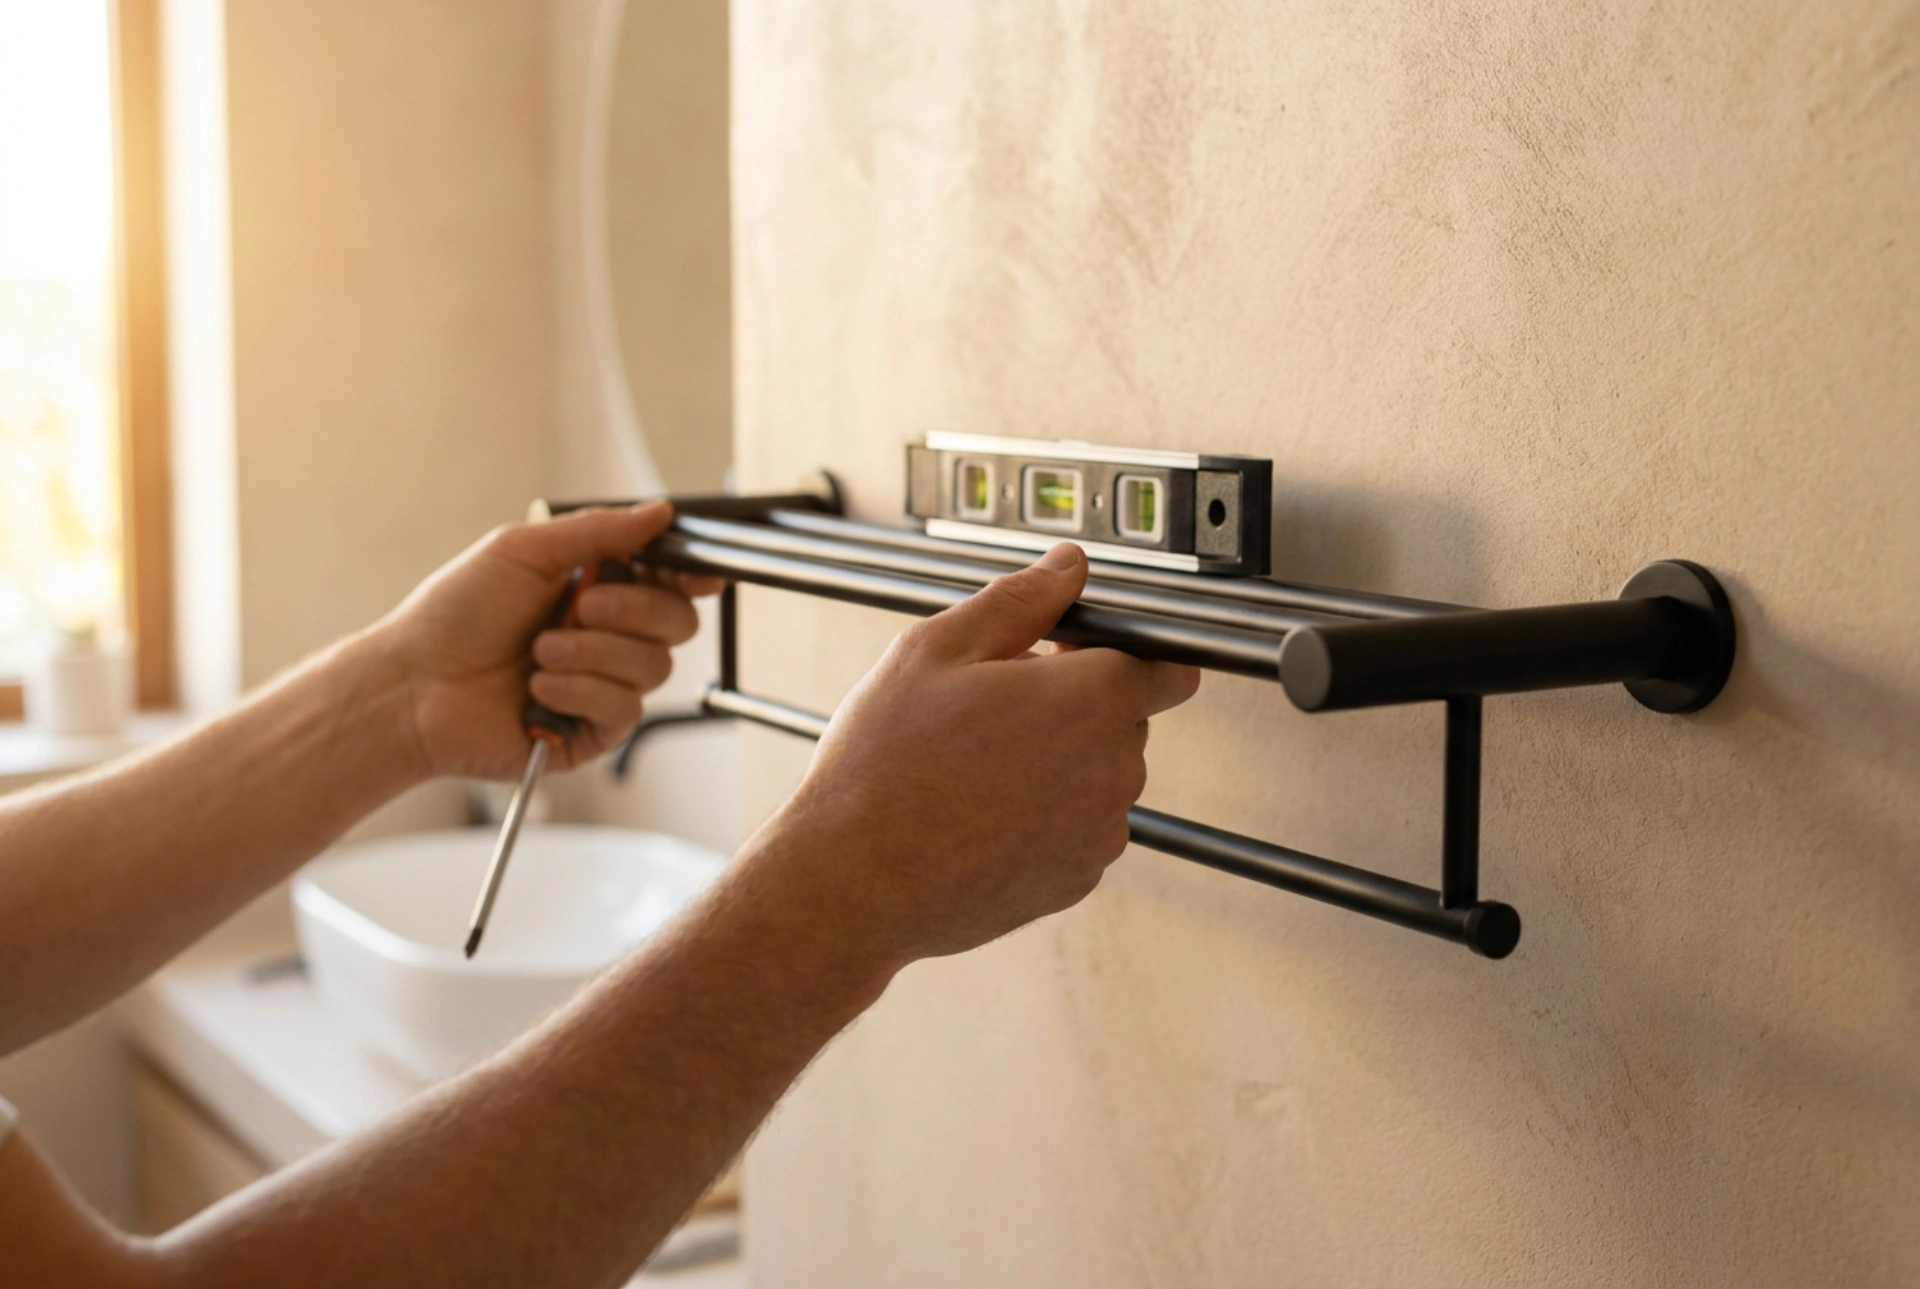
Mount the brackets firmly, ensuring they are perfectly level. Use a spirit level placed across both brackets before tightening the final screws. Once the brackets are secured, slide the towel rail onto the mountings and tighten the small grub screws on the underside. These grub screws lock the rail against the bracket, utilising tension to prevent any wobbling or rotational movement over years of daily use.