

Organising a mountain of printed holiday photos into a chronological album requires more than just sorting by date; it demands an understanding of material preservation and visual pacing to turn memories into a lasting narrative.
The Science of Photo Preservation
Before handling your printed photographs, it is essential to understand the chemistry of preservation. Standard photographs are highly sensitive to environmental factors, including oils from human skin, acidic adhesives, and volatile organic compounds found in cheap plastic sleeves. When planning a physical photo album, always opt for acid-free and lignin-free paper. Lignin is a natural component of wood pulp that breaks down over time, releasing acidic byproducts that turn paper yellow and brittle, eventually transferring to and fading your photographs.
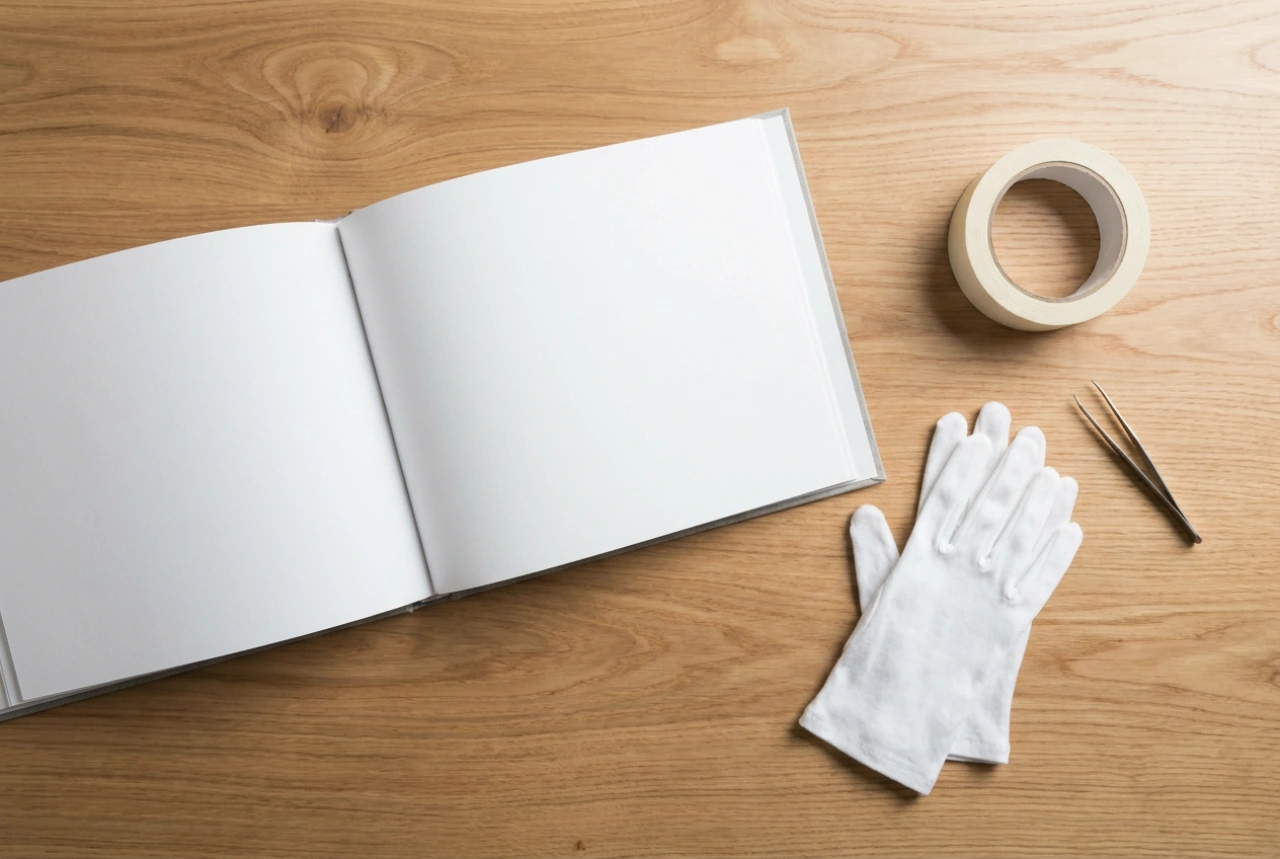
Furthermore, avoid polyvinyl chloride (PVC) pocket albums. PVC releases hydrochloric acid gas as it degrades, which chemically attacks the photographic emulsion, causing discolouration and stickiness. Instead, select albums with polypropylene, polyester, or glassine paper separators. When handling photographs during the sorting process, wear clean cotton gloves to prevent transferring natural skin sebum and sweat, which contain salts and acids that can cause permanent silver mirroring or fingerprint stains on glossy emulsions.
Chronological Sorting and Curation Steps
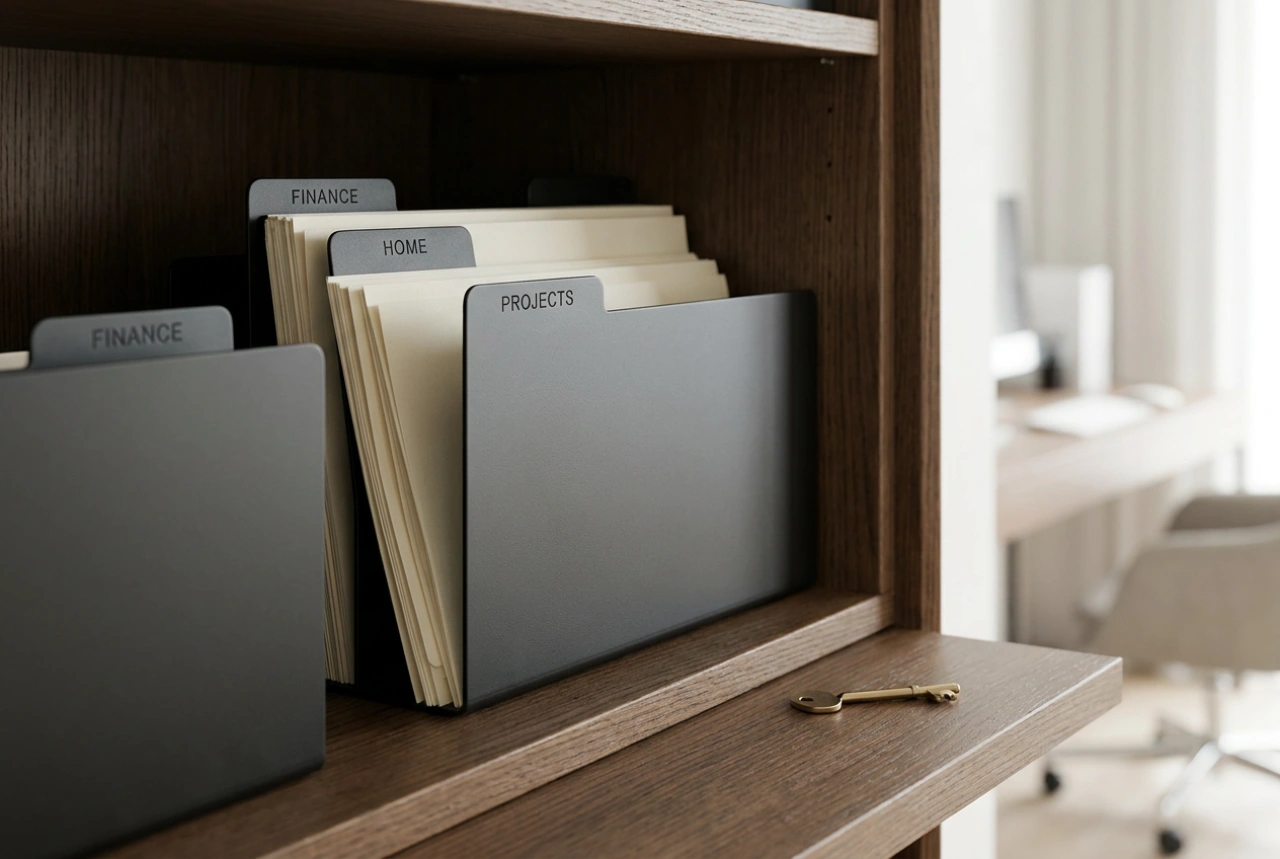
Chronological organisation provides a natural narrative flow, guiding the viewer through the journey as it unfolded. Begin by gathering all physical prints and establishing a clear timeline. If your photos lack printed timestamps on the back, cross-reference them with the digital metadata (EXIF data) of the original files on your smartphone or camera. Group the photographs into major chronological phases: the journey to the destination, daytime excursions, evening activities, and the return home.
- Phase 1: Coarse Sorting. Group your photos into broad categories by day or specific location. Use temporary, acid-free sticky notes to label each stack with the date and event.
- Phase 2: Fine Sorting. Within each day, arrange the prints strictly in temporal order, from sunrise to sunset. This creates a cohesive transition of natural light throughout the pages.
- Phase 3: The Curation. Ruthlessly remove duplicates, blurry shots, and near-identical scenery. A powerful visual story relies on variety—mix wide-angle landscape shots with close-up details and candid portraits to maintain engagement.
Designing the Layout and Visual Pacing
Once sorted, plan the layout of each page before applying any adhesive. Visual pacing is crucial; overloading a page creates sensory fatigue, while too much empty space can feel disconnected. Arrange your photos to respect the natural left-to-right reading pattern. Position the focal point of your images—such as a person's gaze or a leading line in a landscape—so that it directs the viewer's eye inward toward the centre of the album spread rather than off the edge of the page.
Group photographs from the same time of day on the same page. Mixing the harsh light of midday sun with the warm tones of the golden hour on a single spread can be visually jarring. By keeping light quality consistent, you reinforce the chronological progression and maintain a harmonious aesthetic transition from page to page.
Safe Mounting Techniques
How you secure your photos determines their longevity. Never use standard liquid glue, school glue sticks, or household adhesive tape; these contain solvents and acidic compounds that will eventually seep through the photo paper, causing irreversible staining and chemical degradation. Instead, use physical mounting methods that do not chemically bond with the print itself.
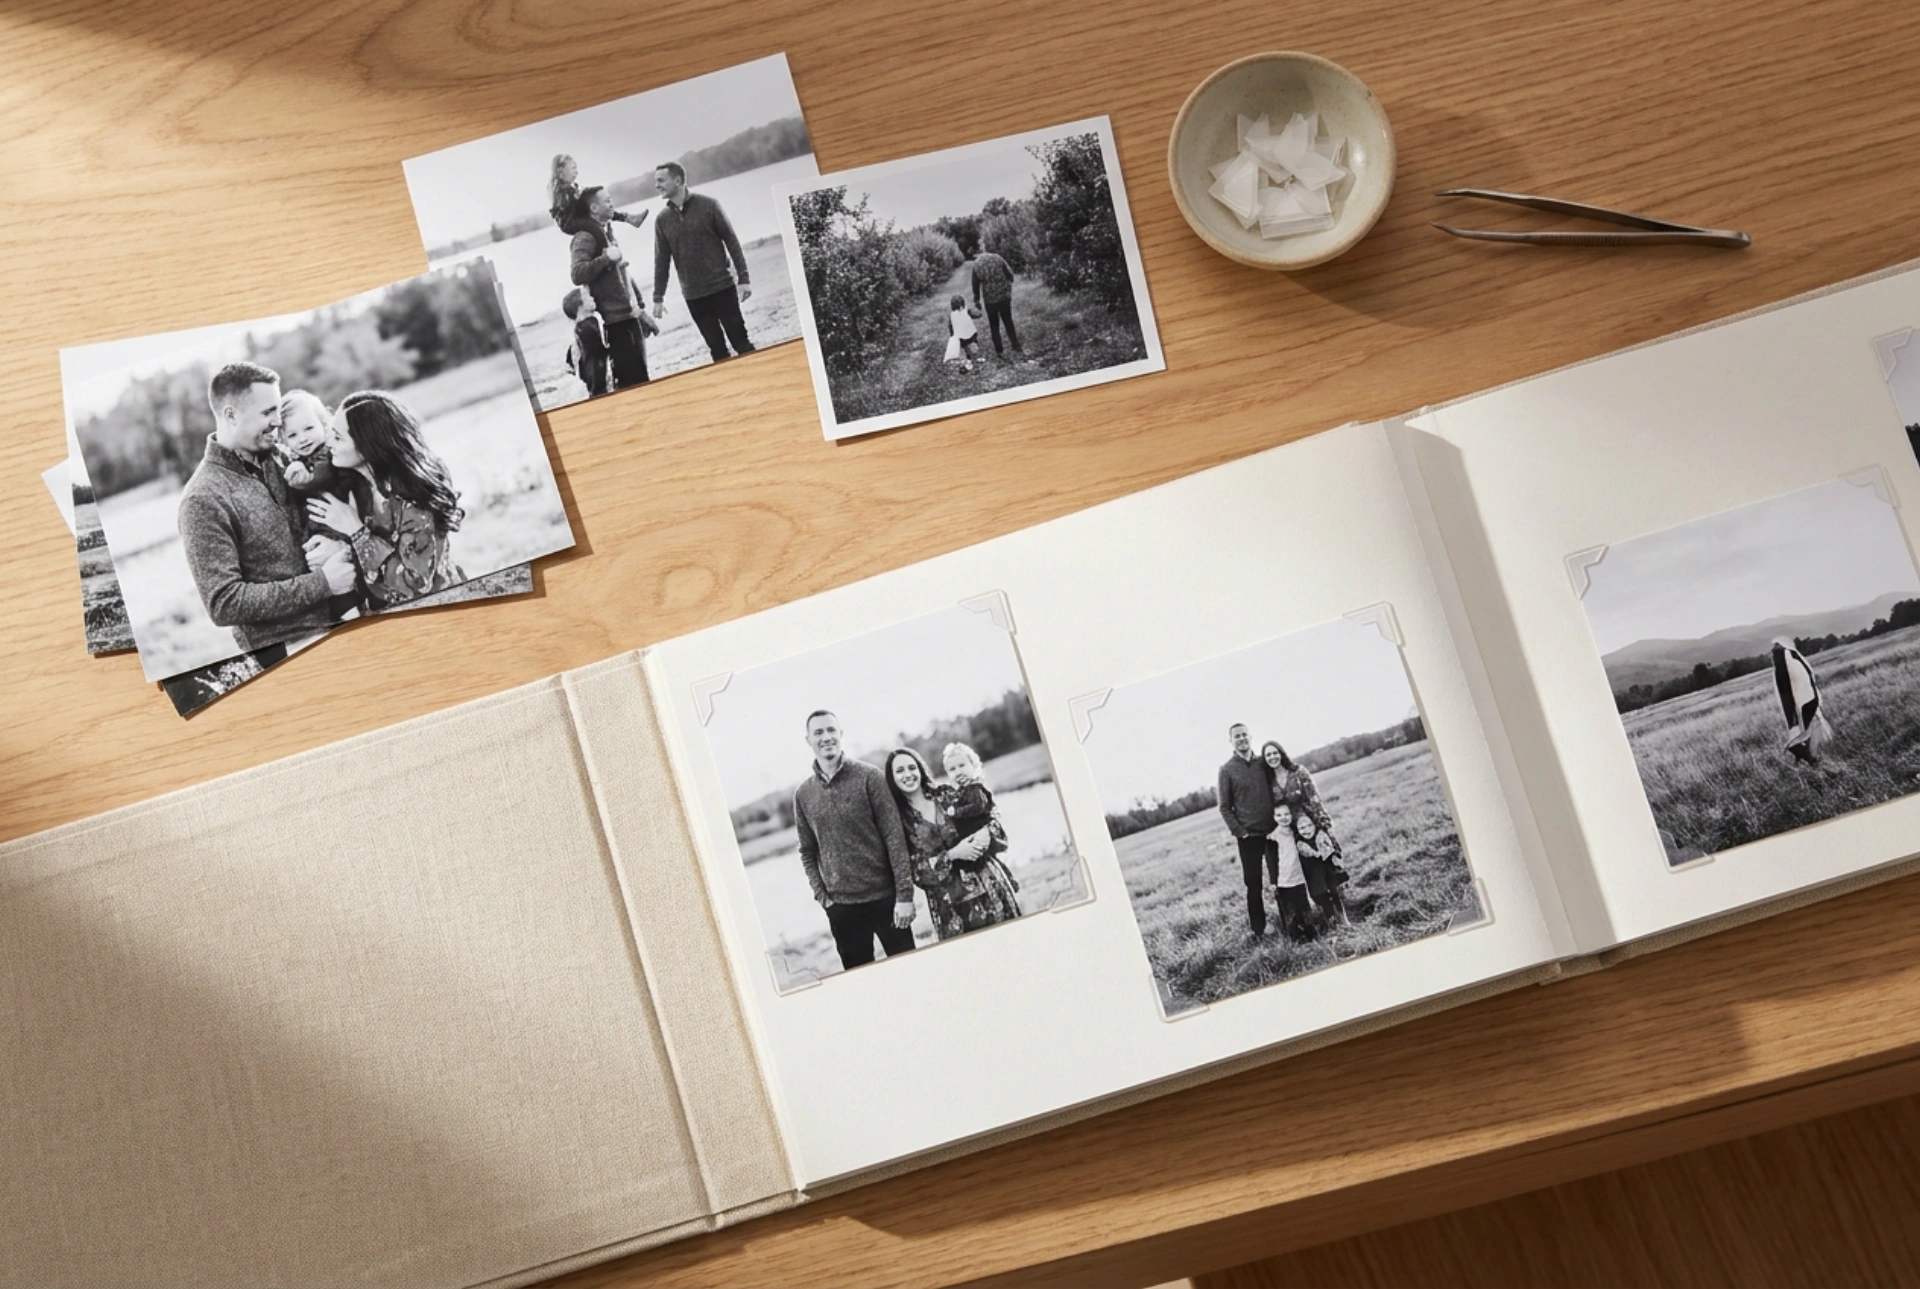
Self-adhesive photo corners made of archival-grade, acid-free paper or polyester are the ideal choice. These corners are adhered to the album page, allowing the photograph to slip in and out easily without actually touching any adhesive. This method also accommodates the natural expansion and contraction of paper due to seasonal changes in relative humidity, preventing the prints from warping or buckling over time.