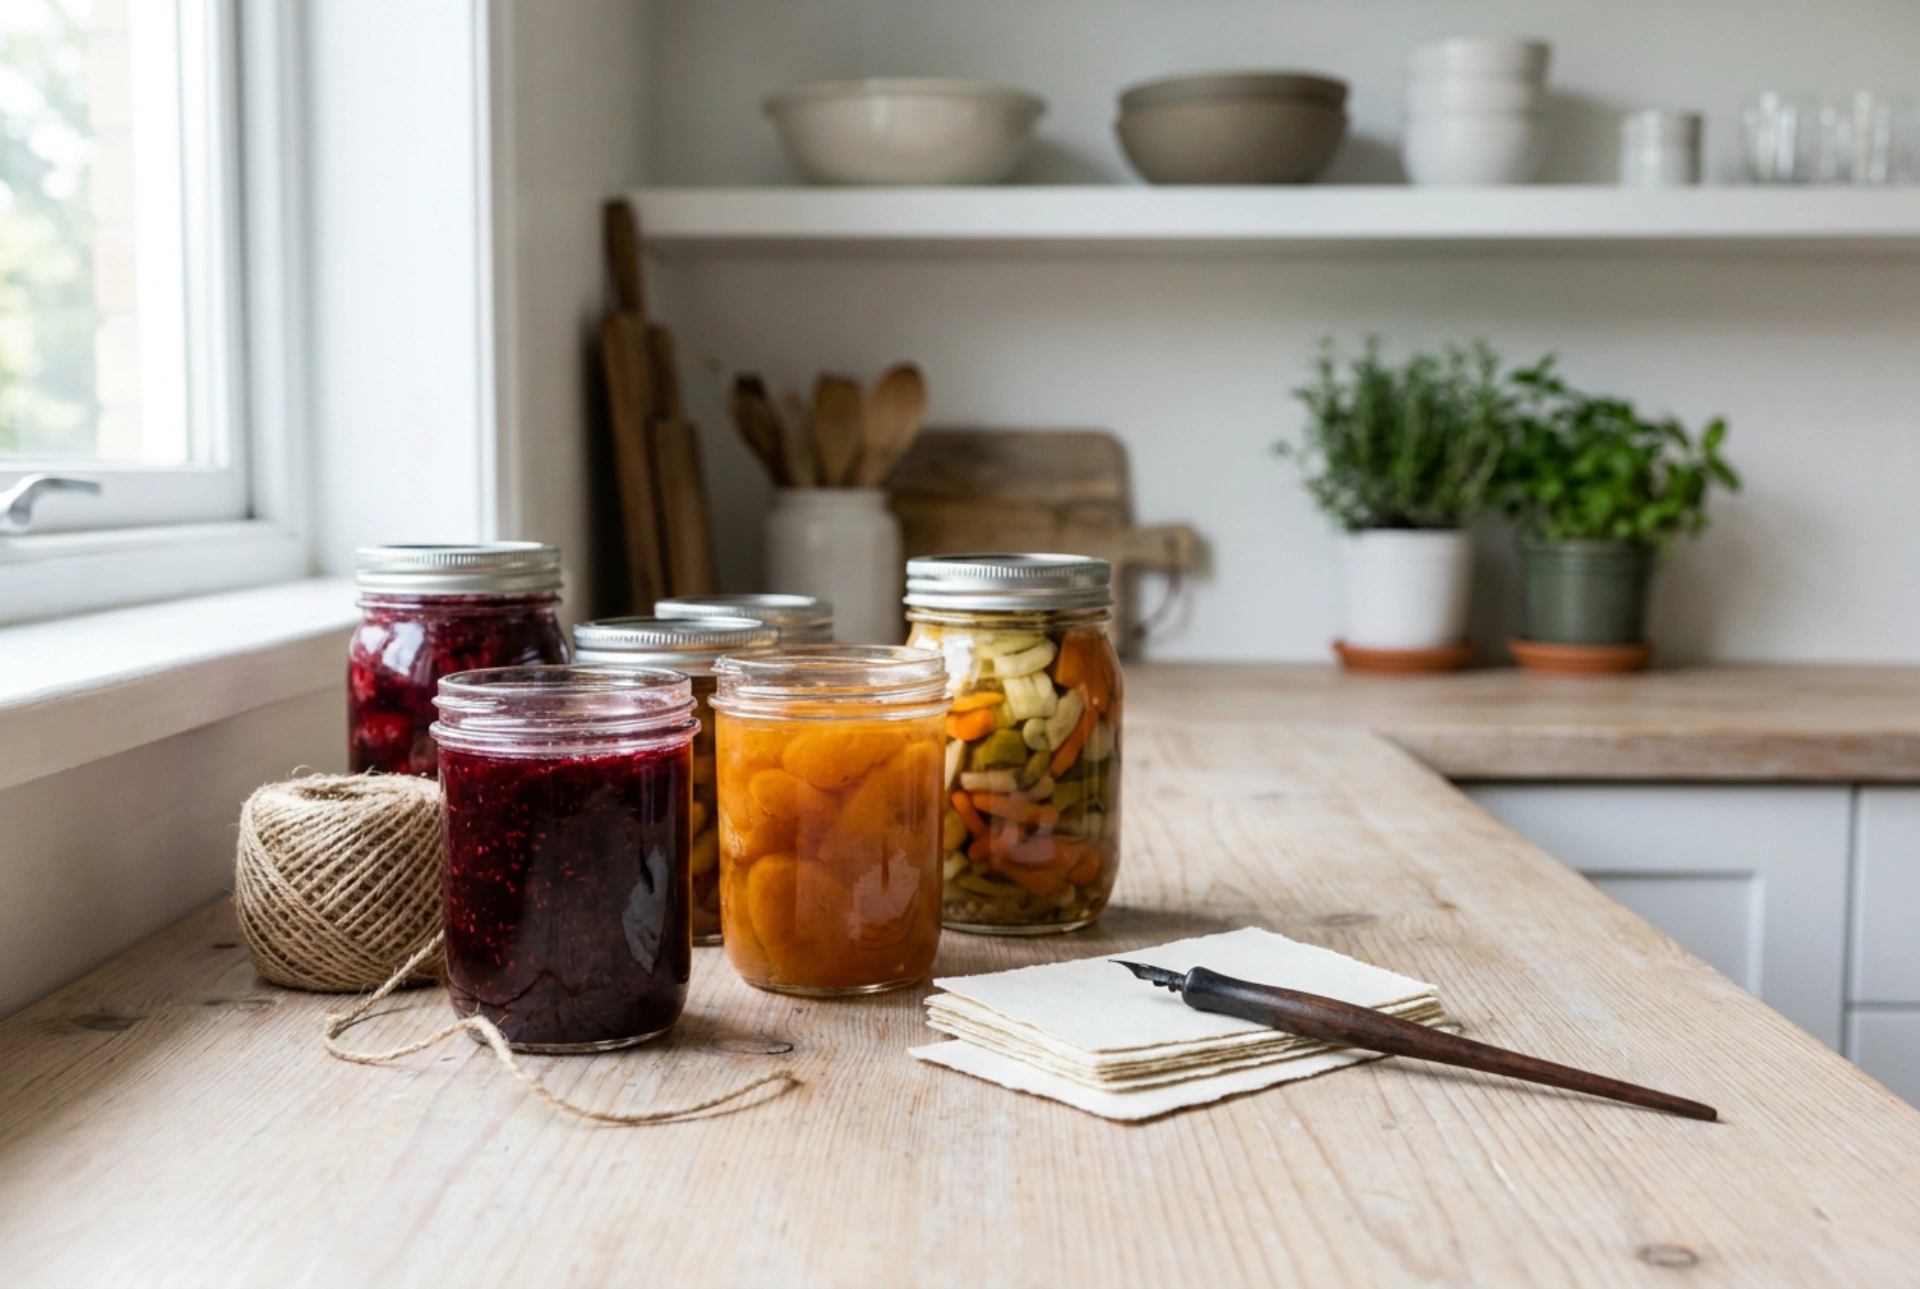


Creating functional labels for home preserves requires balancing visual appeal with physical durability. Condensation, temperature fluctuations, and acidic residues can quickly degrade poorly chosen materials, causing labels to peel, smudge, or rot.
Understanding Label Substrates: Paper versus Polymer
The base material of your label dictates how it responds to moisture. Standard uncoated paper consists of hydrophilic cellulose fibres. When exposed to condensation in a cold larder or refrigerator, these fibres absorb water molecules, expanding and causing the label to wrinkle, warp, and eventually disintegrate. For short-term storage in dry environments, a heavy-weight matte or semi-gloss coated paper provides a compromise, as the coating limits initial moisture absorption.
For long-term durability, synthetic polymer substrates such as polypropylene or polyester are superior. These materials are hydrophobic, meaning they repel water entirely. They do not tear, stretch, or degrade when exposed to humidity or direct contact with liquids. When planning preserves that may require pasteurisation after labelling, or those stored in damp cellars, polymer labels ensure the printed information remains intact over several seasons.
The Chemistry of Adhesion: Selecting the Right Glue
Self-adhesive labels rely on pressure-sensitive adhesives. The two primary chemical formulations used for jar labels are acrylic-based and rubber-based adhesives. Understanding their behaviour is crucial for successful long-term bonding:
- Acrylic Adhesives: These are synthetic polymers that offer high resistance to UV light, temperature fluctuations, and chemical exposure (such as vinegar or fruit acids). They cure slowly over 24 hours, forming a strong, permanent bond with the glass surface. They are ideal for jars stored in cold or variable environments.
- Rubber-based Adhesives: These provide a very high initial tack, sticking instantly to surfaces. However, they degrade faster when exposed to heat, UV rays, and oxygen, which can cause the adhesive to dry out, turn yellow, and lose its grip over time.
To ensure maximum adhesion, the surface energy of the glass must be high. Any invisible film of oil, dust, or fingerprints acting as a barrier will compromise the bond. Always clean the glass jars thoroughly with isopropyl alcohol before application to strip away lipids and manufacturing residues.
Ink Stability and Printing Methods
The choice of printing technology determines whether your text remains legible or runs at the first sign of moisture. Water-based dye inks, commonly used in standard desktop inkjet printers, are highly soluble. A single drop of water can dissolve the dye, causing the text to bleed. If using an inkjet printer, you must use pigment-based inks, which contain microscopic solid particles that bind to the substrate surface, offering significantly better water resistance.
Laser printing is generally the most reliable method for home preservation. Laser printers use heat and pressure to fuse plastic-based toner particles directly into the fibres of the paper or onto the surface of the polymer sheet. The resulting print is naturally waterproof, smudge-resistant, and highly stable against UV fading.
Geometrical and Mechanical Design Rules
When designing the physical layout of your label, consider the geometry of the glass jar. Glass jars often have compound curves (curving in more than one direction, such as spheres or tapered shoulders). Applying a flat, wide rectangular label to a compound curve forces the material to compress, resulting in unsightly puckering and creasing. To avoid this, stick to flat cylindrical surfaces. If your jar tapers, design a narrow, horizontal strip or use a small circular label that only contacts a flat portion of the glass.
A Step-by-Step Application Protocol
For a flawless finish, follow this precise order of operations:
- Ensure the jar is at room temperature. Applying labels to hot jars direct from pasteurisation prevents the adhesive from curing correctly, while cold jars may have micro-condensation on the surface.
- Clean the application area with a lint-free cloth soaked in isopropyl alcohol and allow it to evaporate completely.
- Peel the label from its backing sheet, holding it only by the very edges to avoid transferring oils from your fingers to the adhesive.
- Align the centre of the label with the jar first. Press firmly, then smooth outwards towards the edges using a plastic squeegee or a soft cloth. This expels air trapped in micro-gaps and ensures 100% surface contact.