

Securing a wall-mounted wine rack requires a precise understanding of structural load distribution, material physics, and fluid dynamics to ensure your bottles remain safe and correctly preserved.
The Physics of Bottle Alignment: Angle and Centre of Gravity
The primary reason for storing wine horizontally is chemical: keeping the cork constantly hydrated by the liquid inside prevents it from drying out, shrinking, and allowing oxygen ingress, which would oxidise the wine. However, keeping a cylinder perfectly stable on a wall rack requires careful consideration of the bottle's centre of gravity.
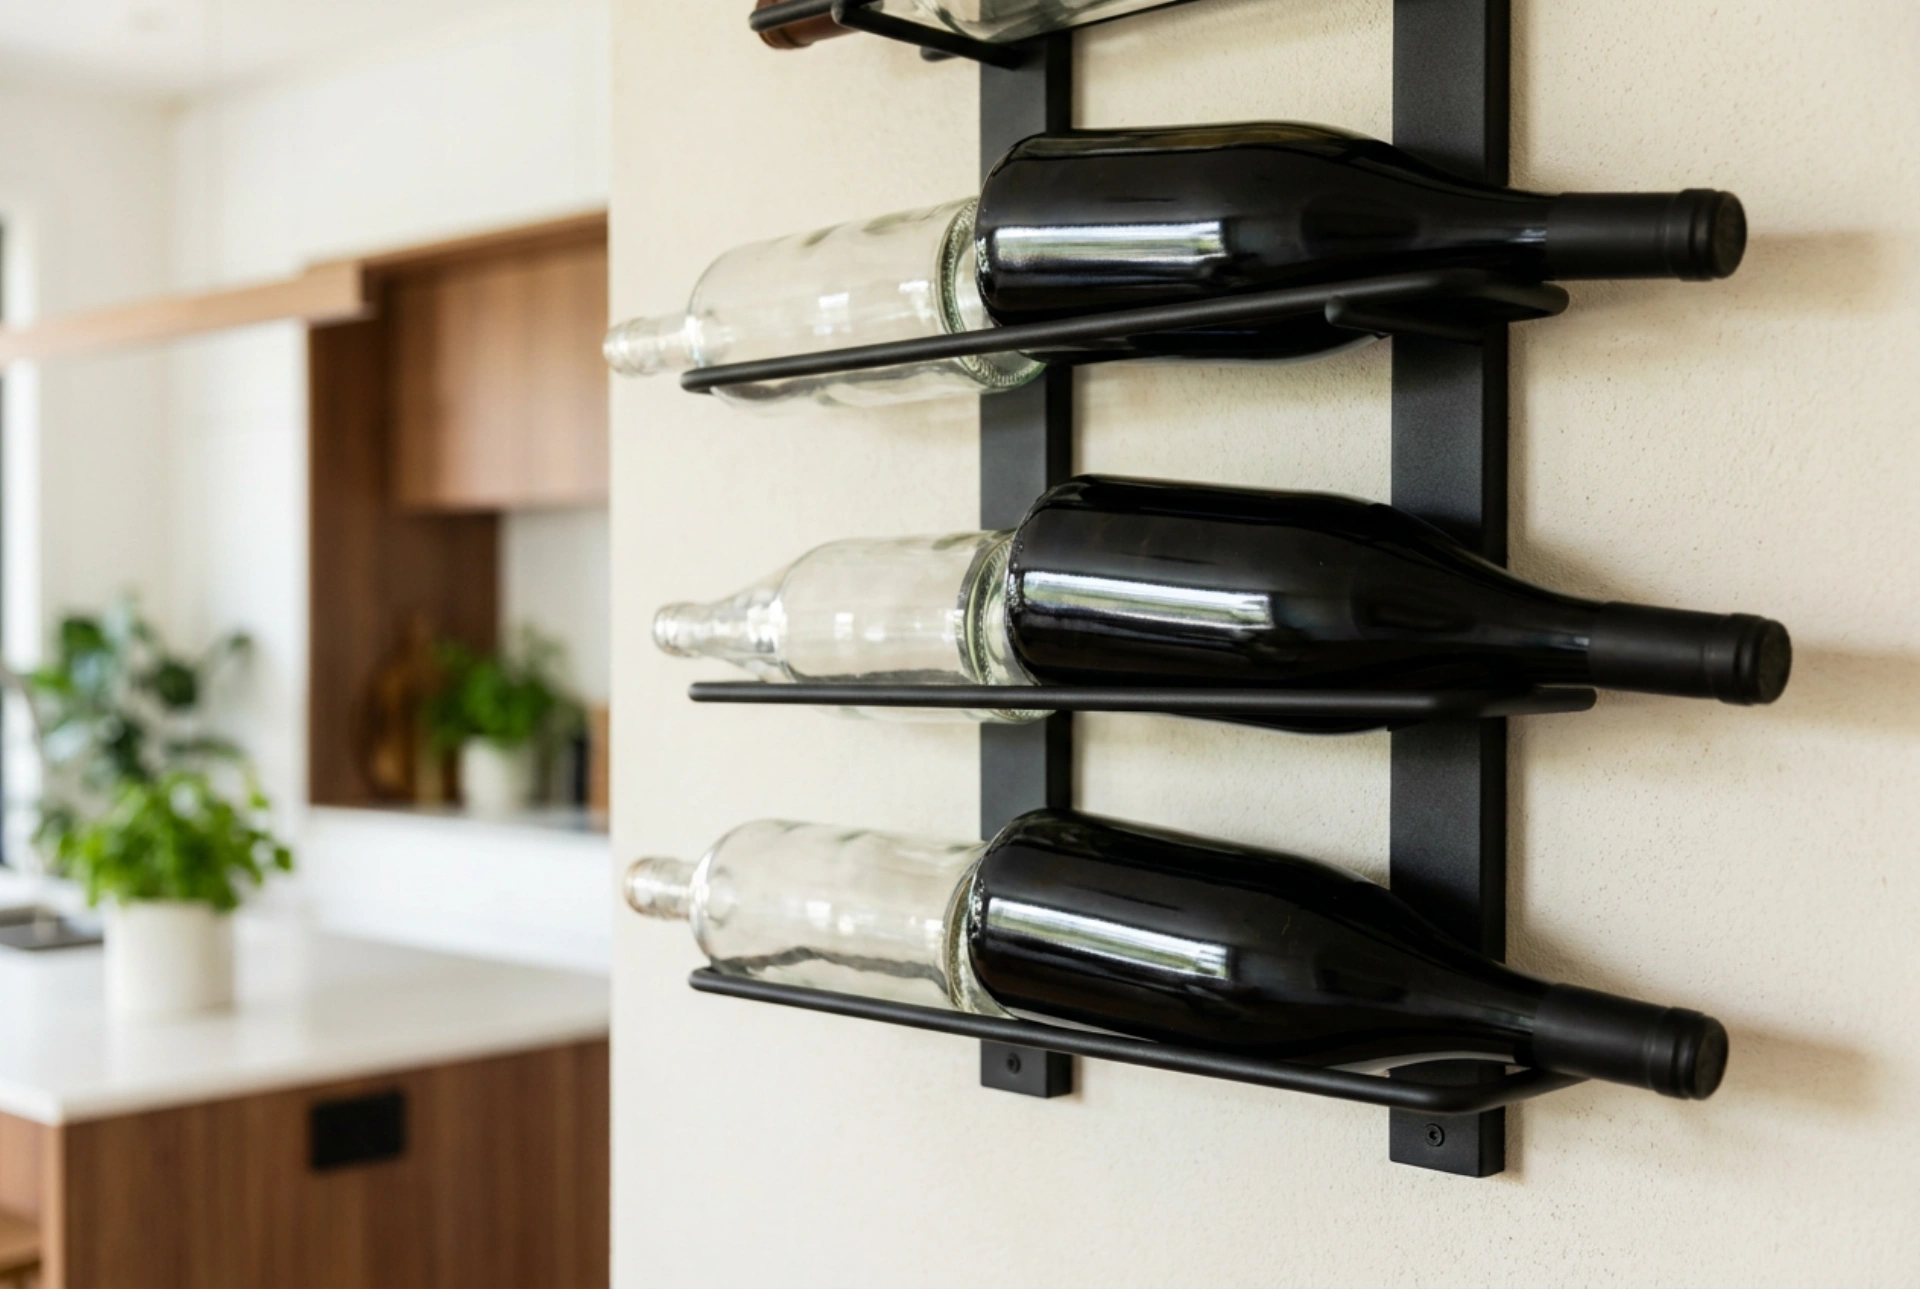
Most wall-mounted racks support bottles at two points: the neck and the base. For optimal stability, the neck support must be slightly lower than the base support, creating a subtle downward tilt of 1 to 5 degrees. This prevents the bottle from sliding forward due to vibrations or accidental contact. If the angle is too steep, the pressure on the cork increases, and the liquid may leak if the seal is weak. Conversely, a reverse angle allows air bubbles to gather at the cork, drying it out. The centre of gravity must fall squarely between the two support prongs; for standard 750 ml bottles, this means placing the contact points roughly 18 to 22 centimetres apart.
Wall Structural Integrity: Managing Load and Tension
A single full bottle of wine weighs approximately 1.2 to 1.4 kilograms. A modest rack holding nine bottles will therefore exert a continuous downward force of up to 13 kilograms, not including the weight of the metal frame itself. This weight creates two primary mechanical forces on the wall fasteners: shear stress (pulling straight down) and tension or pull-out force (pulling the top of the rack away from the wall).
- Drywall Installations: Mounting directly into drywall without securing to structural studs is a common cause of failure. Always use a stud finder to locate the vertical timber framing. If studs are unavailable, you must use heavy-duty steel toggle bolts that expand behind the plasterboard, distributing the pull-out force over a wider surface area.
- Solid Masonry: For brick or concrete walls, plastic or nylon expansion plugs are ideal. Ensure the drilled hole is exactly the diameter of the plug to prevent any micro-movements when bottles are loaded or removed.
Environmental Factors and Position Strategy
The location of your wall rack affects more than just accessibility; it dictates the chemical stability of the wine. Thermal stratification means that air temperature rises toward the ceiling. Therefore, wall racks should be mounted at mid-level—ideally between 90 and 150 centimetres from the floor—to avoid the warmest air currents. Avoid mounting racks near sources of vibration, such as refrigerators, washing machines, or heavy doors, as micro-vibrations disturb the natural sedimentation process of older wines, altering their flavour profile over time.
Step-by-Step Installation for Maximum Rigidity
To ensure a flawless installation, follow a strict sequence of operations: first, use a high-precision spirit level to mark the drilling points. Even a half-degree tilt of the overall frame can cause bottles to drift slowly toward one side, destabilising the system. Mark the top mounting holes first, as these bear the highest tension forces. Drill the holes perpendicular to the wall plane; any angular deviation when drilling reduces the load capacity of the wall anchors. Insert the plugs flush with the wall surface. Secure the top fasteners halfway to allow for minor leveling adjustments, check the alignment with the spirit level once more, and then drill and secure the bottom fasteners to lock the rack in place. Load the rack starting from the bottom shelves upward to keep the centre of gravity low during the initial loading phase.