

Keeping food hot safely in an insulated container requires a basic understanding of thermodynamics, thermal mass, and food microbiology. By applying a few scientifically proven preparation techniques, you can ensure your meal remains piping hot and safe to eat hours after packing.
The Physics of Vacuum Insulation
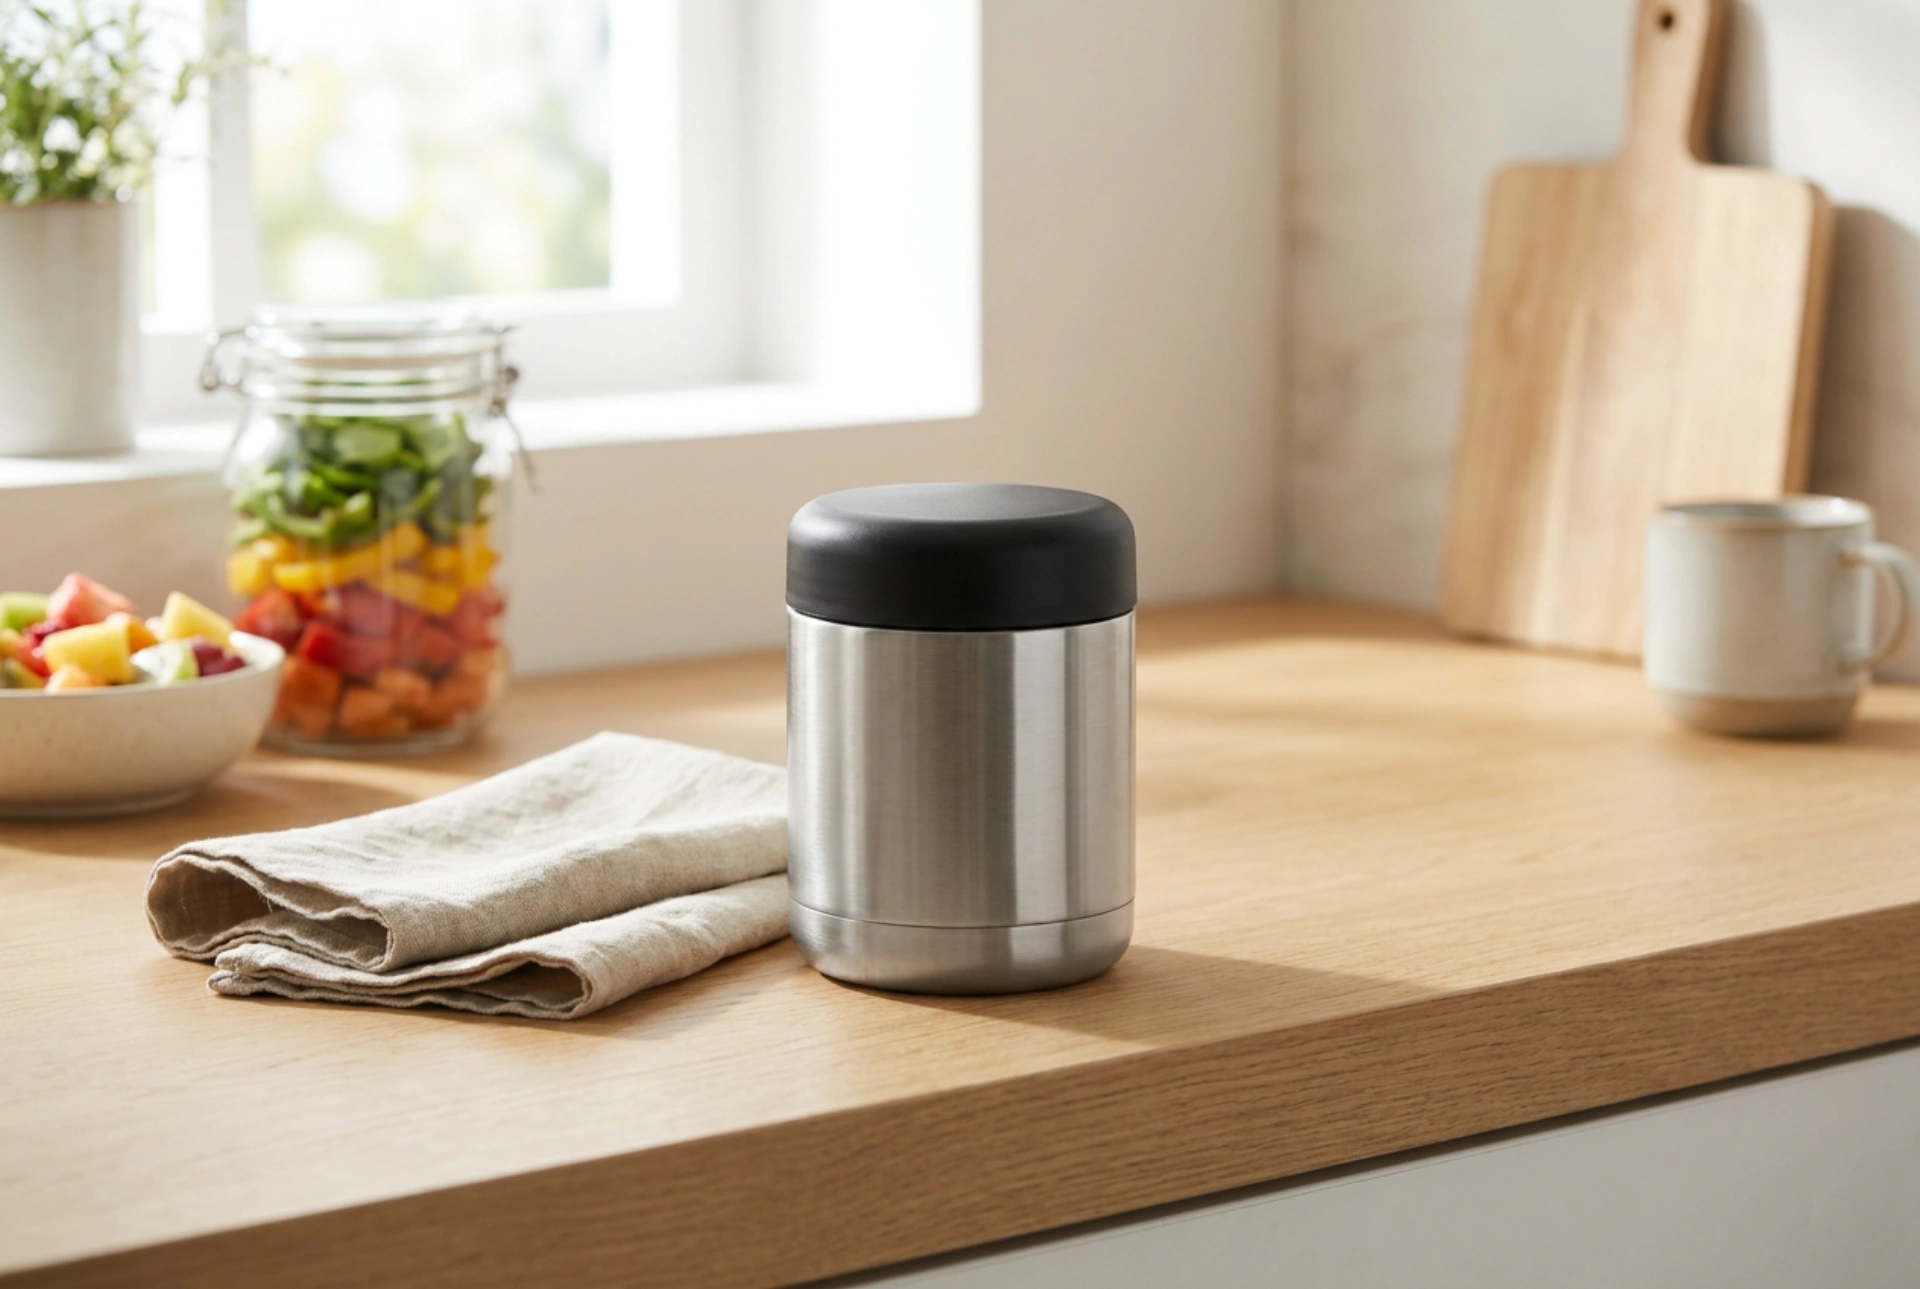
To understand why food cools down, we must look at heat transfer mechanisms: conduction, convection, and radiation. Stainless steel food flasks utilise double-walled vacuum insulation. A vacuum is created between two walls of steel, removing almost all air. Because there are no molecules in a vacuum to transfer kinetic energy, conductive and convective heat transfer are virtually eliminated. Heat can only escape via radiation (which is minimised by reflective inner walls) and through the lid, which is typically made of high-density plastic and silicone seals. Understanding this helps you realise that the lid is the weakest thermal link; therefore, minimising the time the flask is open is critical.
The Principle of Thermal Mass and Preheating
A common mistake is placing hot food directly into a cold flask. Stainless steel has a high thermal conductivity, meaning it will rapidly absorb heat from your food to reach thermal equilibrium. To prevent this sudden drop in food temperature, you must preheat the vessel. Fill the flask with boiling water (100°C), close the lid, and let it sit for five to ten minutes. This raises the temperature of the internal stainless steel wall close to boiling point. When you discard the water and immediately add your hot food, the container will no longer draw heat out of your meal, preserving its initial thermal energy.
The Science of Food Selection: Specific Heat Capacity
Not all foods retain heat equally. Water has an exceptionally high specific heat capacity (4.184 J/g°C), meaning it requires a large amount of energy to change its temperature and, conversely, holds onto that heat for a very long time. This is why liquid-based meals—such as soups, stews, curries, and saucy pasta dishes—stay hot significantly longer than dry foods like roasted vegetables, rice, or grilled chicken. Dry foods contain air pockets which act as poor heat conductors and encourage rapid cooling. If you wish to pack drier foods, combine them with a thick sauce or gravy to increase the overall thermal mass of the meal.
Navigating the Bacterial Danger Zone
Food safety is closely tied to temperature control. Pathogenic bacteria thrive in the danger zone between 4°C and 60°C. Within this range, bacterial populations can double every twenty minutes. To guarantee safety, your food must be heated to at least 74°C (165°F) before being packed. This ensures that even with gradual heat loss over four to six hours, the internal temperature of the food inside the flask does not dip below the critical 60°C threshold before consumption. Never pack lukewarm food, as it will rapidly enter the biological danger zone inside the sealed container.
Step-by-Step Packing Protocol for Maximum Heat Retention
Follow this precise sequence of steps to maximise thermal performance and safety:
- Preheat the container: Fill the flask with boiling water, seal the lid, and wait 5 to 10 minutes.
- Superheat the food: While the container is heating, heat your food on the stovetop or in a microwave until it is bubbling or steaming hot (well above eating temperature).
- Empty and dry: Pour out the hot water. Working quickly to prevent the internal wall from cooling down, wipe away excess moisture.
- Pack immediately: Transfer the piping hot food into the flask. Pack it tightly to eliminate internal air pockets which accelerate heat loss.
- Seal instantly: Tighten the lid immediately to lock in the rising steam and prevent convective heat loss.