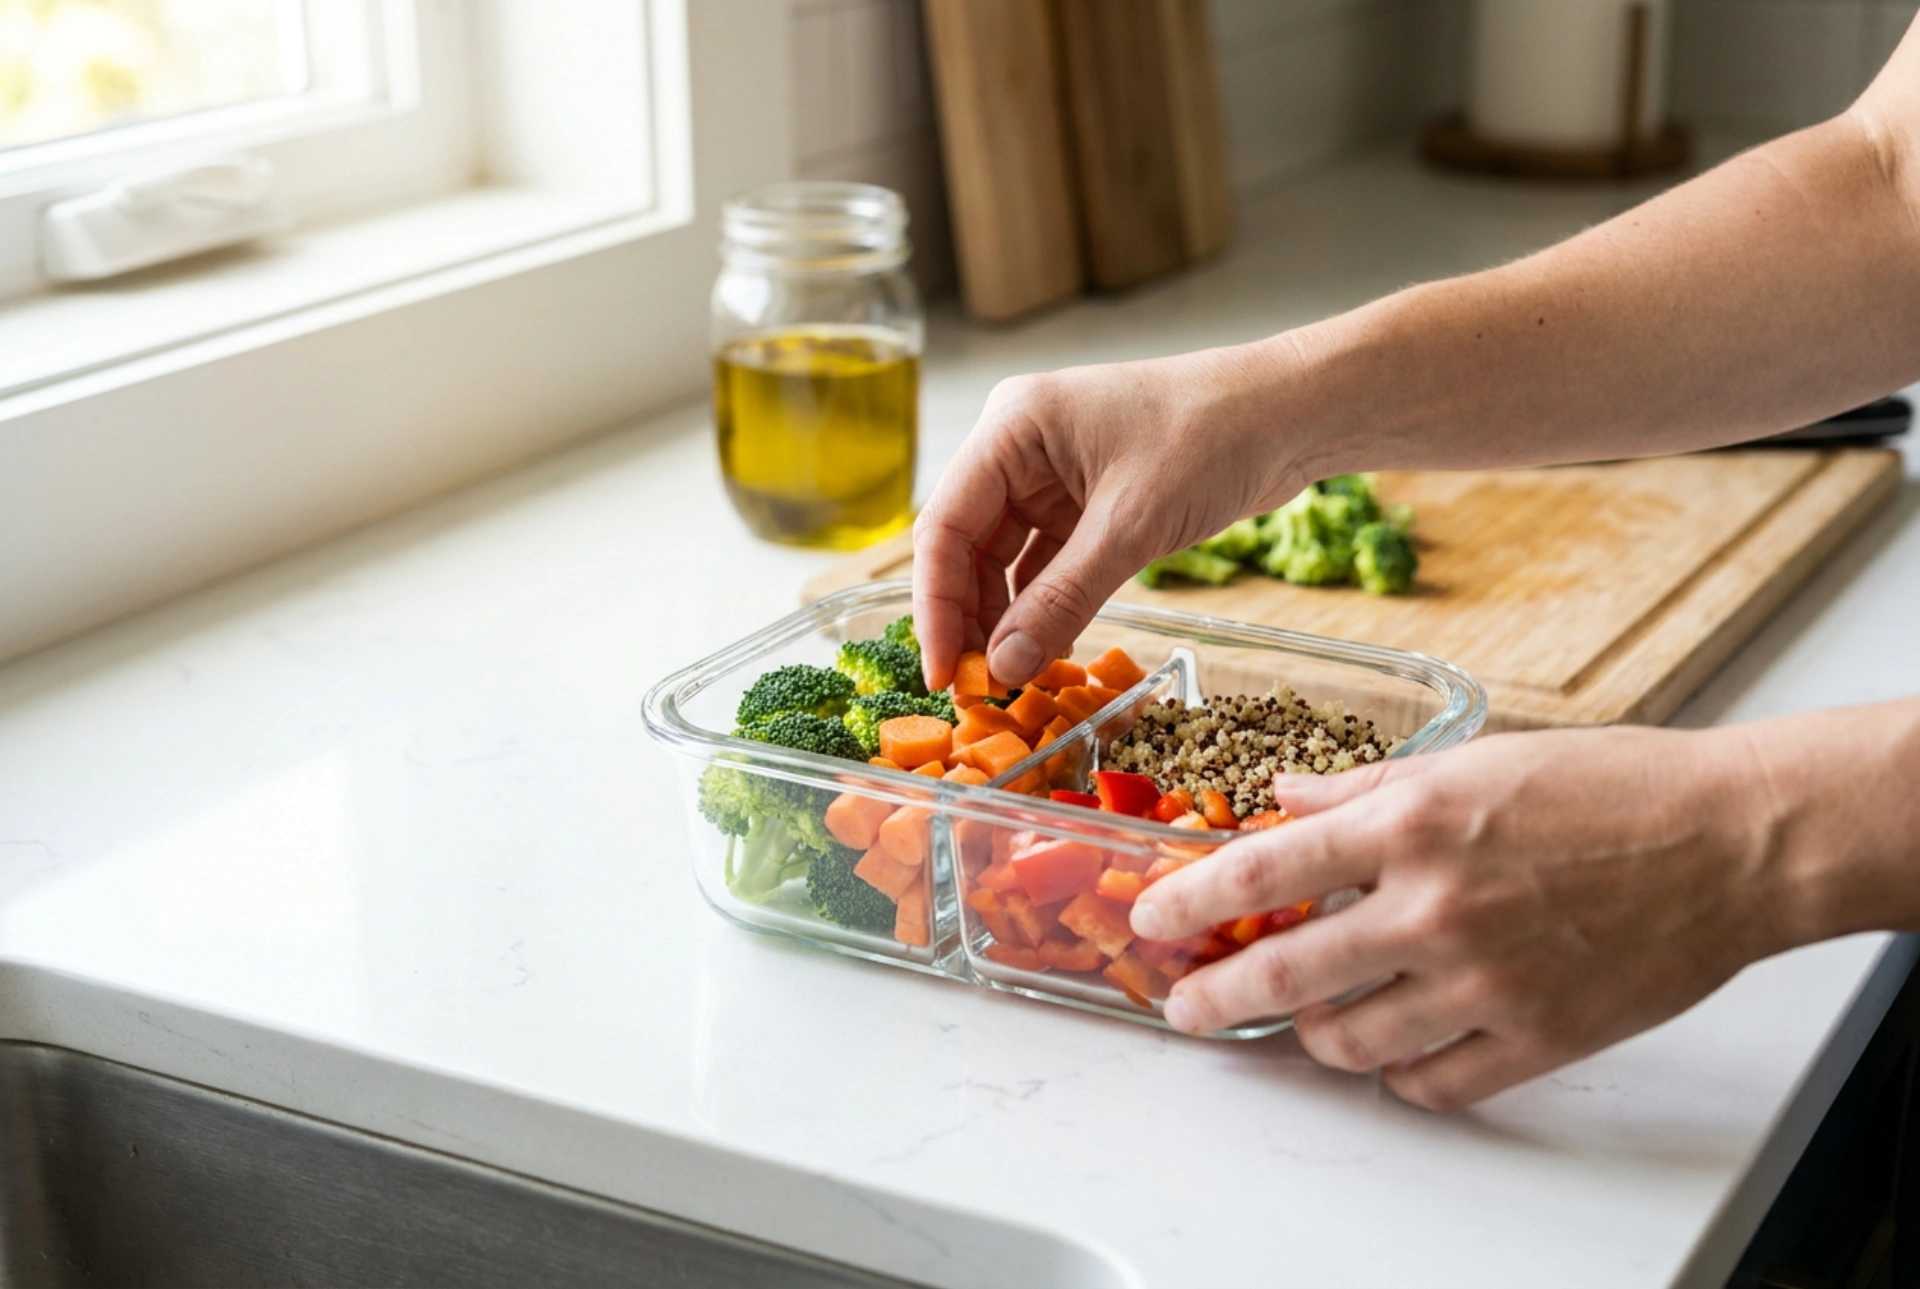


Packing a glass compartmentalized lunch box requires a balance of thermal awareness, physical separation techniques, and moisture management to prevent shattering and food spoilage.
The Physics of Glass: Preventing Thermal and Mechanical Shock
Borosilicate glass is highly resistant to thermal expansion, whereas soda-lime glass is more sensitive to sudden temperature shifts. Regardless of the glass type, micro-cracks can develop over time from subtle impacts. When packing, never place hot, freshly cooked food directly next to chilled or frozen items within the adjacent compartments. This temperature differential creates localized stress points in the glass divider wall, which can lead to structural failure.
To mitigate this risk, allow all cooked ingredients to cool to room temperature before portioning them. If you must pack cold and warm items together, ensure the container itself is at room temperature during assembly, and use insulated barriers on the exterior during transport to prevent rapid ambient temperature changes from affecting one side of the container faster than the other.
Moisture Migration and Compartment Dynamics
The internal silicone seal on the lid of a compartmentalized lunch box is engineered to prevent lateral leakage, but its efficiency depends on volume and pressure. Overfilling a compartment causes food to press against the lid seal, compromising the airtight barrier and allowing liquids to migrate into neighboring dry compartments.
- The dry-to-wet rule: Always place wet items (such as sauces, dressed grains, or cut fruits) in the smaller, central compartments, and dry carbohydrates or proteins in the outer sections.
- Leave a headspace: Maintain a clearance of at least five millimeters between the food surface and the top of the container rim to prevent capillary action from pulling liquids across the silicone boundaries.
- Dressing placement: Do not pre-mix vinaigrettes or liquid seasonings. Keep them in a separate, dedicated miniature container inside one of the compartments to protect the crisp texture of vegetables and grains.
Optimizing the Order of Operations
The sequence in which you layer food inside each compartment affects both preservation and physical stability during transit. Dense, heavy ingredients must form the base of each compartment to lower the center of gravity and prevent shifting.
Start by laying down heavy proteins or grains at the bottom. Next, add structurally sound vegetables like broccoli florets or carrot sticks. Finally, place delicate greens or garnishes on the very top. This layering technique prevents delicate ingredients from being crushed under weight and minimizes movement within the compartments when the lunch box is carried vertically or subjected to vibrations.
Transit Safety and Shock Absorption
Glass-on-glass or glass-on-metal contact during transport is the primary cause of external chipping. To safeguard your lunch box, always wrap the container in a soft, dry linen cloth or place it inside a dedicated neoprene sleeve before putting it into a bag. This layer absorbs kinetic energy from external bumps. Additionally, ensure the container lies flat at the bottom of your carrying bag to keep the internal gravity distribution uniform, minimizing pressure against the compartment walls.