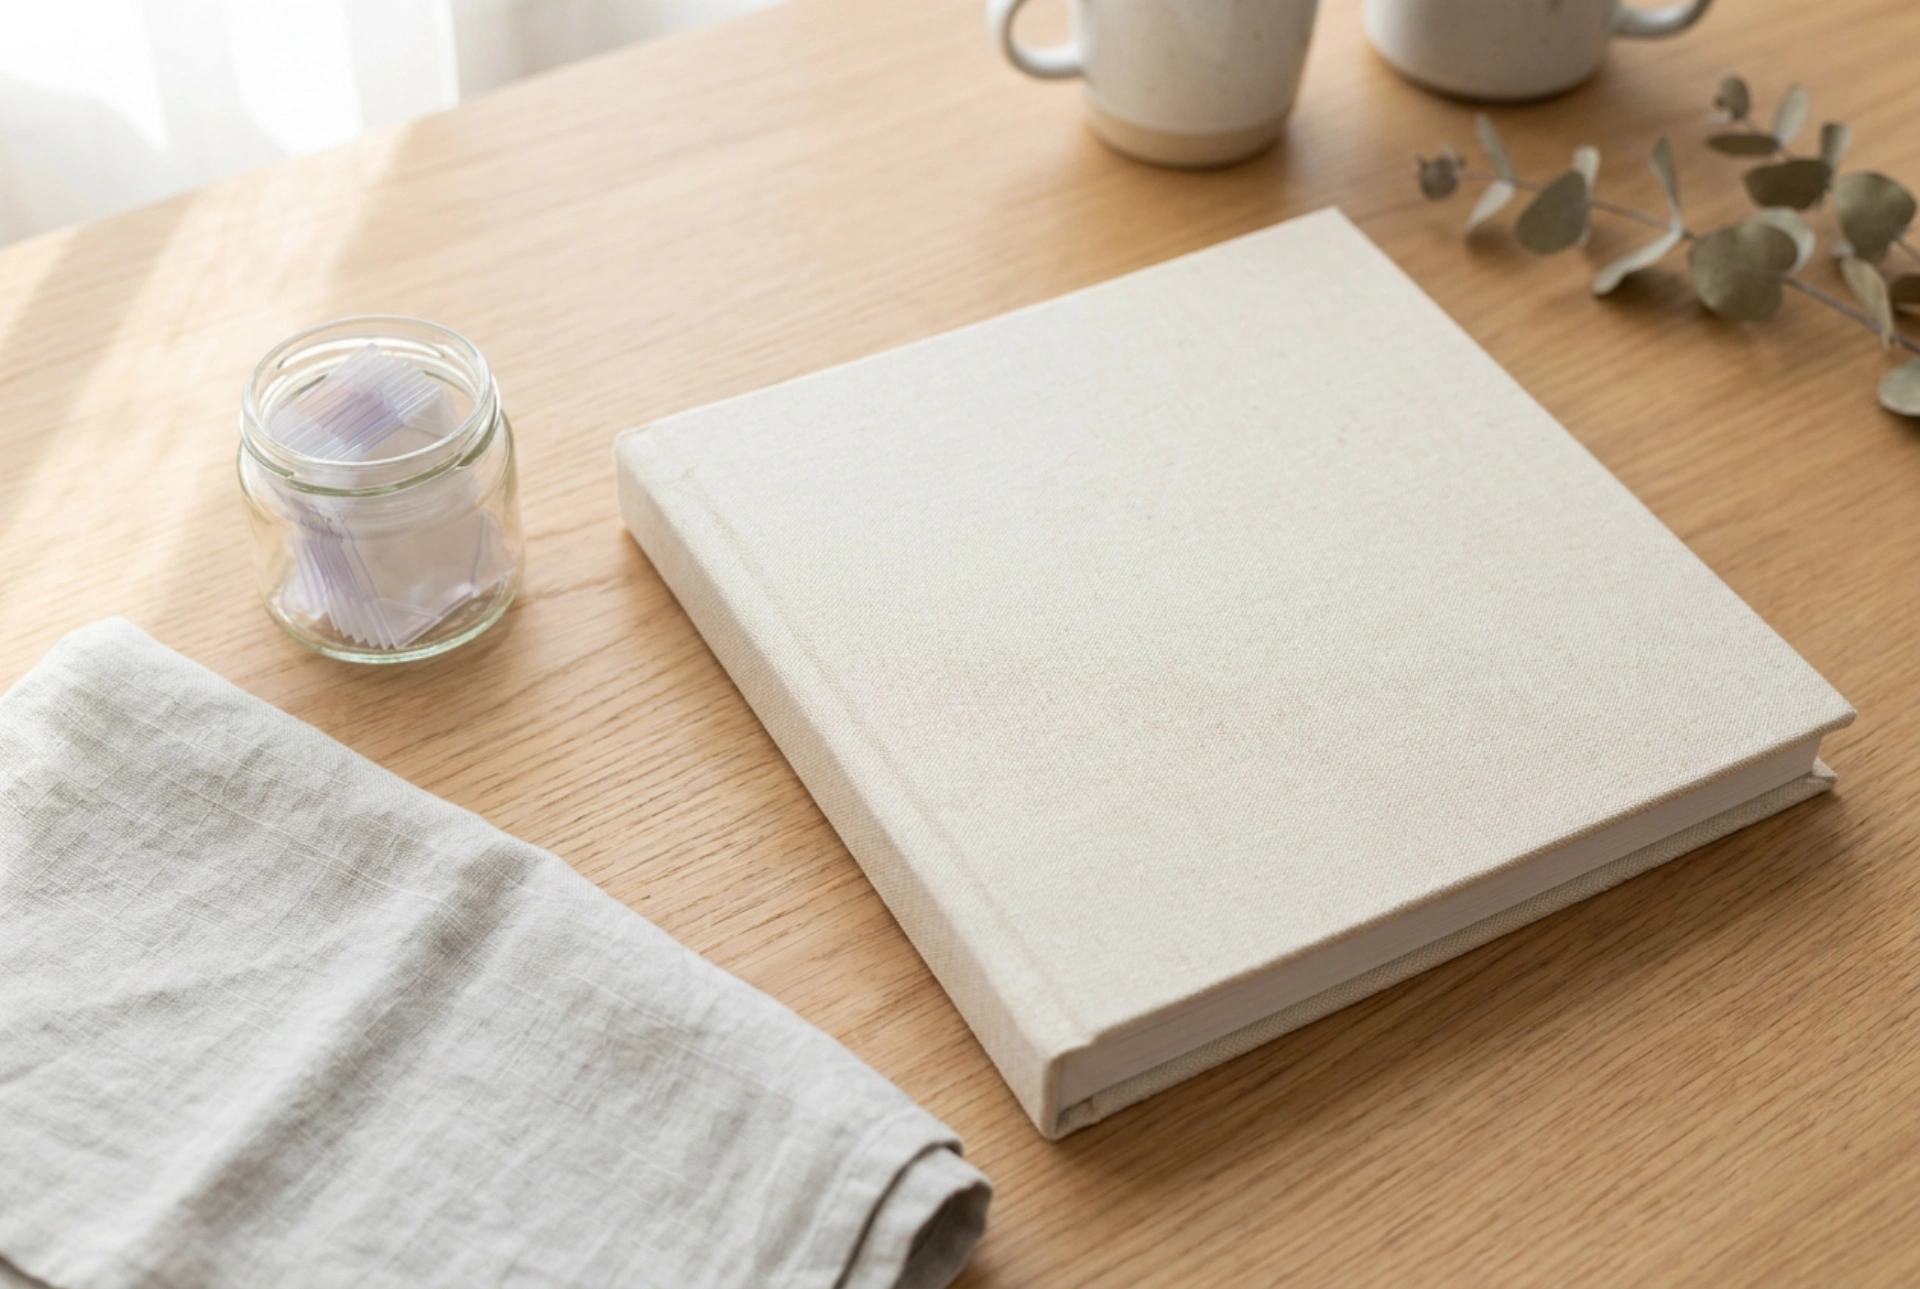


Organizing a large volume of family photographs into a single 300-pocket or slip-in album requires a systematic approach to prevent visual fatigue and preserve the material integrity of your prints.
The Physics of Album Loading and Weight Distribution
A 300-photo album carries significant physical weight once fully loaded. To prevent the spine from warping or the binding joints from cracking under tension, the distribution of photos must be balanced. Always load the album starting from the center pages outward, or distribute the weight evenly across all sections during the sorting phase. Traditional slip-in pockets are made of plastic; ensure your album uses acid-free, archival-grade polypropylene rather than polyvinyl chloride (PVC). PVC releases hydrochloric acid over time, which degrades photo emulsions, causing yellowing and chemical sticking.
Selecting and Sorting: The Chrono-Thematic Method
Before inserting a single print, you must reduce your collection to exactly 300 images. Lay out your photos on a clean, dry surface shielded from direct ultraviolet light. Group your photos using a chrono-thematic matrix:
- Chronological order: Arrange the primary narrative by year or season to establish a logical flow.
- Thematic clustering: Group photos by event, location, or subject matter within those timeframes.
- Visual rhythm: Alternate between wide-angle establishing shots (landscapes, group photos) and close-up details (portraits, hands, objects) to keep the layout engaging.
Establishing Visual Hierarchy on the Page Grid
A typical 300-photo album features pages that hold two or three photos each, usually in a fixed horizontal or vertical orientation. Mixed orientations present a layout challenge. Forcefully rotating a vertical photo into a horizontal pocket ruins the viewing experience by requiring the viewer to constantly turn the heavy album.
Managing Orientation and Focal Points
Designate specific pages exclusively for vertical portraits and others for horizontal landscapes. If your album features a fixed grid, use the principle of leading lines. Place photos with subjects looking inward toward the center seam (gutter) of the album, rather than looking off the edge of the page. This naturally guides the viewer's eye through the narrative arc of the spread instead of directing attention away from the book.
The Chemistry of Preservation and Mounting
If you are utilizing a dry-mount or scrapbook-style album rather than slip-in pockets, the choice of adhesive is critical for long-term preservation. Standard commercial glues contain solvents and acids that penetrate the paper backing of photographs, eventually destroying the silver halides or dye layers on the front.
- Photo corners: Use acid-free, archival paper or polyester corners. These adhere to the page, not the photo, allowing the print to expand and contract naturally with changes in household humidity without buckling.
- Double-sided archival tape: If permanent mounting is necessary, use pressure-sensitive, acrylic-based adhesive tape that meets the Photographic Activity Test (PAT) standards.
- Handling techniques: Always handle prints by their edges or wear lint-free cotton gloves. Natural skin oils contain lipids and salts that attract dust and cause localized chemical oxidation on the photo surface over time.
Environmental Storage and Structural Care
Once your 300-photo album is complete, its storage environment dictates its lifespan. High temperature accelerates chemical reactions, while high humidity encourages fungal growth (mold) on the gelatin emulsion of the prints.
Storage Protocol
Store the album horizontally rather than vertically. Vertical storage puts constant downward pressure on the page bindings, causing the pages to sag and strain the spine over years. Keep the album in a room with stable temperatures (ideally between 15°C and 20°C) and a relative humidity of 30% to 50%. Avoid damp basements, uninsulated attics, or shelves directly above heating elements or in direct sunlight.