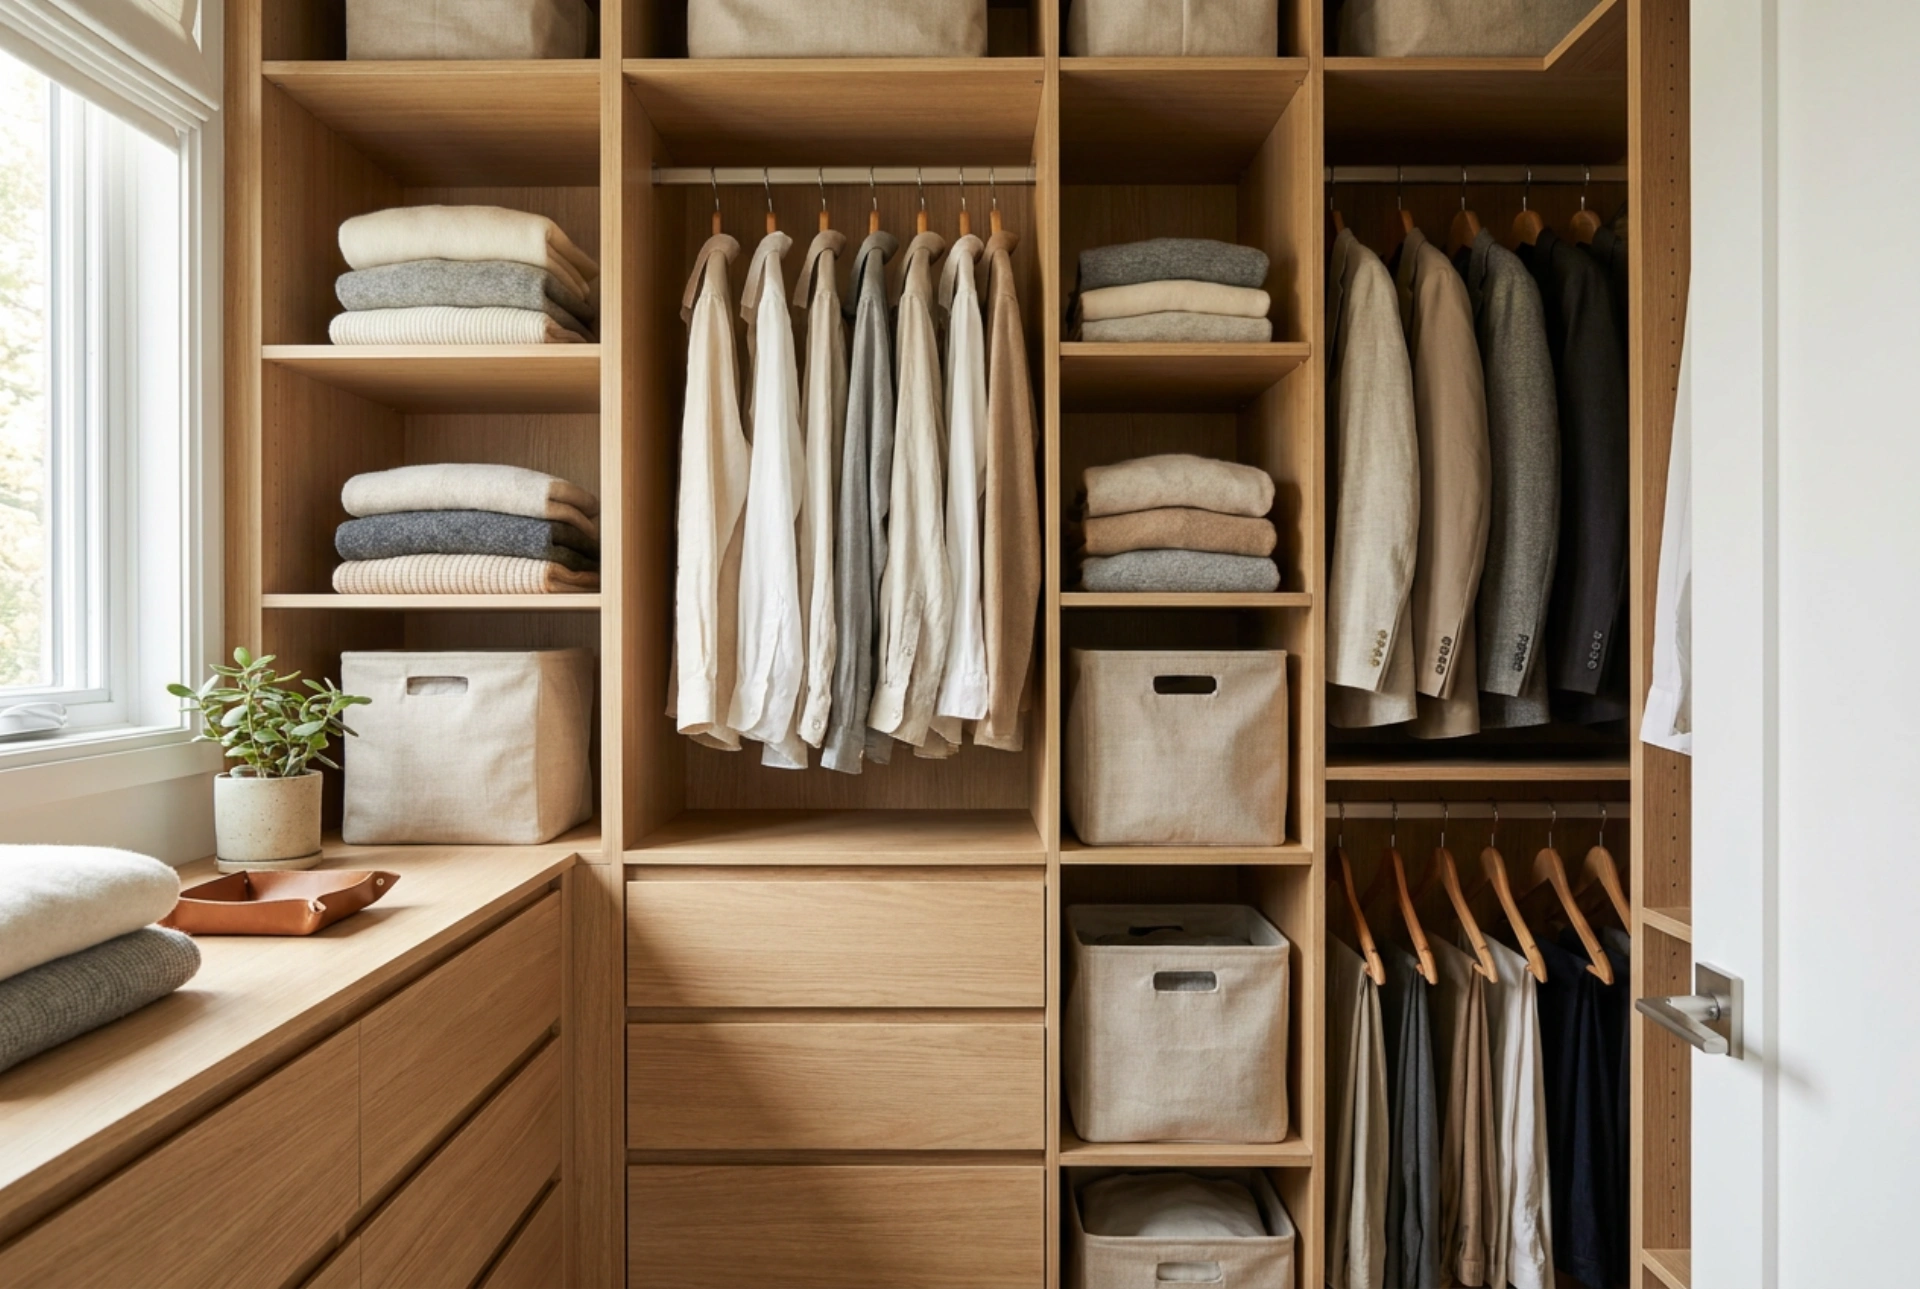


A spacious wardrobe with a mirrored front offers excellent storage potential, but without a systematic zoning strategy, its vast interior quickly succumbs to chaotic clutter.
The Physics of Wardrobe Microclimates and Ergonomics
Effective wardrobe organization is rooted in ergonomic reach zones and physical principles. The interior of a large wardrobe experiences varying microclimates and physical accessibility levels. The lowest section, closest to the floor, is prone to dust accumulation due to gravity and air currents. The highest shelves experience warmer, drier air as heat rises, making them ideal for storing seasonal textiles that must remain completely dry. The middle zone, spanning from waist to eye level, represents the premium ergonomic space where items can be retrieved with minimal physical strain. Categorizing your belongings based on these physical zones prevents unnecessary bending, stretching, and physical wear on your garments.
Dividing the Space: Structuring the Core Zones
To maximize the utility of a deep wardrobe, you must establish three distinct horizontal zones and two vertical streams. This division ensures that every item has a dedicated location based on frequency of use and physical properties.
- The Active Zone (Eye to Waist Level): This area must contain daily wear. Use sturdy wooden or high-density plastic dividers on shelves to prevent stacks of shirts or sweaters from toppling sideways. Keep the height of clothing stacks under 25 centimeters to prevent the bottom garments from compressing and wrinkling under weight.
- The Seasonal Zone (Top Shelves): Reserve the highest shelves for lightweight, out-of-season items. Pack these in breathable cotton or linen storage bins rather than airtight plastic, allowing natural fibers to breathe and preventing musty odors or mold formation from trapped residual moisture.
- The Heavy/Utility Zone (Floor Level): Utilize the bottom of the wardrobe for heavy items, footwear, or pull-out baskets. Footwear should always be stored in structured boxes or on raised wire racks to allow air circulation underneath the soles.
Optimizing the Hanging Areas: Gravity and Tension
Hanging space must be organized by garment weight and length to maintain structural balance on the wardrobe rod. Grouping items from longest to shortest creates a natural open floor space beneath the shorter garments, which can be utilized for modular drawer units or low storage bins. Always select hangers that match the fabric requirements: wide-shouldered wooden hangers for heavy wool coats and tailored blazers to preserve their shape, and non-slip textured hangers for delicate silk or synthetic blouses to prevent slipping and subsequent creasing on the wardrobe floor.
Managing Depth and Maximizing the Mirror Effect
Large wardrobes with mirrored doors are often deep, which can lead to items getting lost in the dark back corners. To counteract this, implement a front-to-back rotation system. Store current-season items at the front of shelves and off-season or rarely worn items directly behind them. The external mirror can be utilized for lighting optimization; position your interior lighting sources so they reflect off the mirrored doors when open, casting light deep into the back corners of the shelving units without creating harsh shadows.
The Order of Operations for Initial Setup
To successfully transition your wardrobe into functional zones, follow this precise sequence: first, empty the entire wardrobe to assess the total volume of goods. Second, clean all interior surfaces with a dry microfiber cloth to remove dust, followed by a damp cloth with a mild pH-neutral detergent to sanitize. Third, measure the exact height, width, and depth of each shelf before purchasing modular dividers or bins. Fourth, install the structural dividers, starting from the center outward, to ensure even weight distribution across the shelving pins. Finally, load your sorted garments into their designated zones, placing the heaviest items at the bottom and the most frequently used items in the central active zone.





