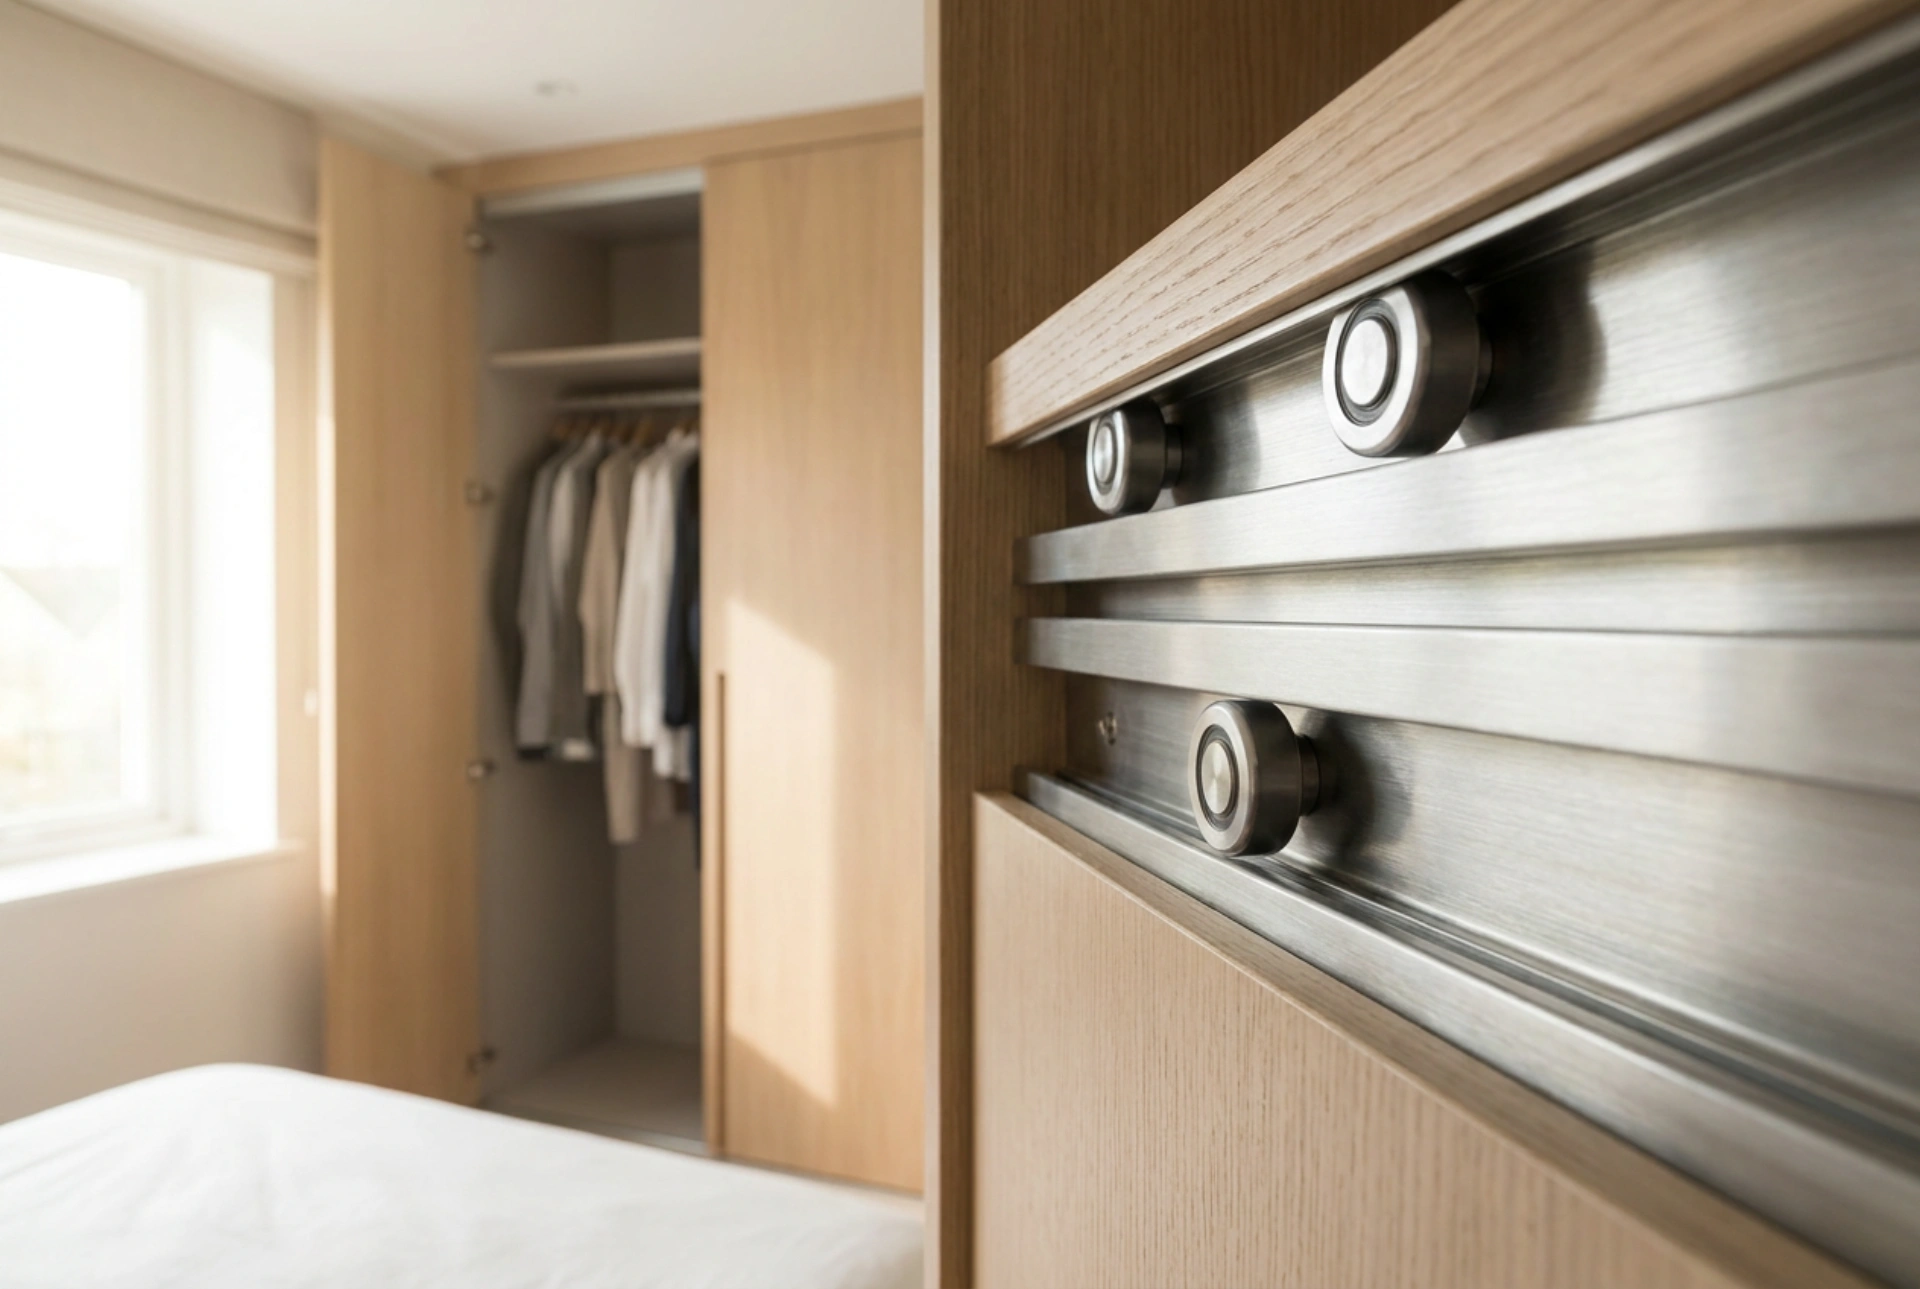


Installing sliding wardrobe doors requires precise alignment and a solid understanding of structural balance to ensure smooth operation and prevent future misalignment or derailment.
Understanding the Physics of Sliding Systems
Sliding wardrobe systems rely on a simple physical principle: load-bearing distribution. Most modern systems utilize a bottom-rolling mechanism where the weight of the door rests entirely on the lower track, while the top track acts purely as a guide to prevent lateral movement. Alternatively, top-hung systems suspend the weight from the upper track, requiring a highly secure structural ceiling or reinforced wardrobe header. For domestic installations, bottom-rolling systems are generally preferred because they distribute the weight directly onto the floor, minimizing structural strain on the wardrobe frame.
Step 1: Preparing and Leveling the Opening
Before installing any hardware, you must ensure the wardrobe frame or wall opening is perfectly square. Even a minor deviation of a few millimeters can cause sliding doors to drift open or jam. Use a high-quality spirit level to check the vertical alignment of the side walls and the horizontal alignment of the floor and ceiling. If the floor is uneven, you must use shim plates or adjustable levelers underneath the bottom track. The tracks must run perfectly parallel to each other in both the horizontal and vertical planes to prevent the doors from binding as they slide.
Step 2: Cutting and Mounting the Tracks
Accurate measurement is critical when preparing the upper and lower tracks. Measure the width of the opening at both the top and the bottom, as these dimensions can sometimes differ slightly.
- Cutting the tracks: Use a fine-toothed hacksaw to cut the aluminum or steel tracks to the exact measured length. Deburr the cut edges with a metal file to ensure no sharp fragments interfere with the rollers.
- Mounting the top track: Position the top track first, aligning it flush with the front edge of the wardrobe header. Secure it using appropriate wood screws, ensuring the track remains perfectly straight without bowing.
- Mounting the bottom track: Place the bottom track temporarily on the floor. Use a plumb line or a laser level dropped from the top track to align the bottom track precisely. Once aligned, secure the bottom track. If you are mounting onto concrete or floor tiles, use appropriate wall plugs; for wooden bases, standard wood screws are sufficient.
Step 3: Preparing the Door Panels and Hardware
If your doors are not pre-assembled, you will need to attach the roller mechanisms and guide wheels. Lay the door panel flat on a clean, soft surface to avoid scratching the finish. Mount the top guides at the upper corners of the door; these typically feature spring-loaded plastic wheels that slide into the top track. Next, install the heavy-duty roller assemblies at the bottom corners. These assemblies contain ball bearings encased in nylon wheels, which offer low friction and quiet operation. Ensure the adjustment screws on the bottom rollers are easily accessible from the side or back of the door.
Step 4: Hanging and Adjusting the Doors
To safely install the doors, always start with the rear door panel first if you have a multi-track system. Angle the top of the door into the rear channel of the top track, compressing the spring-loaded top guides. Once the top is securely engaged, lift the bottom of the door and position the bottom rollers directly onto the raised rib of the rear bottom track. Repeat this process for the front door panel on the outer track.
Once the doors are in place, they must be calibrated. Use a screwdriver to turn the adjustment screws on the bottom rollers. Raising or lowering one side of the door allows you to align the vertical edge of the door perfectly parallel with the wardrobe side panel, ensuring a tight, dust-free seal when closed.





