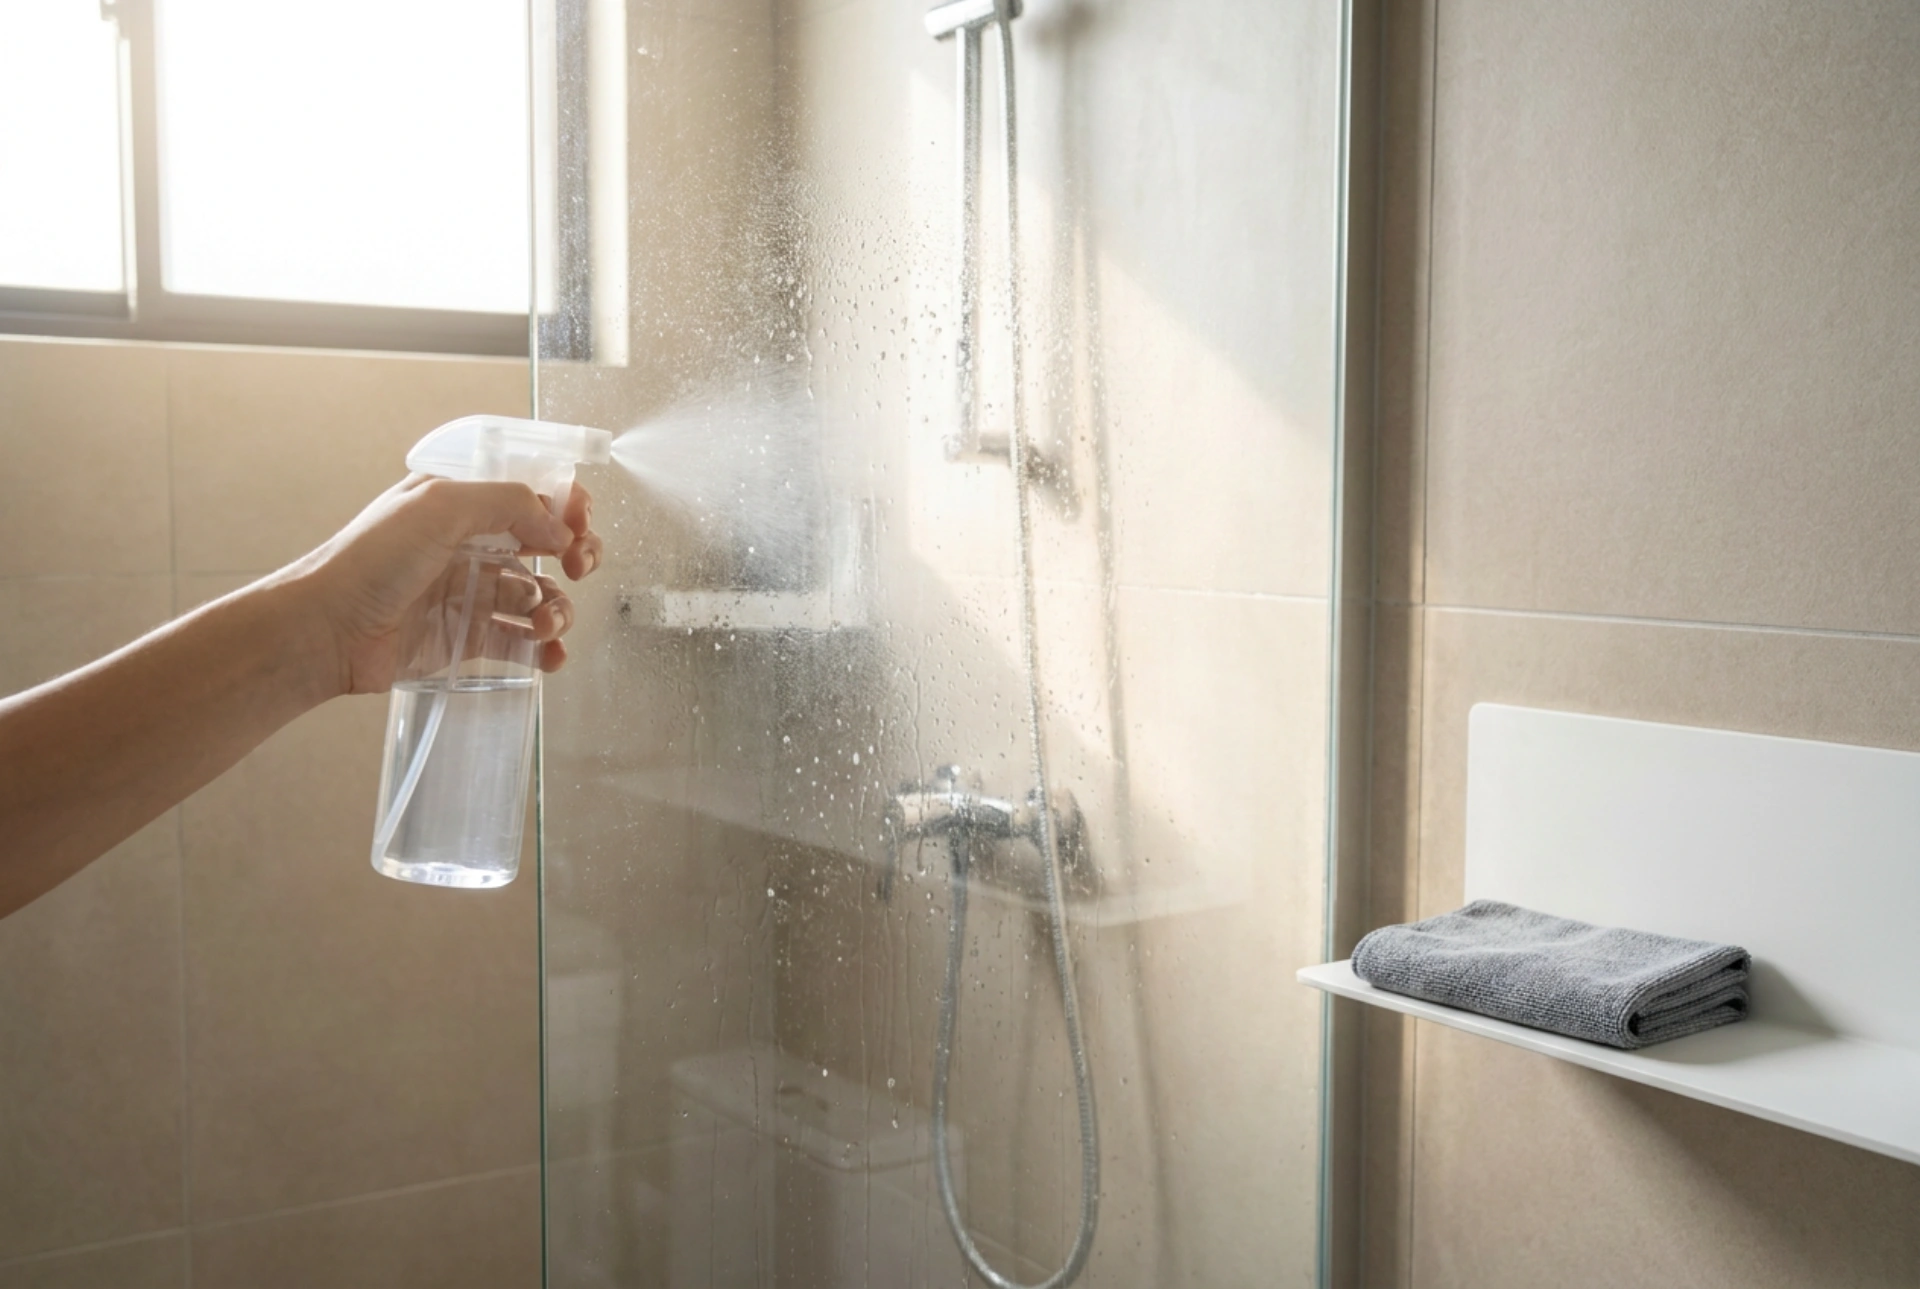


Applying a hydrophobic coating to your glass shower screen creates an invisible, water-repellent barrier that prevents mineral deposits and soap scum from bonding to the surface.
The Chemistry of Hydrophobic Protection
Untreated glass may look perfectly smooth to the naked eye, but at a microscopic level, it is full of tiny peaks and valleys. Water molecules easily cling to these irregularities, and as the water evaporates, it leaves behind dissolved calcium and magnesium carbonates, commonly known as limescale. Hydrophobic liquids contain active silicon dioxide or polymer compounds that fill these microscopic crevices. This chemical reaction creates a perfectly flat, low-surface-energy barrier. Because the water cannot grip the surface, it forms tight, spherical droplets that roll off under the force of gravity, carrying soap residue with them.
Step 1: Deep Cleaning and Surface Preparation
For the hydrophobic liquid to bond effectively, the glass must be completely free of organic oils, surfactant residues, and mineral deposits. Any barrier between the glass and the coating will prevent proper chemical adhesion, causing the treatment to wear off in days rather than months.
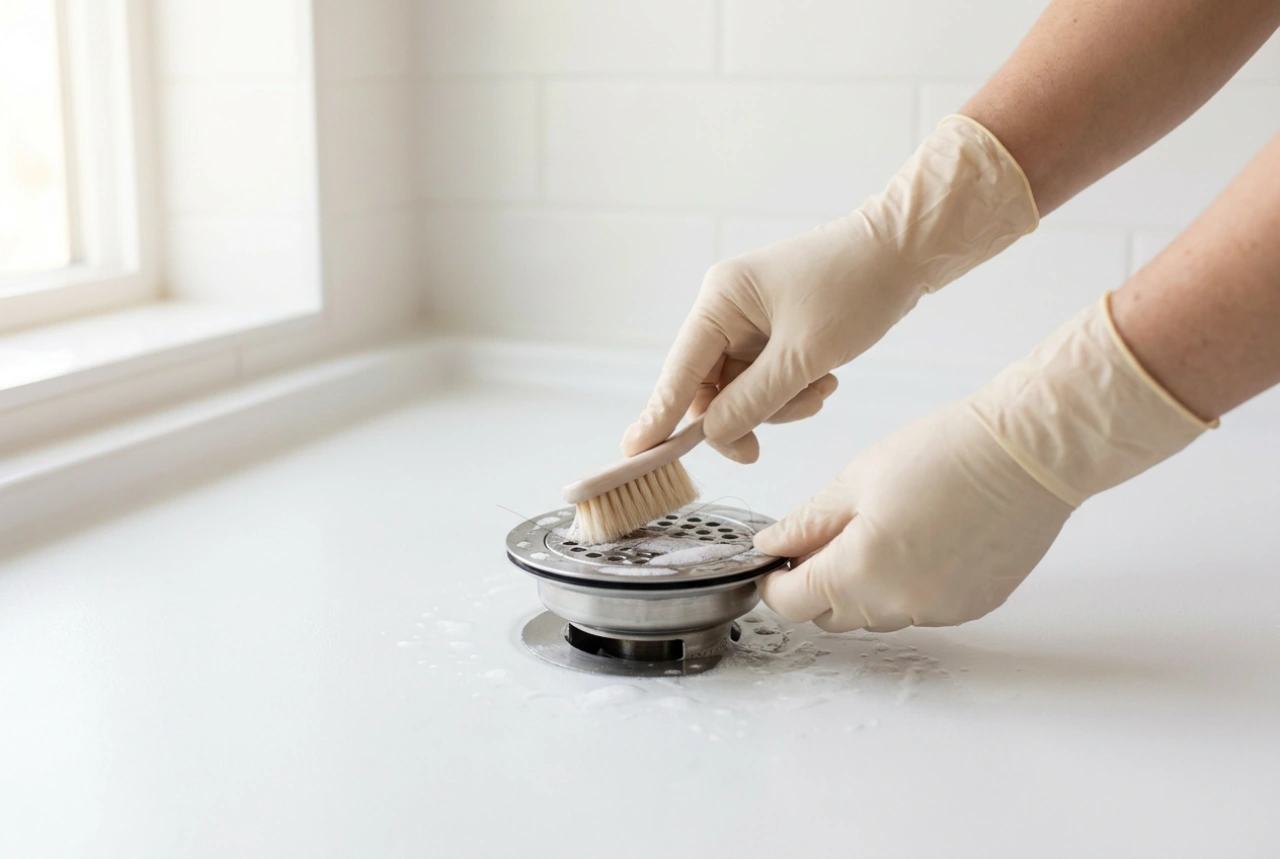
- Acidic Descaling: Spray the glass with a mild citric acid solution to dissolve existing limescale. Allow it to sit for three minutes, then scrub gently with a non-abrasive white pad.
- Surfactant Removal: Wash the surface with a neutral liquid soap to lift remaining oils, then rinse thoroughly with cold water.
- Alcohol Degreasing: Wipe the dry glass down with isopropyl alcohol. This step evaporates quickly and removes any micro-films left by cleaning agents, leaving a chemically pure glass surface.
Step 2: Correct Application Techniques
Temperature and moisture are critical factors during the application phase. Apply the liquid in a dry, well-ventilated bathroom where the ambient temperature is between fifteen and twenty-five degrees Celsius. High humidity can interfere with the curing process.
The Mechanical Movement
Spray a fine mist of the hydrophobic liquid directly onto a dry microfiber cloth, rather than saturating the glass itself. Work in small zones of approximately fifty by fifty centimeters. Wipe the cloth in overlapping circular motions to ensure the polymers are pushed deep into the microscopic pores of the glass. Immediately follow with a vertical and horizontal grid pattern to distribute the product evenly without leaving gaps.
The Buffing Process
Within a few minutes of application, the liquid will begin to dry into a faint, cloudy haze. This haze indicates that the carrier solvent has evaporated, leaving the active protective molecules on the surface. Take a clean, dry, high-density microfiber cloth and buff the surface using firm, circular motions until the glass is perfectly transparent. If any stubborn streaks remain, mist them lightly with water and buff again.
Step 3: Curing and Maintenance
The chemical bonding process requires time to cure completely. Do not expose the treated glass to water or high humidity for at least twelve hours. This allows the polymer chains to cross-link and lock onto the silica structure of the glass. For daily maintenance after the curing phase, avoid harsh acidic or abrasive cleaners, as these will strip the coating. Instead, use a simple silicone squeegee after each shower to remove excess water droplets, and clean the glass using only water and a soft cloth.