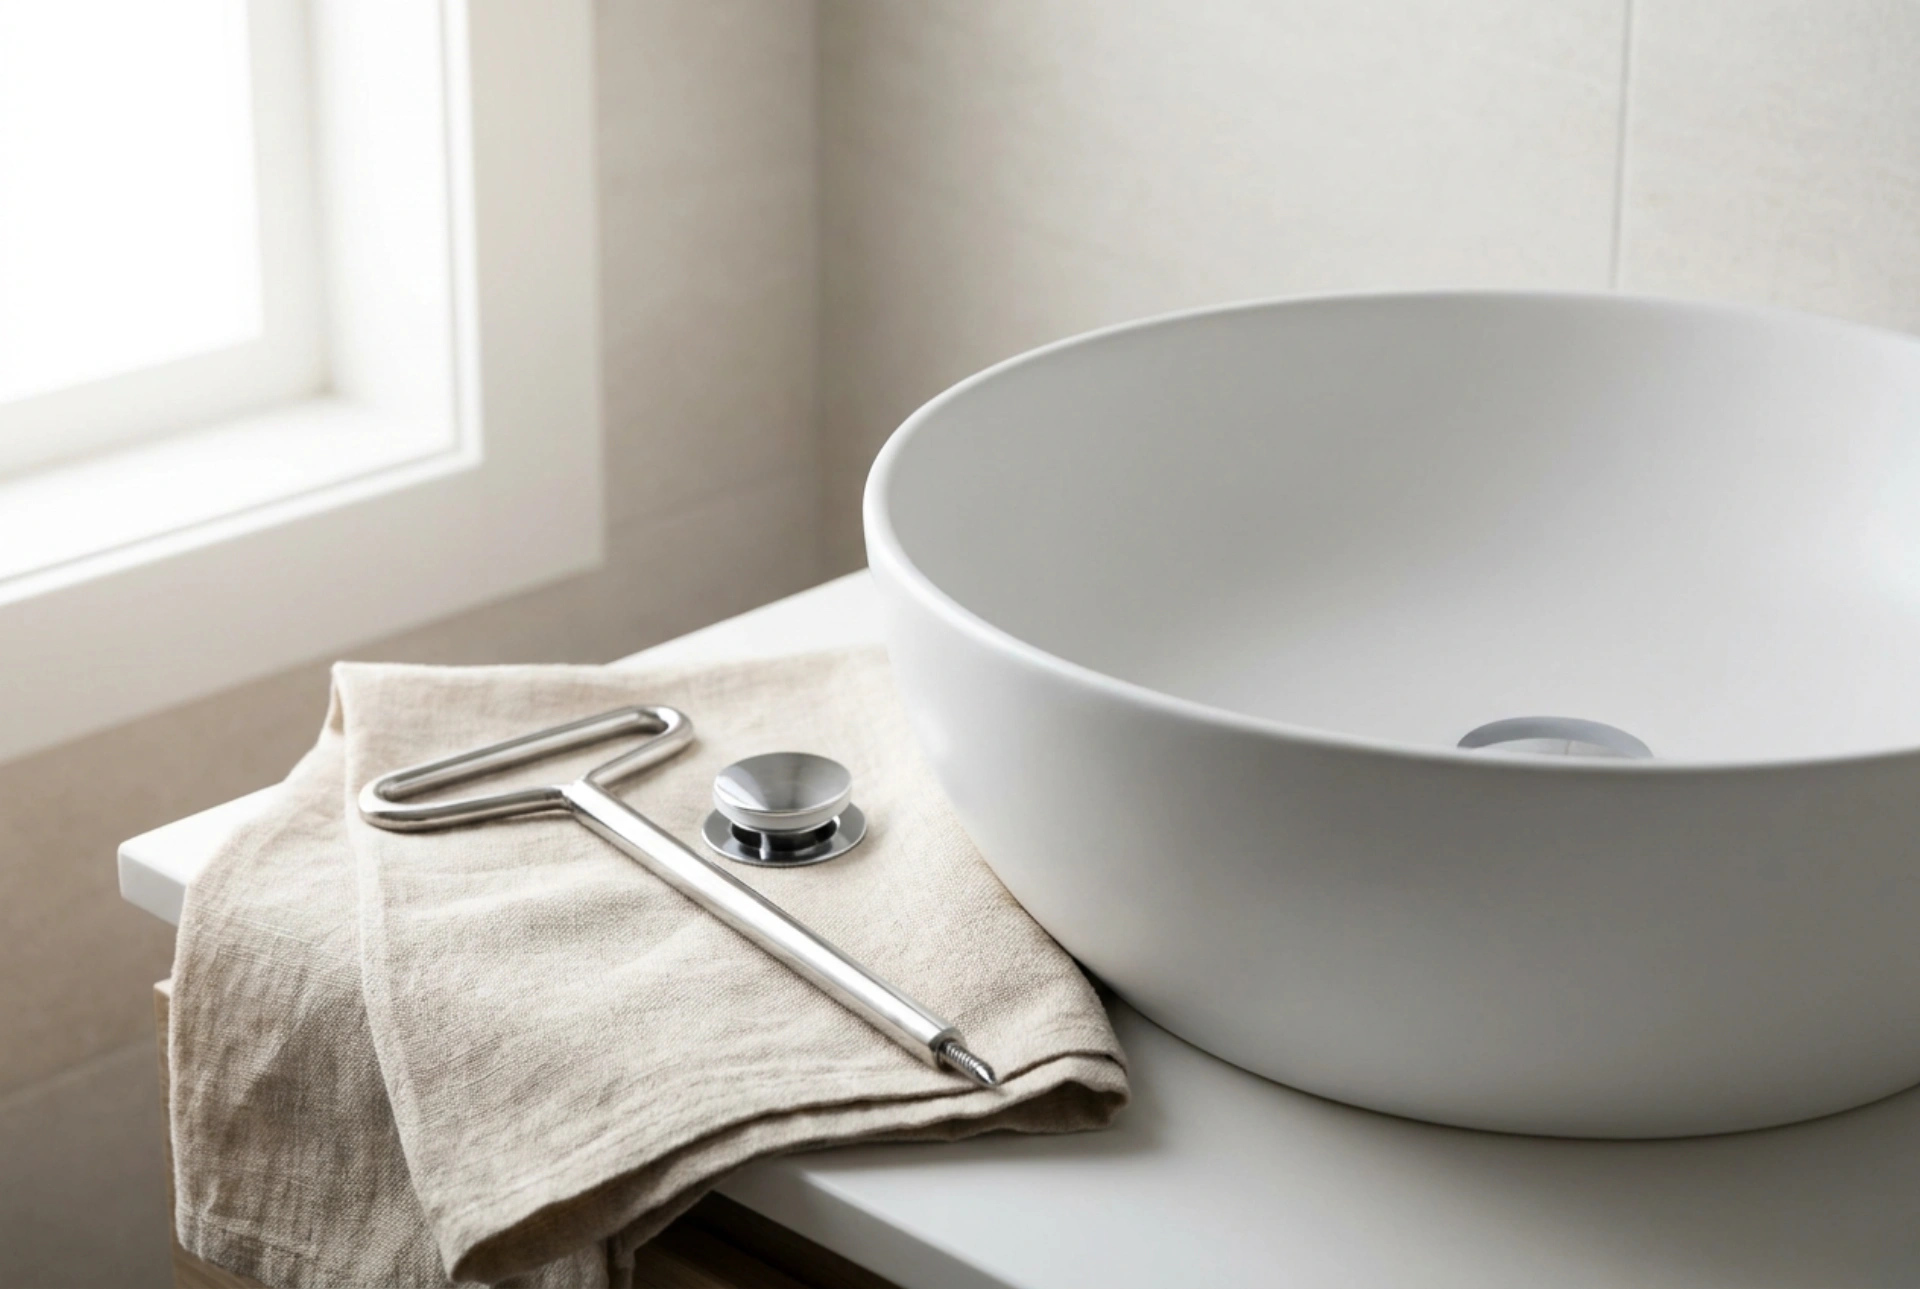


Using a compressed air drain blaster is an incredibly efficient method for clearing stubborn blockages, but the high kinetic force can easily rupture joints or crack delicate plumbing fixtures if misused. Mastering the physical principles of pressure propagation allows you to clear obstructions safely without compromising the integrity of your wastewater system.
The Physics of Hydraulic Shock and Why It Risks Your Pipes
A compressed air drain blaster works by storing pressurized air and releasing it in a single, sudden burst. When this air hits the standing water in your drain, it creates a kinetic shockwave. Because water is virtually incompressible, the shockwave travels through the water column until it strikes the clog, transferring the energy to break up the mass.
However, this force does not only travel forward. If the clog is dense and resistant, the pressure wave rebounds. According to Pascal’s law, fluid pressure is transmitted equally in all directions within a closed space. This means the force is distributed against the walls of your pipes and, more critically, against the joints. If the pressure exceeds the structural limits of these connections, slip joints can separate, rubber seals can distort, and old, brittle PVC pipes can fracture under the sudden stress.
Evaluating Pipe Materials and Joint Vulnerability
Before pulling the trigger on a pressure unclogger, you must inspect the exposed plumbing beneath your basin. Different pipe materials and joining methods tolerate pressure differently:
- Plastic Slip-Joints: Commonly found under kitchen and bathroom sinks, these connections rely on a tapered plastic or rubber washer compressed by a threaded nut. They are highly susceptible to blowing apart under sudden pressure.
- Solvent-Welded PVC: These pipes are chemically fused together. They are much stronger than slip-joints, but older PVC can become brittle over time and crack under high-impact forces.
- Threaded Metal or Cast Iron: Extremely durable, but the internal rust and corrosion in older metal pipes can create weak spots that might burst under high pneumatic stress.
The Essential Pre-Blast Preparation Protocol
To prevent structural damage and messy back-splashes, prep the area carefully. First, you must block the path of least resistance. Most bathroom basins have an overflow channel. If left open, the pressurized air will bypass the clog, escape through the overflow, and blast dirty water directly into your face. Seal the overflow tightly using a damp microfiber cloth held firmly in place, or apply heavy-duty duct tape over the opening.
Next, manually support the P-trap. If you are dealing with a sink drain, have a helper hold the plastic trap beneath the sink firmly, or support it yourself. This physical stabilization prevents the kinetic energy from shaking the joints loose during the sudden release of air.
Executing the Shot: Technique, Angle, and Pressure Control
Success relies on a strict order of operations and proper tool positioning. Follow these steps to ensure a safe discharge:
1. Start with Minimal Pressure
Never pump the tool to its maximum capacity on the first attempt. Start at the lowest recommended pressure level (typically 2 to 3 bars or a few manual pumps). Incremental increases are much safer than a single over-pressurized blast.
2. Achieve a Perfect Seal
Fill the basin with just enough water to submerge the rubber nozzle of the tool. Water acts as a gasket, helping to seal the connection and direct the kinetic wave down the pipe rather than allowing air to escape sideways. Hold the tool perfectly vertical and press the nozzle firmly into the drain opening.
3. The Controlled Discharge
Keep a firm, downward grip on the tool to resist the recoil. Trigger the device cleanly. You should hear a dull thud rather than a loud splash. If you hear a splash, your seal was insufficient.
Post-Procedure Inspection and Thermal Flushing
Immediately after discharging the tool, inspect the area beneath the sink. Run your fingers along every joint to check for dampness or structural shifting. Even a microscopic shift in a slip-joint washer can lead to slow, damaging leaks inside your vanity or wall cavity over time.
If the clog has cleared, flush the system with warm water—around 50 to 60 degrees Celsius—for several minutes. This temperature softens organic residues like soap scum and grease that were loosened by the pressure wave, allowing them to flow completely out into the main sewer line without reforming a blockage.