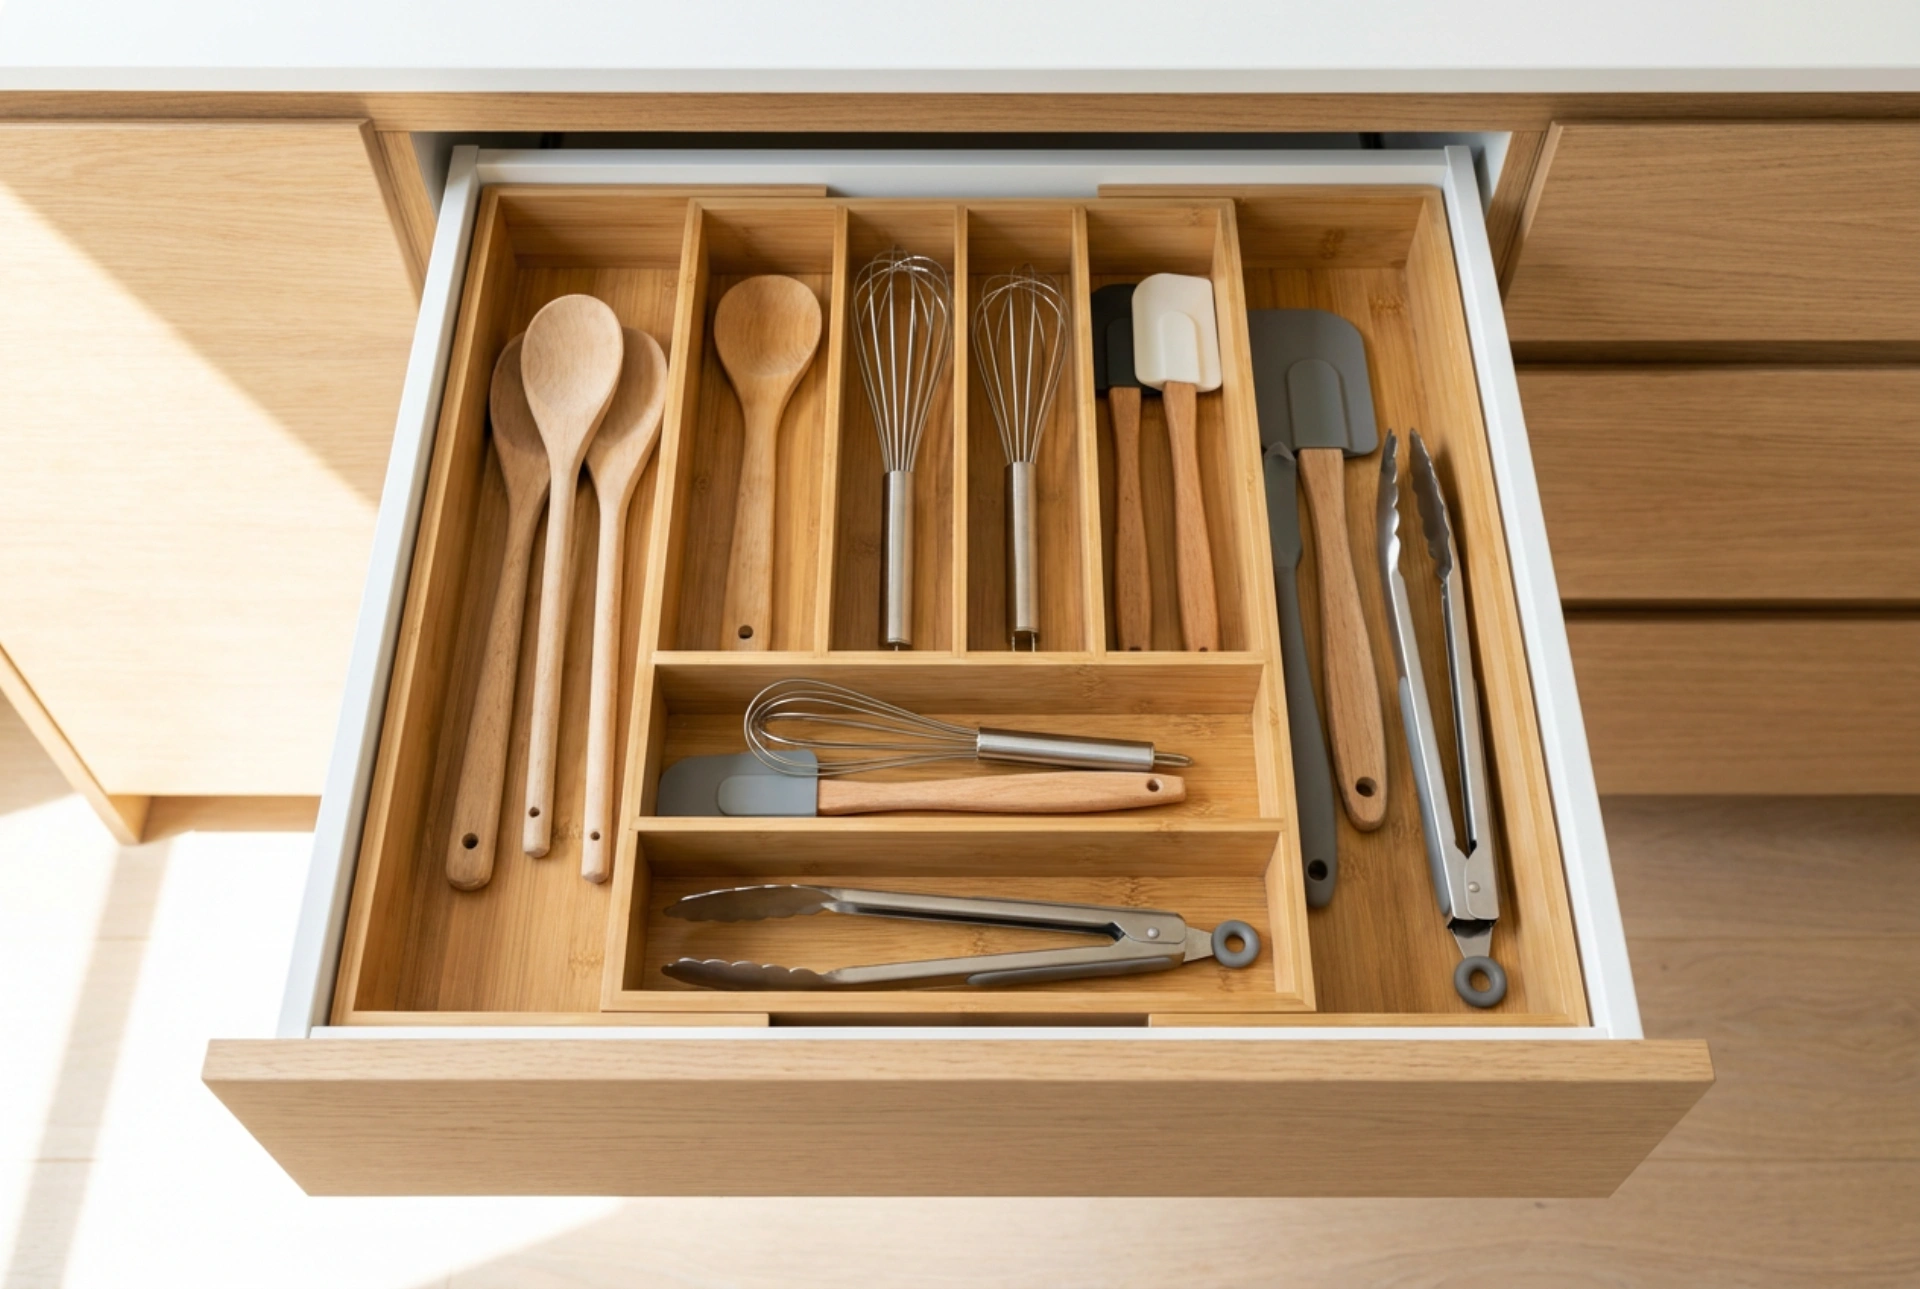


Standard drawer dividers often fail in custom or non-standard cabinetry, leading to wasted space and sliding utensils. Implementing an expandable organizer relies on mechanical tension and strategic weight distribution to stabilize your storage and utilize every square centimeter of an odd-sized drawer.
The Physics of Drawer Movement and Sliding Friction
Every time a drawer is opened or closed, its contents are subjected to inertia. Items continue moving even after the drawer has stopped, causing clutter, noise, and potential damage to delicate utensils. Standard organizers that do not fit perfectly leave gaps, allowing the entire insert to slide back and forth.
An expandable organizer solves this by using lateral tension. When you expand the width or depth of the organizer to press firmly against the inner drawer walls, you create a high-friction mechanical fit. This lateral pressure transfers the kinetic energy of the drawer movement directly into the cabinet frame rather than allowing the organizer to slide. To optimize this effect, choose organizers with rubberized or high-friction silicone end pads, which dramatically increase the coefficient of static friction against smooth wood or laminate drawer liners.
Choosing the Right Material: Bamboo vs. Polymers
Material science plays a crucial role in how well an organizer performs in non-standard spaces. You must evaluate the weight, durability, and moisture-resistance of your organizer materials:
- Bamboo and Hardwoods: These materials offer natural structural rigidity and aesthetic appeal. Wood has a slight natural elasticity, which helps it maintain a tight press-fit under tension. However, wood is hygroscopic, meaning it absorbs and releases moisture from the air. In a kitchen environment, this can cause minor swelling or shrinking. To maintain stability, treat wood organizers periodically with food-safe mineral oil to seal the pores.
- Polymers and Composite Materials: High-density plastics and composites are impervious to moisture, making them ideal for high-humidity areas or drawers storing damp items. They are easy to wash and often feature integrated elastomeric seals that grip drawer walls without leaving marks. However, they lack the structural weight of wood, which means they require careful loading to prevent lifting.
Step-by-Step Installation and Tension Calibration
Achieving a perfect fit in an odd-sized drawer requires a systematic approach to installation and adjustment. Follow these steps to ensure structural stability:
First, thoroughly clean the drawer interior to remove grease, dust, or crumbs, which act as lubricants and reduce friction. Next, measure the exact depth and width of the drawer at both the front and the back, as custom cabinets may have slight variations in squareness.
Place the collapsed organizer inside the drawer. Gradually expand the sliding mechanism until both sides make contact with the drawer walls. Apply steady outward pressure while tightening any locking screws or tabs. The fit should be snug enough that the organizer does not shift when nudged, but not so tight that it bows the drawer sides or interferes with the drawer glides and runner mechanisms.
Managing Dead Space and Weight Distribution
In odd-sized drawers, even the fully expanded organizer might leave narrow gaps at the perimeter. Instead of ignoring this dead space, utilize it strategically. Narrow side channels are ideal for storing flat, long items like rolling pins, metal skewers, or silicone baking mats. Placing these items outside the organizer frame further locks the central unit in place.
To prevent the drawer from pulling unevenly on its glides, distribute the weight of your utensils systematically. Place heavy metal tools, such as garlic presses and ladles, toward the center and back of the drawer. This keeps the center of gravity low and centered, reducing torque on the drawer runners during rapid opening movements. Keep lighter, frequently used items near the front for easy access and minimal disruption to the overall balance.