

High humidity inside a vehicle leads to fogged windows, musty odours, and accelerated mould growth on upholstery. Using a mobile desiccant absorber is an excellent way to lower the dew point inside the cabin, but improper placement or selection can result in corrosive spills and stubborn stains.
Understanding the Science of Cabin Moisture
To control cabin moisture effectively, it is essential to understand how air temperature and water vapour interact inside an enclosed vehicle. When warm, humid air cools down—especially overnight—it reaches its dew point, causing water vapour to condense on the coldest surfaces, which are typically the glass windows. This condensation creates a breeding ground for mildew and damages sensitive electronics.
Automotive moisture absorbers combat this by using hygroscopic materials that attract and trap water molecules from the surrounding air. The two most common active ingredients are silica gel and calcium chloride. Silica gel works via physical adsorption, where water molecules adhere to the vast network of microscopic pores inside the silicon dioxide beads. This process keeps the moisture locked inside a solid state. Calcium chloride, on the other hand, works via absorption; it is a deliquescent salt that reacts chemically with water vapour, eventually dissolving into a liquid brine. Understanding this chemical difference is crucial for preventing messy leaks in a moving vehicle.
Silica Gel vs. Calcium Chloride: Preventing Spills
When selecting a moisture absorber for a vehicle, the physical state of the saturated medium determines the risk of a mess. Because a car is constantly in motion—subject to acceleration, braking, and centripetal forces—any liquid accumulation poses a spill hazard.
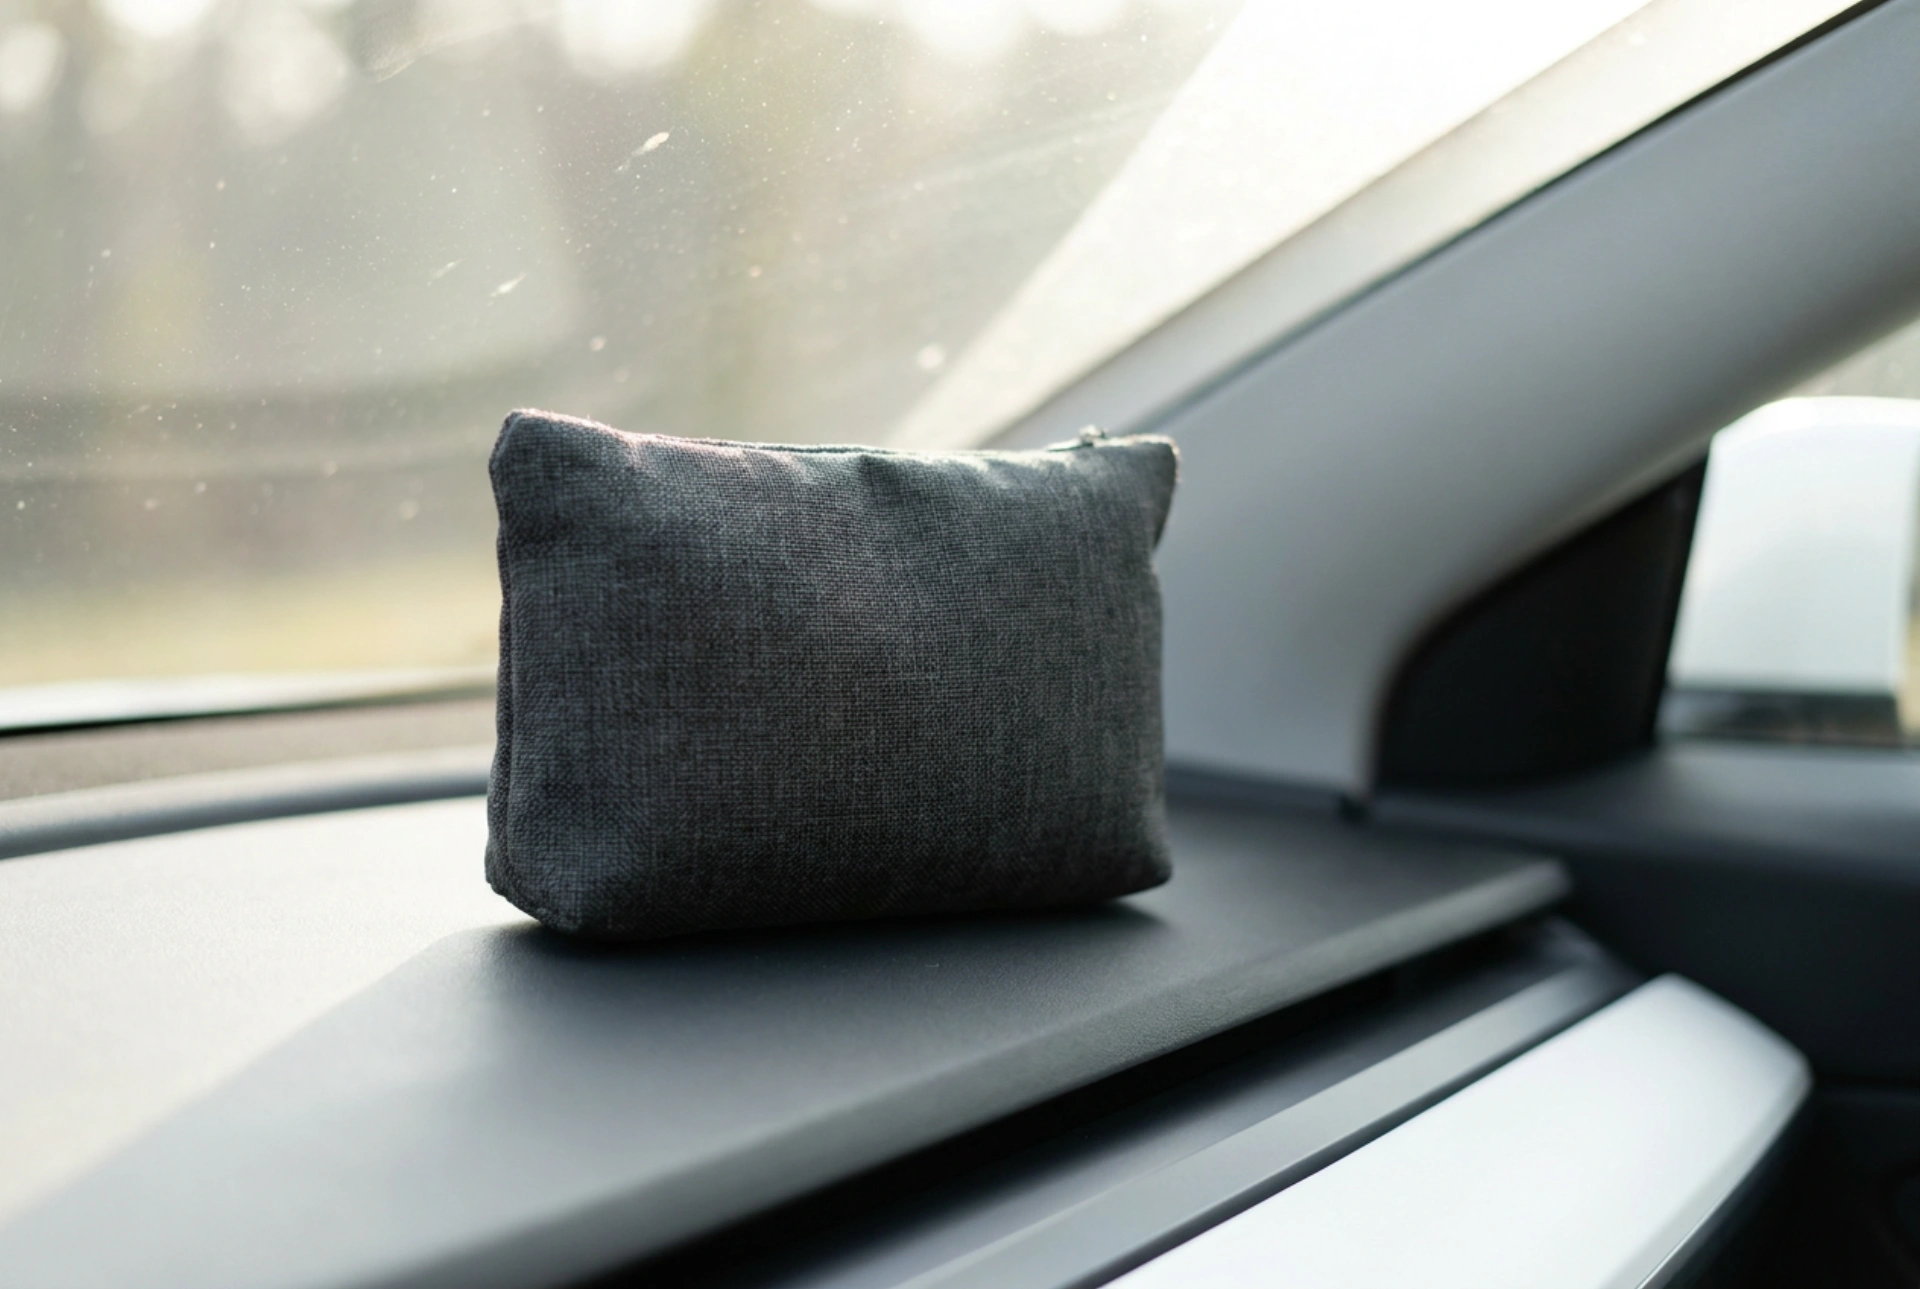
- Silica Gel Pouches: These are ideal for automotive use. Because silica gel retains moisture within its solid structure, there is zero risk of liquid leakage. Even when fully saturated, the pouch remains dry to the touch. These are highly reusable through thermal regeneration.
- Calcium Chloride Containers: These systems are highly efficient at pulling large volumes of water from the air, but they convert the salt flakes into a highly alkaline, corrosive liquid brine. If used in a car, these containers must be secured in a completely upright, stable position. A spill of calcium chloride brine can damage carpet fibres, corrode metal floorboards, and leave a greasy residue that is exceptionally difficult to clean.
Strategic Placement for Optimal Airflow and Safety
To maximise the efficiency of your moisture absorber without compromising driving safety or risking a spill, placement must be calculated based on air circulation patterns inside the cabin.
Air naturally circulates through a vehicle's ventilation paths, typically flowing from the dashboard vents toward the rear exhaust flaps. Placing your absorber in stagnant air pockets, such as deep inside the glove compartment, limits its contact with humid air. Instead, position the absorber on the floorboards underneath the front passenger seat or in the rear footwells. This keeps the unit out of sight, lowers the centre of gravity to prevent tipping, and places it in an area with natural air convection.
If using a dashboard-mounted silica bag, ensure it features a high-friction silicone or rubberised backing to prevent it from sliding during sharp turns. Never place any moisture absorber directly on top of steering wheel columns or passenger airbag deployment zones, as they can become dangerous projectiles in an accident.
Step-by-Step Protocol for Mess-Free Dehumidification
To maintain a dry cabin safely, follow this systematic procedure for deploying and maintaining your moisture control system:
- Inspect the Barrier: Before placing any absorber in your car, inspect the outer fabric or plastic casing for structural integrity. For fabric pouches, ensure the seams are intact to prevent loose beads from rolling under pedals.
- Secure the Unit: If using a container-based system, place it inside a secondary, shallow plastic tray lined with a non-slip silicone mat. Secure the tray to the carpet using hook-and-loop fasteners to prevent tipping during sudden stops.
- Monitor Saturation Levels: Many modern silica pouches feature a chemical indicator strip that changes colour (typically from blue to pink, or brown to green) when the material has reached its maximum moisture capacity. Check this indicator bi-weekly.
- Regenerate Safely: Once saturated, regenerate silica gel bags by heating them to release the trapped water vapour. Place them on a microwave-safe plate and heat according to the manufacturer's specific wattage instructions, or dry them in a standard convection oven at 100°C for several hours. Always allow the pouch to cool completely before reintroducing it to the vehicle.