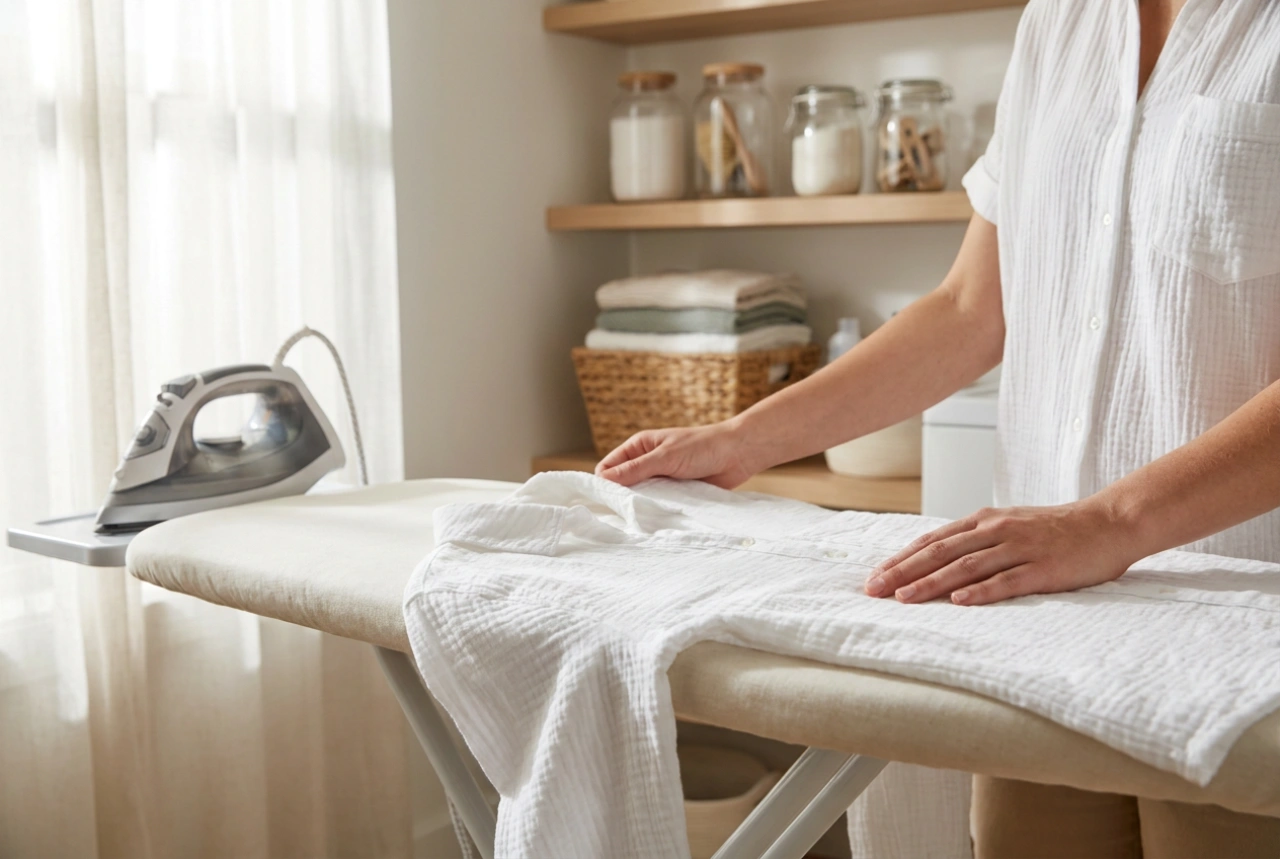


Pressing a wool suit at home requires an understanding of textile physics rather than sheer physical force. Applying direct dry heat to delicate wool fibres alters their physical structure, leading to irreversible shine and distorted seams.
The Science of Fabric Shine and Fiber Distortion
Most high-quality suits are crafted from wool or wool blends. Wool fibres consist of keratin proteins covered in microscopic scales. When these fibres are subjected to direct dry heat and heavy friction, the scales flatten permanently, creating a smooth surface that reflects light intensely—this is the dreaded "shiny" look. Furthermore, excessive heat can melt synthetic blends or fuse internal canvas linings. To prevent this, you must control three variables: moisture, temperature, and mechanical action.
The Essential Tools for Protective Pressing
Before beginning, gather tools that act as barrier protectors and structural support. A standard iron can be used, but it must have a reliable steam function. You will also need:
- A Pressing Cloth: A clean piece of untreated white cotton or linen. This acts as a thermal buffer, absorbing direct friction and diffusing steam evenly.
- A Tailor's Ham or Rolled Towel: Essential for pressing the curved three-dimensional parts of a jacket, such as shoulders and sleeves, without creating flat edges.
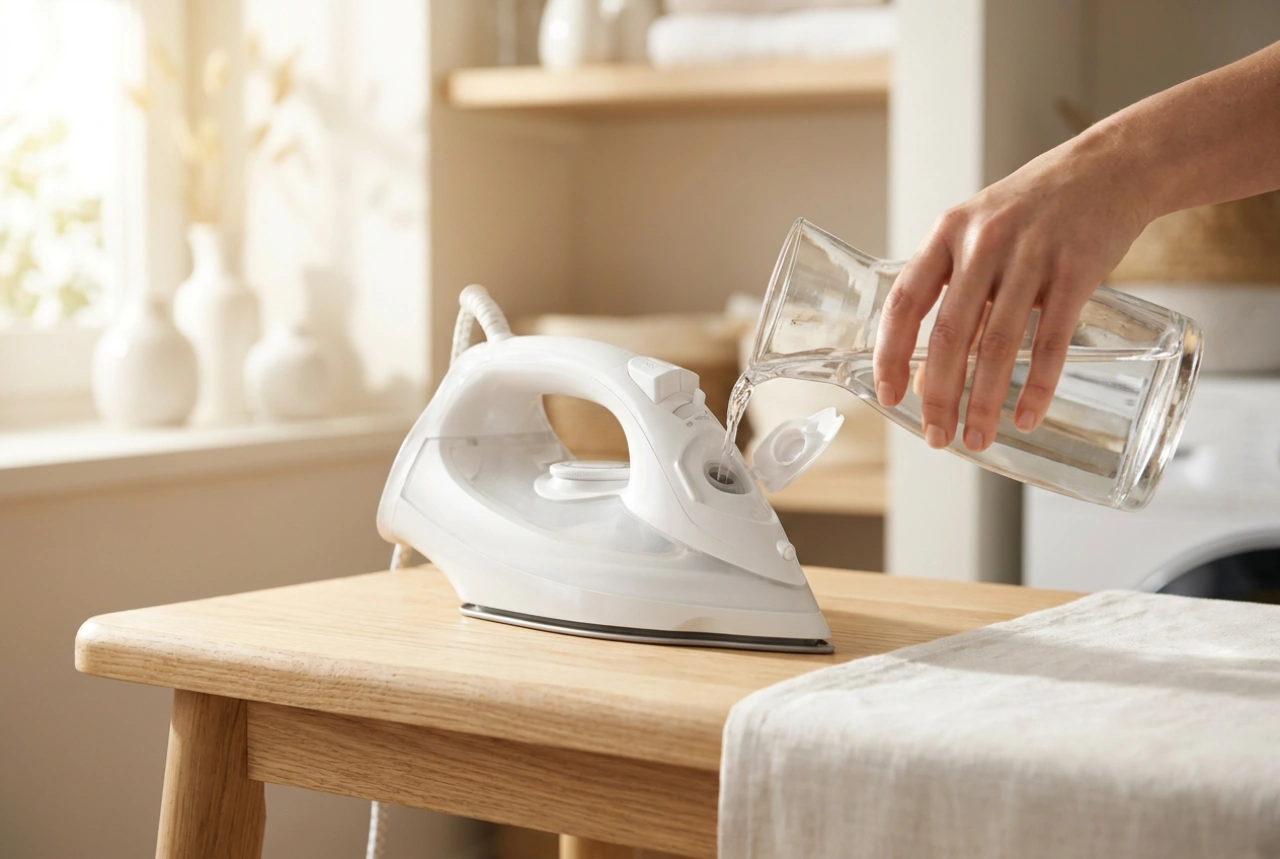
- Distilled Water: Prevents mineral deposits from clogging steam vents and staining the fabric.
The Core Technique: Pressing vs. Ironing
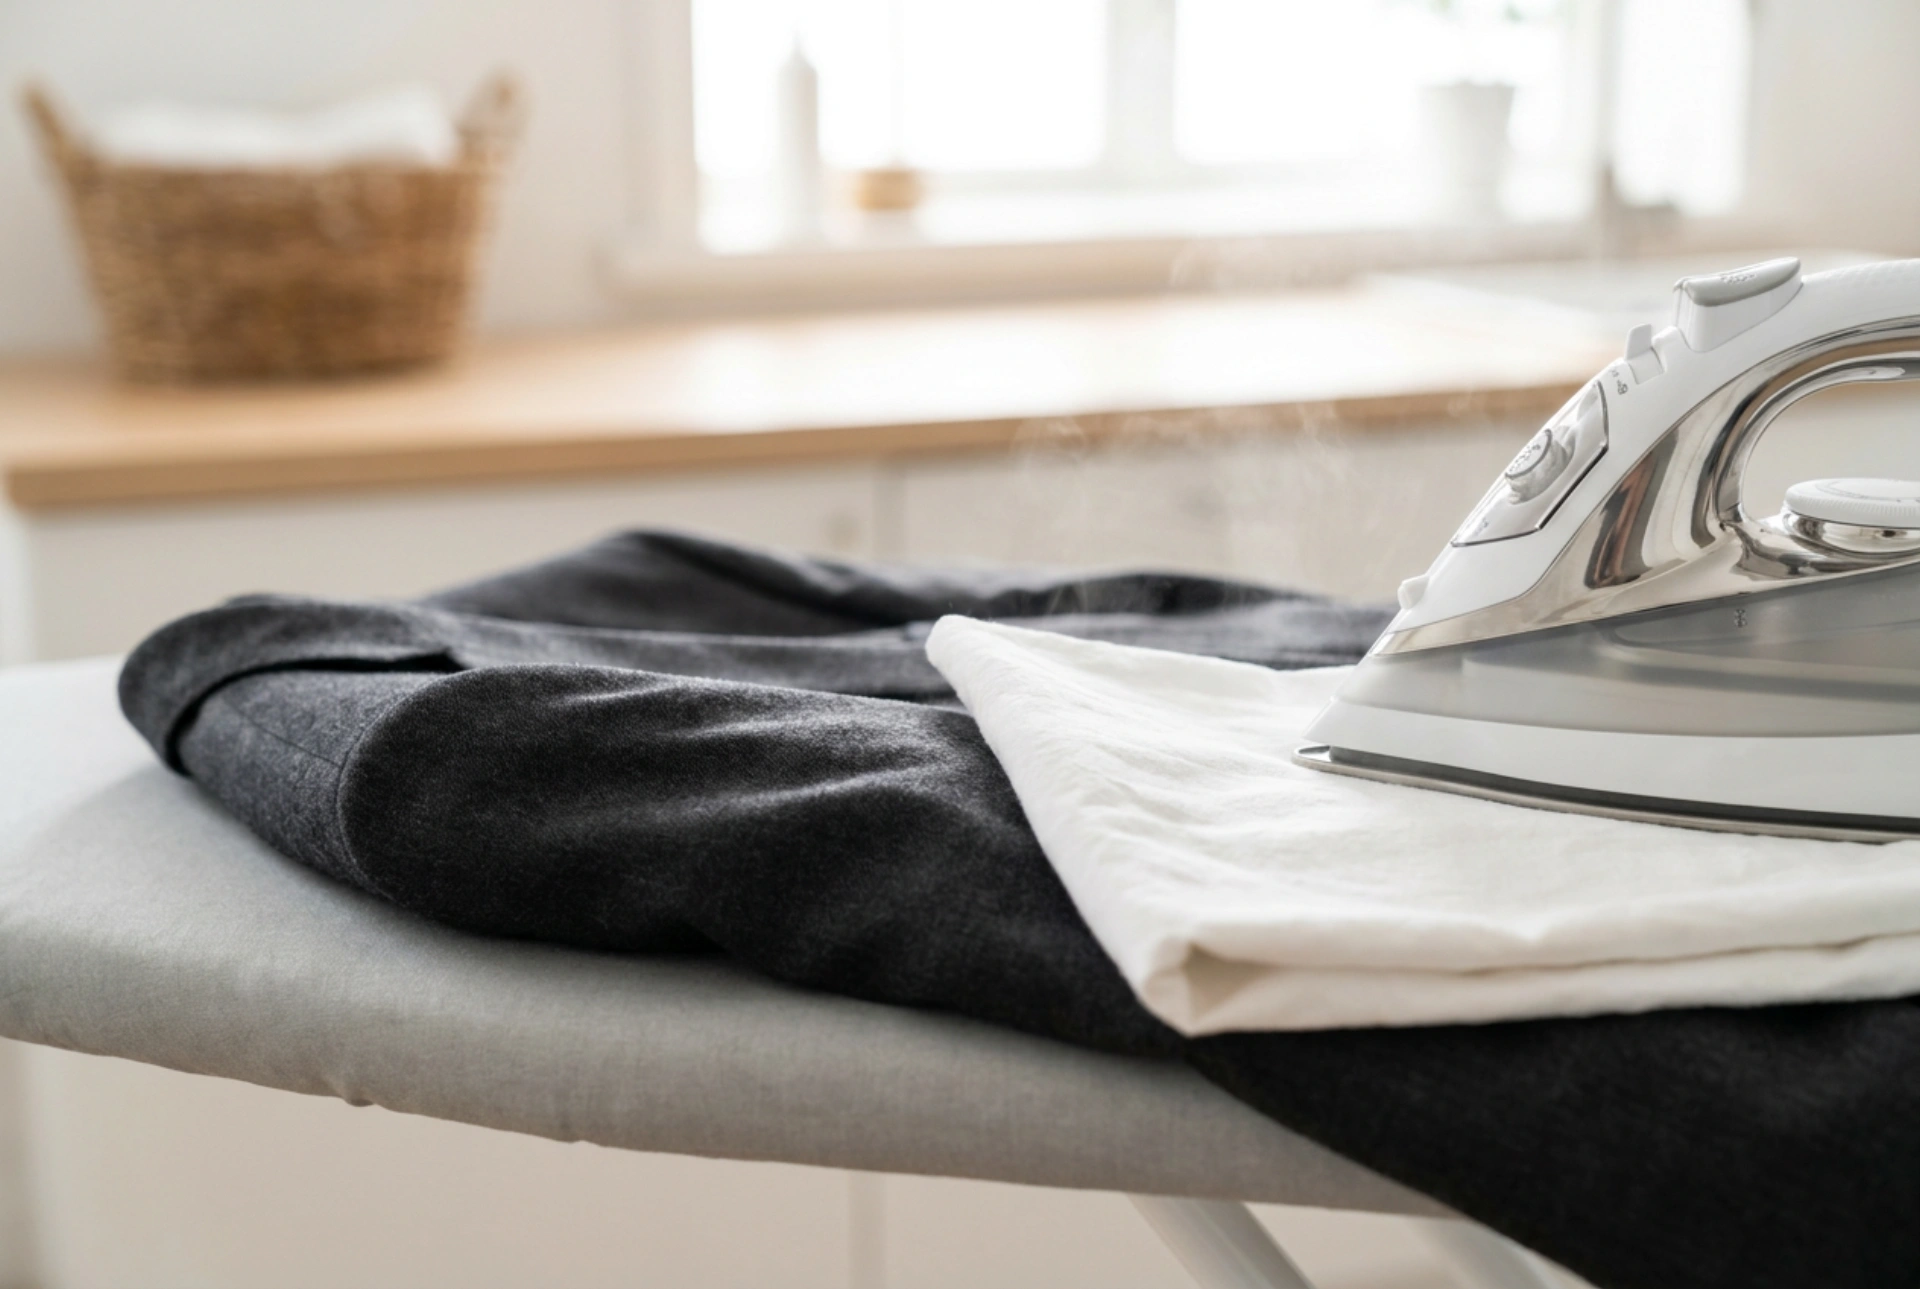
Traditional ironing involves sliding the soleplate across the fabric, which stretches and distorts fibres. For structured garments like suits, you must use the "pressing" technique. This involves lowering the iron vertically onto the pressing cloth, applying gentle steam for two to three seconds, and then lifting the iron straight up. Never drag the iron across the surface. Let the steam do the work of relaxing the fibres, while the weight of the iron sets the shape.
Step-by-Step Order of Operations
1. Preparing the Garment
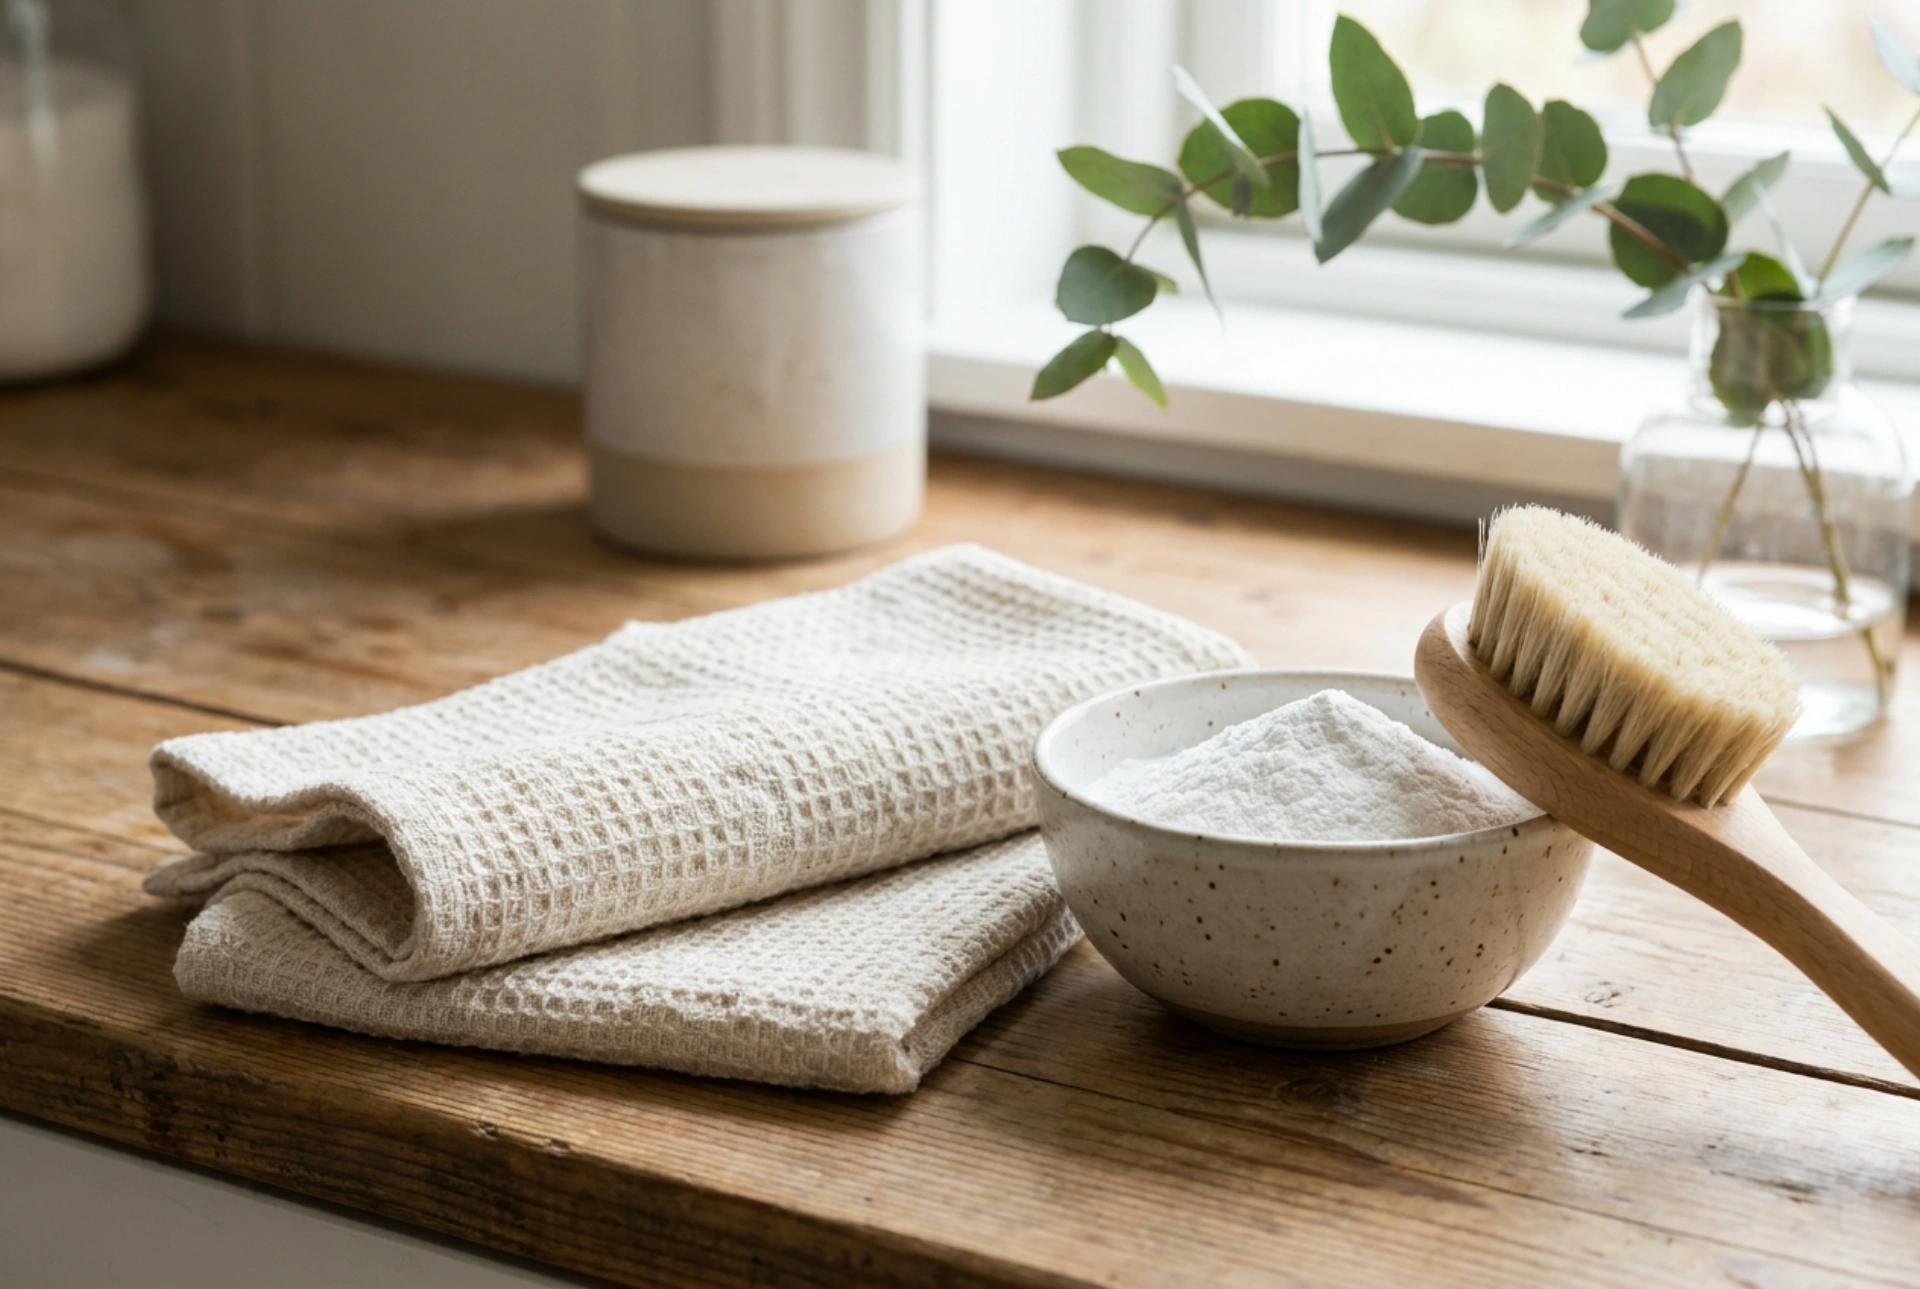
Always brush the suit with a soft-bristled clothes brush first. Any embedded dust or dirt will be baked into the fabric fibres by the heat of the iron, causing permanent dulling or staining. Ensure the iron is set to the correct "wool" temperature, typically around 148 degrees Celsius.
2. Pressing the Trousers
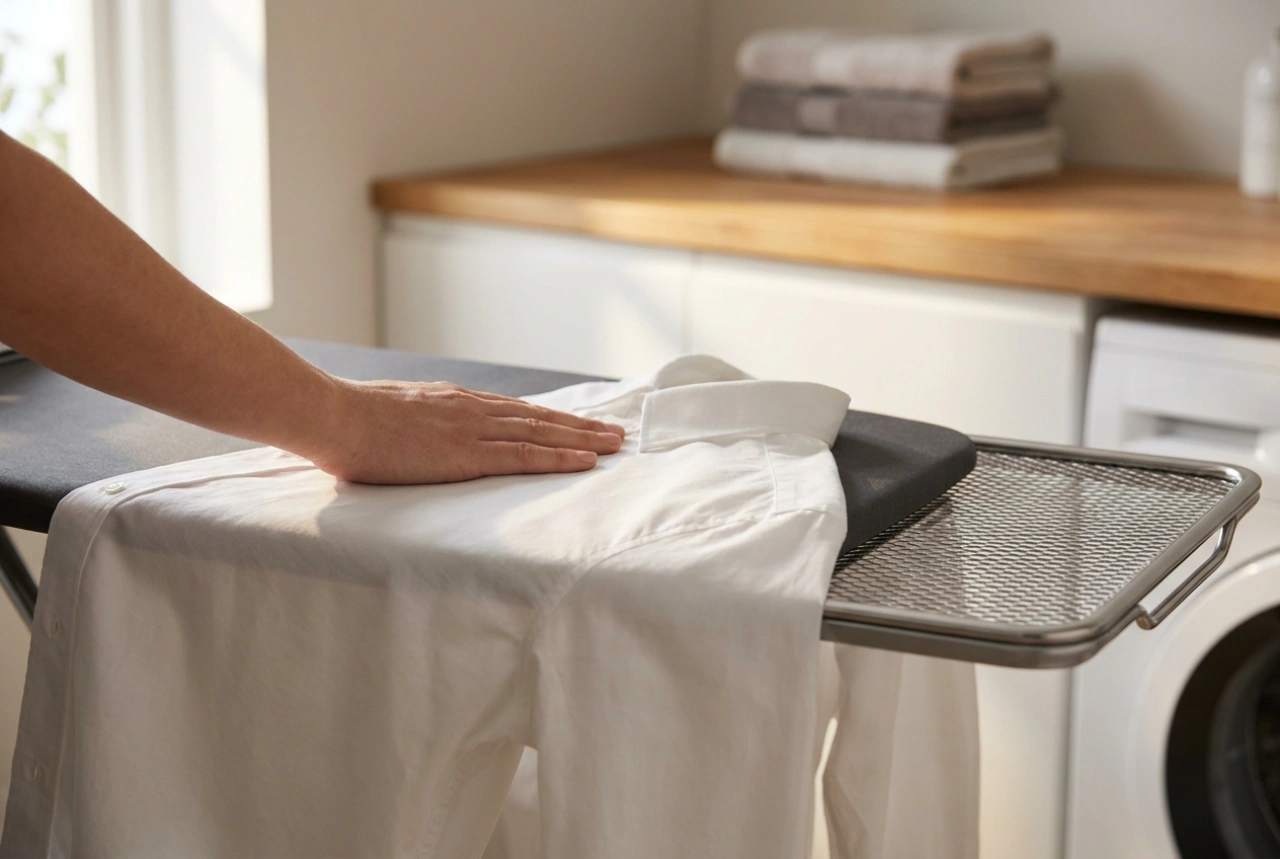
Start by turning the trousers inside out to press the pockets and waistband linings. Flip them right side out and align the legs by matching the inseam to the outseam. Lay them flat on the ironing board. Place the damp pressing cloth over the leg. Work from the cuffs up to the crotch, using the vertical press-and-lift motion to set the front and back creases. Never press over the belt loops directly; press around them to avoid leaving thick indentations.
3. Structuring the Jacket
The jacket requires extreme care due to its internal construction. Start with the sleeves. Slide a sleeve board or a tightly rolled towel inside the sleeve to preserve its cylindrical shape, cover with the pressing cloth, and press gently. For the shoulders, drape them over the curved end of the ironing board or a tailor's ham. Finally, address the lapels: never press a sharp crease into a lapel roll. Instead, press the lapel from the underside of the jacket collar, allowing the lapel to roll naturally toward the front chest without a hard, flat fold.
Cooling and Setting the Fibres
After pressing, wool fibres remain highly malleable while they are warm and damp. If you wear or fold the suit immediately, it will instantly wrinkle. Hang the suit on a wide, contoured wooden hanger in a well-ventilated space for at least two hours. This allows the keratin proteins to cool down, dry completely, and lock back into their natural, wrinkle-free structure.