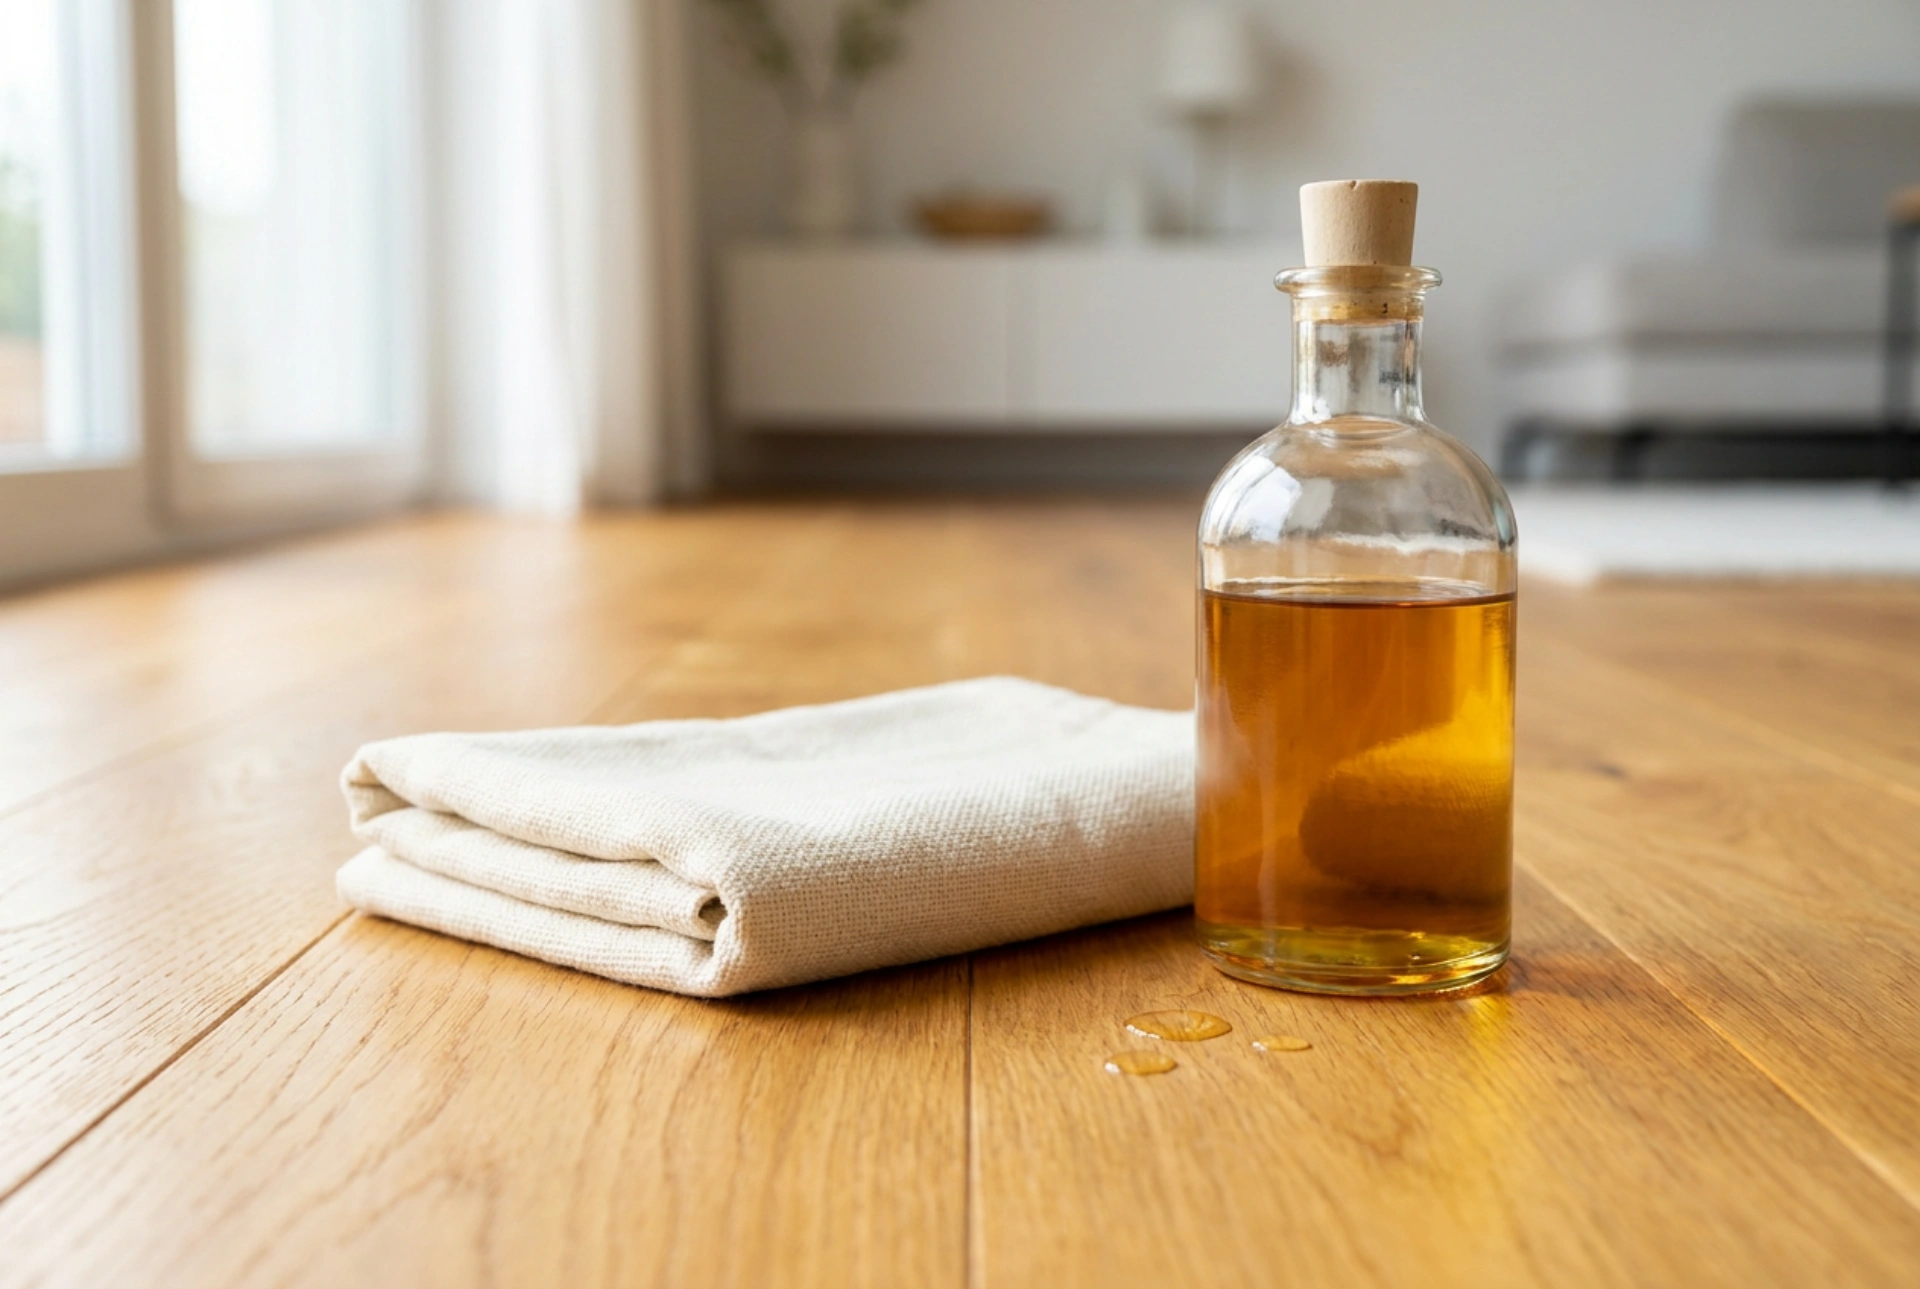


Deep cleaning an oiled wooden floor strips away accumulated dirt, but it also removes the protective lipid barrier within the wood pores. Re-applying wood oil correctly after this process is essential to saturate the wood fibers, prevent moisture absorption, and ensure long-term structural integrity.
The Material Science of Wood Oil and Deep Cleaning
Wood is a hygroscopic, porous material that naturally absorbs and releases moisture. When you subject an oiled wooden floor to a deep intensive clean, alkaline intensive cleaners or mechanical scrubbing actions break down both the surface dirt and the protective oil molecules residing in the tracheids of the wood. This leaves the cellulose and lignin fibers exposed to the air. If left untreated, these open pores will readily absorb ambient humidity, liquid spills, and dirt particles, leading to swelling, warping, and permanent graying of the timber.
Applying a drying or semi-drying vegetable-based oil (such as linseed or tung oil compounds) penetrates deep into these emptied capillaries. Once inside, the oil undergoes a chemical process called polymerization. Instead of merely drying through evaporation, the oil reacts with atmospheric oxygen (oxidation) to form a solid, flexible, water-insoluble polymer network within the wood structure. This reinforces the cell walls from the inside out while keeping the wood breathable.
Preparing the Substrate: Moisture Control and Grain Raising
Before applying a single drop of oil, the moisture level within the wood must be strictly controlled. Applying oil over damp wood traps moisture beneath the polymerizing layer, which can cause wood rot, fungal growth, or peeling of the oil finish. After a deep wet clean, the floor must dry for at least 24 to 48 hours at a room temperature of 18-22°C with adequate ventilation. The moisture content of the wood should ideally be below 12% before proceeding.
Deep cleaning often causes a phenomenon known as grain raising. Water swells the crushed wood fibers, causing them to stand upright. To achieve a smooth finish, lightly abrade the surface with a fine-grit sandpaper (typically 120 to 150 grit) or a green abrasive pad. This manual mechanical action cuts down the raised fibers and opens the pore structure slightly, ensuring optimal oil penetration. Always vacuum thoroughly and use a dry, electrostatic microfiber tack-cloth to remove every particle of wood dust, as any remaining dust will become permanently embedded in the cured oil.
The Application Process: Saturation and Flow
Temperature and air exchange are the key environmental variables during application. The ambient temperature must remain between 15°C and 25°C. If the room is too cold, the oil becomes highly viscous and fails to penetrate the microscopic capillaries; if it is too hot, the chemical reaction occurs too rapidly on the surface, preventing deep saturation.
Pour the oil onto the floor in small pools or wide bands and spread it immediately using a wide stainless steel spatula, a rubber squeegee, or a short-pile roller. The goal is to flood the surface evenly. Work in manageable sections, following the direction of the wood grain to push the liquid deep into the vessel elements. Keep the surface visibly wet with oil for 15 to 30 minutes, allowing the wood to drink as much oil as it can hold. Areas of high porosity will absorb the oil rapidly and appear dry; apply more oil to these thirsty spots to ensure uniform saturation across the entire surface.
The Critical Step: Buffing and Removing Excess Oil
The most common mistake in wood oiling is leaving excess product on the surface. Unlike varnish, wood oil is not designed to form a thick surface film. Any oil that remains unabsorbed on top of the wood will react with oxygen to form a sticky, soft, rubbery skin that easily attracts dirt and scratches off under foot traffic.
After the initial 20-minute penetration phase, use clean, lint-free cotton cloths or a white non-abrasive pad to vigorously rub the floor. Polish the surface until it feels dry to the touch. This friction heats the oil slightly, decreasing its viscosity and forcing it deeper into the grain, while simultaneously lifting off all excess liquid. Change the cloths frequently as they become saturated with oil. Once finished, the surface should display a uniform, matte to satin sheen with no shiny, wet patches remaining.
Curing Phase and Safety Protocols
The polymerization process requires time and oxygen. While the floor may be dry enough to walk on carefully in clean socks after 24 hours, the full curing process takes between 3 and 10 days depending on humidity and airflow. During this curing window, do not cover the floor with rugs, avoid dragging furniture, and absolutely prevent any water contact, as moisture will disrupt the cross-linking of the polymer chains.
A critical safety warning: rags saturated with drying oils can undergo spontaneous combustion. As the oil oxidizes on the cloth, the chemical reaction generates heat. If the rags are crumpled or piled together, this heat cannot escape, building up until the fabric ignites. Always submerge used oil cloths in a container filled with water immediately after use, or lay them flat outdoors on a non-flammable surface to dry completely before disposal.