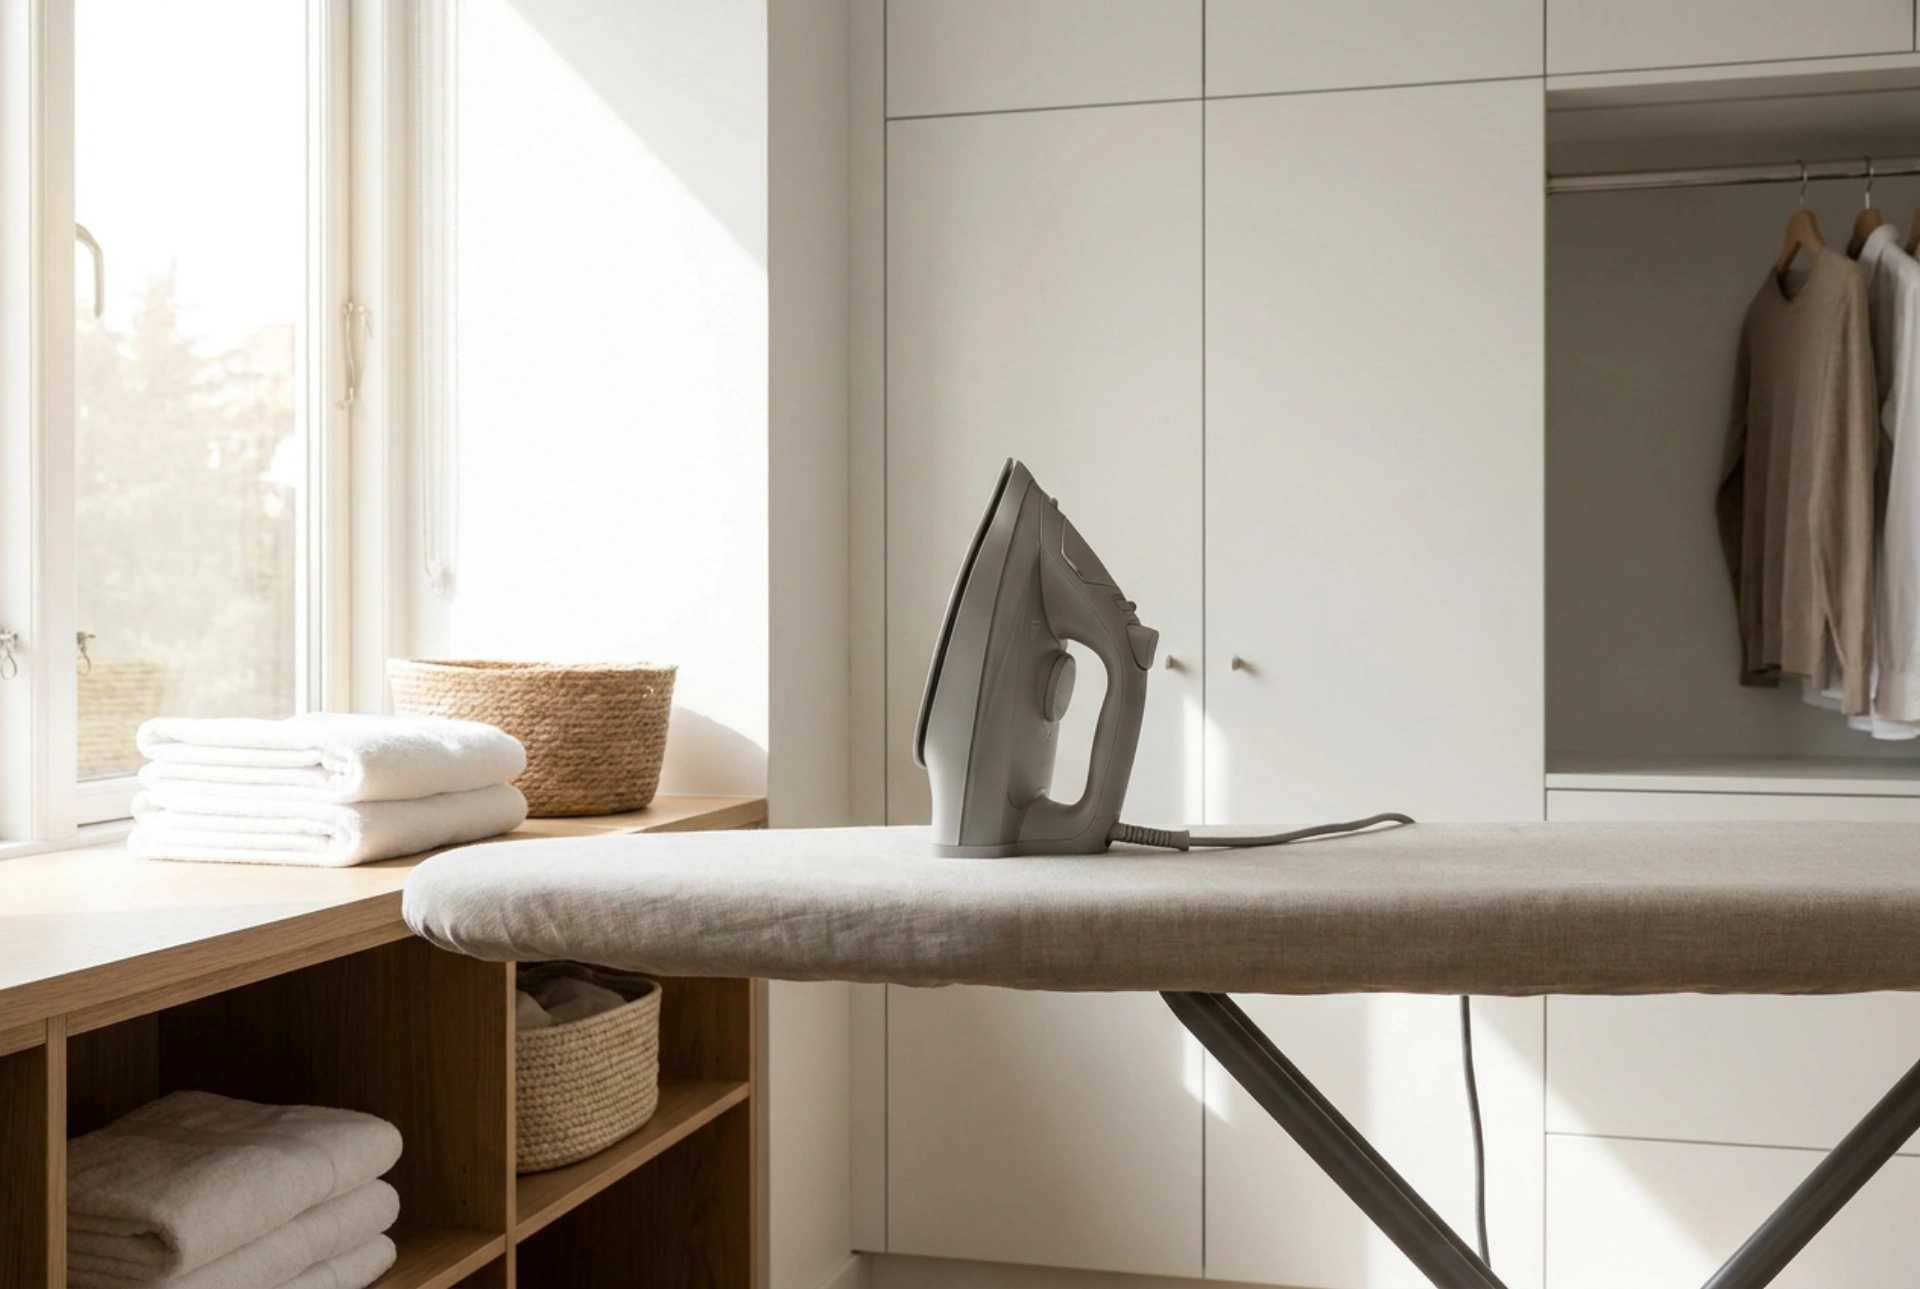


Setting your ironing board to the correct ergonomic height is essential to prevent muscular strain and optimize the physical leverage required for efficient wrinkle removal. Adjusting the surface relative to your body's biomechanics converts a high-fatigue chore into a highly efficient task that protects your joints and spine.
The Biomechanics of Ironing: Why Height Matters
Ironing is not merely a task of gliding an appliance over fabric; it is an active application of heat, moisture, and downward mechanical force. To remove wrinkles effectively, you must press the iron onto the textile fibers. The height of your working surface dictates which muscles you use to generate this downward pressure. If the ironing board is set too high, your shoulders must shrug to lift your arms. This places continuous static tension on the upper trapezius and levator scapulae muscles, leading to neck strain and tension headaches. Furthermore, an excessively high board forces your elbows into a sharp angle, preventing you from using your body weight to press down and forcing you to rely solely on triceps and forearm strength.
Conversely, an ironing board that is positioned too low forces your spine to flex forward. Bending over the board causes the lumbar spine to lose its natural lordotic curve, placing immense hydrostatic pressure on the intervertebral discs. The muscles of your lower back must work constantly to keep you from falling forward, resulting in acute lower back pain. Finding the precise mechanical sweet spot protects both your upper back and your lumbar region.
The Golden Rule of Ironing Board Calibration
To calibrate your ironing board to your exact physical dimensions, use the elbow measurement technique. Stand up straight with your shoulders relaxed and bend your elbows at a 90-degree angle, keeping your forearms parallel to the floor. The ideal height of the ironing board surface should be exactly 10 to 15 centimetres below the level of your bent elbow. This specific gap accommodates the height of the iron itself and allows your wrist to remain in a neutral, straight position while gripping the handle.
If you prefer an alternative structural reference point, the ironing surface should align closely with your hip joint (specifically, the greater trochanter of the femur). When the board is set at hip height, you can bend slightly at the hips (hip hinging) rather than curving your spine. This posture allows you to easily transfer your upper body weight onto the iron without straining your neck, shoulders, or lower back.
Leveraging Physics for Wrinkle Removal
To understand why posture affects the fabric, one must look at the material science of textiles. Fibers like cotton and linen are held together by hydrogen bonds. Applying heat and steam temporarily breaks these weak chemical bonds, making the fibers pliable. To lock them into a flat, smooth state, you must apply mechanical pressure while the fabric cools. If your board is at the correct height, you can use gravity to your advantage. By leaning slightly forward from the hips, your center of mass shifts over the iron. This allows your body weight to do the heavy pressing, saving your muscles from constant exertion and speeding up the flattening of the fibers.
Technique and Dynamic Posture
Maintaining a static posture for long periods is a primary cause of musculoskeletal discomfort. To prevent this, implement a dynamic stance while ironing. Stand with your feet shoulder-width apart to create a stable base. Instead of standing frozen, shift your weight smoothly from one leg to the other in a rhythmic motion that matches the strokes of the iron. This dynamic shifting keeps your core engaged, promotes healthy blood circulation, and prevents pressure build-up in your heels and lower back.
- Arm movement: Guide the iron using your entire arm, initiating the motion from the shoulder and shoulder blade, rather than repeatedly flicking your wrist. Flicking the wrist can lead to repetitive strain injuries such as carpal tunnel syndrome.
- Iron path: Work in straight, parallel lines along the grain of the fabric. Avoid circular motions, which can stretch and warp the warp and weft of the woven textile.
- Foot rest: Use a very low footstool to rest one foot on periodically. This alters the tilt of your pelvis and relieves pressure on your lower spine.
Seated Ironing: Ergonomic Adjustments
For individuals who cannot stand for prolonged periods, seated ironing is an excellent alternative. Standard ironing boards can often be lowered significantly to accommodate a seated position. When ironing while seated, use a chair that supports your lumbar spine and allows your feet to rest flat on the floor with your knees bent at a 90-degree angle. Lower the ironing board so that the surface rests just above your thighs, ensuring your legs have clear clearance. The 10-to-15-centimeter gap below your bent elbow still applies here, keeping your shoulders relaxed and your wrists straight as you work.