

Before loading your first basket of laundry into a brand-new washing machine, performing an initial empty calibration run is a critical technical step. This process removes industrial residues, verifies mechanical stability, and ensures the water-tight integrity of the entire system before subjecting your garments to the wash cycle.
The Chemistry of Manufacturing Residues
During the manufacturing and assembly process, washing machines are exposed to various industrial substances. The stainless steel drum, rubber door seals, and plastic outer tub retain microscopic layers of anti-corrosive oils, synthetic greases, and plasticisers. If you skip the preparatory run and immediately wash textiles, these hydrophobic industrial oils can transfer to fabrics, causing stubborn grease spots that are incredibly difficult to remove.
Furthermore, many manufacturers conduct wet tests at the factory to verify pump and valve performance. Residual water from these tests can stagnate inside the internal pipework and drain pump housing during storage and transit. This creates an environment where bacterial biofilm can start to form. A high-temperature initial cycle sterilises the internal components, flushing out stagnant water and neutralising any early bacterial colonisation.
Mechanical Preparation and Physics of Stability
Before pressing start, the machine must be mechanically decoupled from its transport configuration. Modern washing machines utilise heavy concrete or cast-iron counterweights suspended on steel springs and dampeners to absorb the kinetic energy generated during high-speed spinning. During shipping, these delicate suspension systems are locked in place by transit bolts.
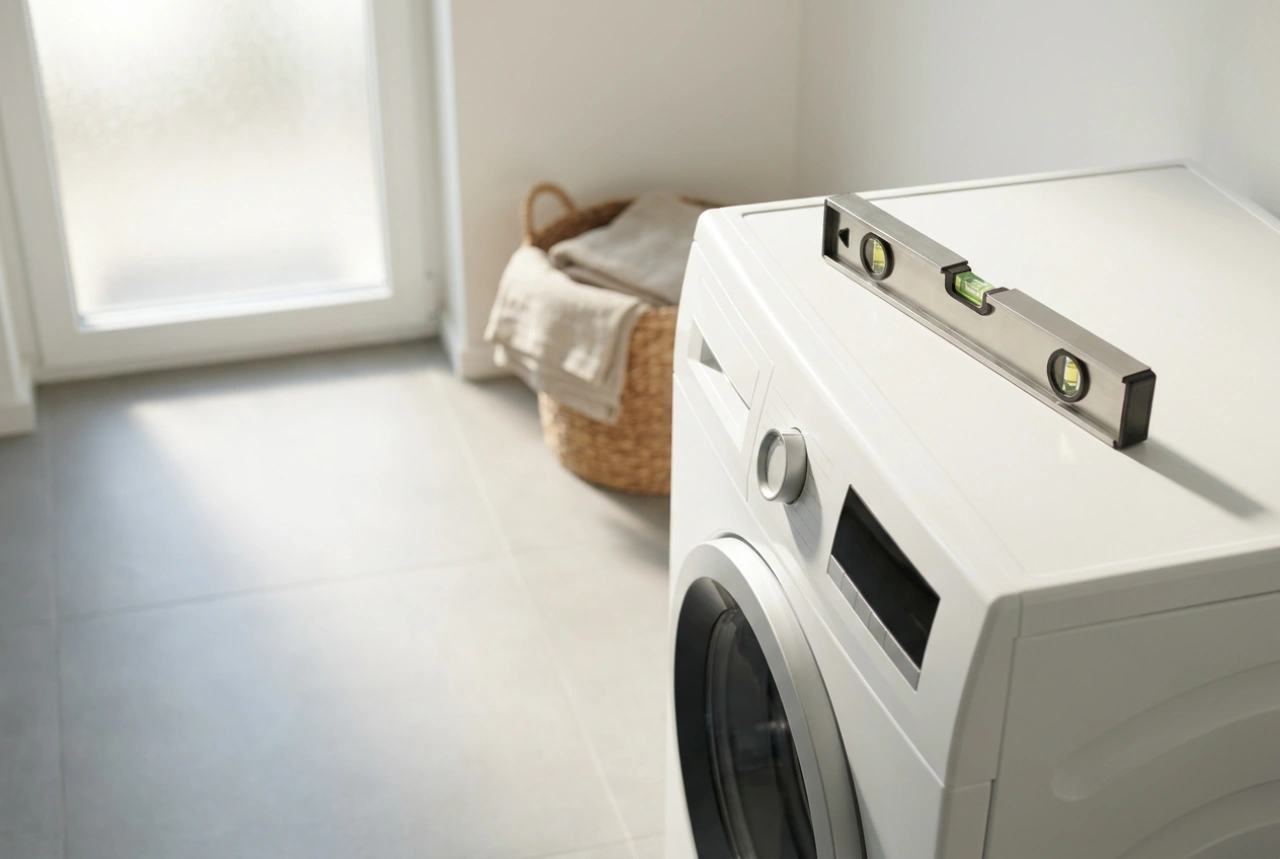
Operating a machine with transit bolts still inserted prevents the suspension from absorbing vibration, transferring massive kinetic energy directly to the chassis, bearing house, and floor, which can cause severe mechanical failure. Once these bolts are safely removed, precise leveling is required. Use a spirit level across the top frame and adjust the threaded feet. A machine that is not perfectly level experiences uneven centrifugal forces, leading to premature bearing wear and excessive noise.
The First Cycle: Temperature and Chemistry
To effectively purge the internal plumbing, you must run a specific hot cycle. Water temperature and chemical action are the two primary mechanisms at play here. Follow this precise order of operations:
- Select the correct programme: Choose the hottest available cotton cycle, typically 90 or 95 degrees Celsius. High temperatures are necessary because the thermal energy melts and emulsifies factory waxes and grease, allowing them to mix with water and wash away.
- Add a small amount of detergent: Place roughly one-third of a standard dose of powder detergent, preferably containing oxygen bleach, into the main wash compartment of the dispenser drawer. Avoid using liquid detergent or fabric softeners for this initial run, as powders are more effective at scouring the drum surface and oxygen bleach provides excellent sterilisation. Do not over-dose to prevent excessive foam from overflowing.
- Run empty: Ensure the drum is completely free of garments, as the extreme temperature and chemical concentration are designed solely for cleaning the machine's internal surfaces.
Inspecting the Machine During Operation
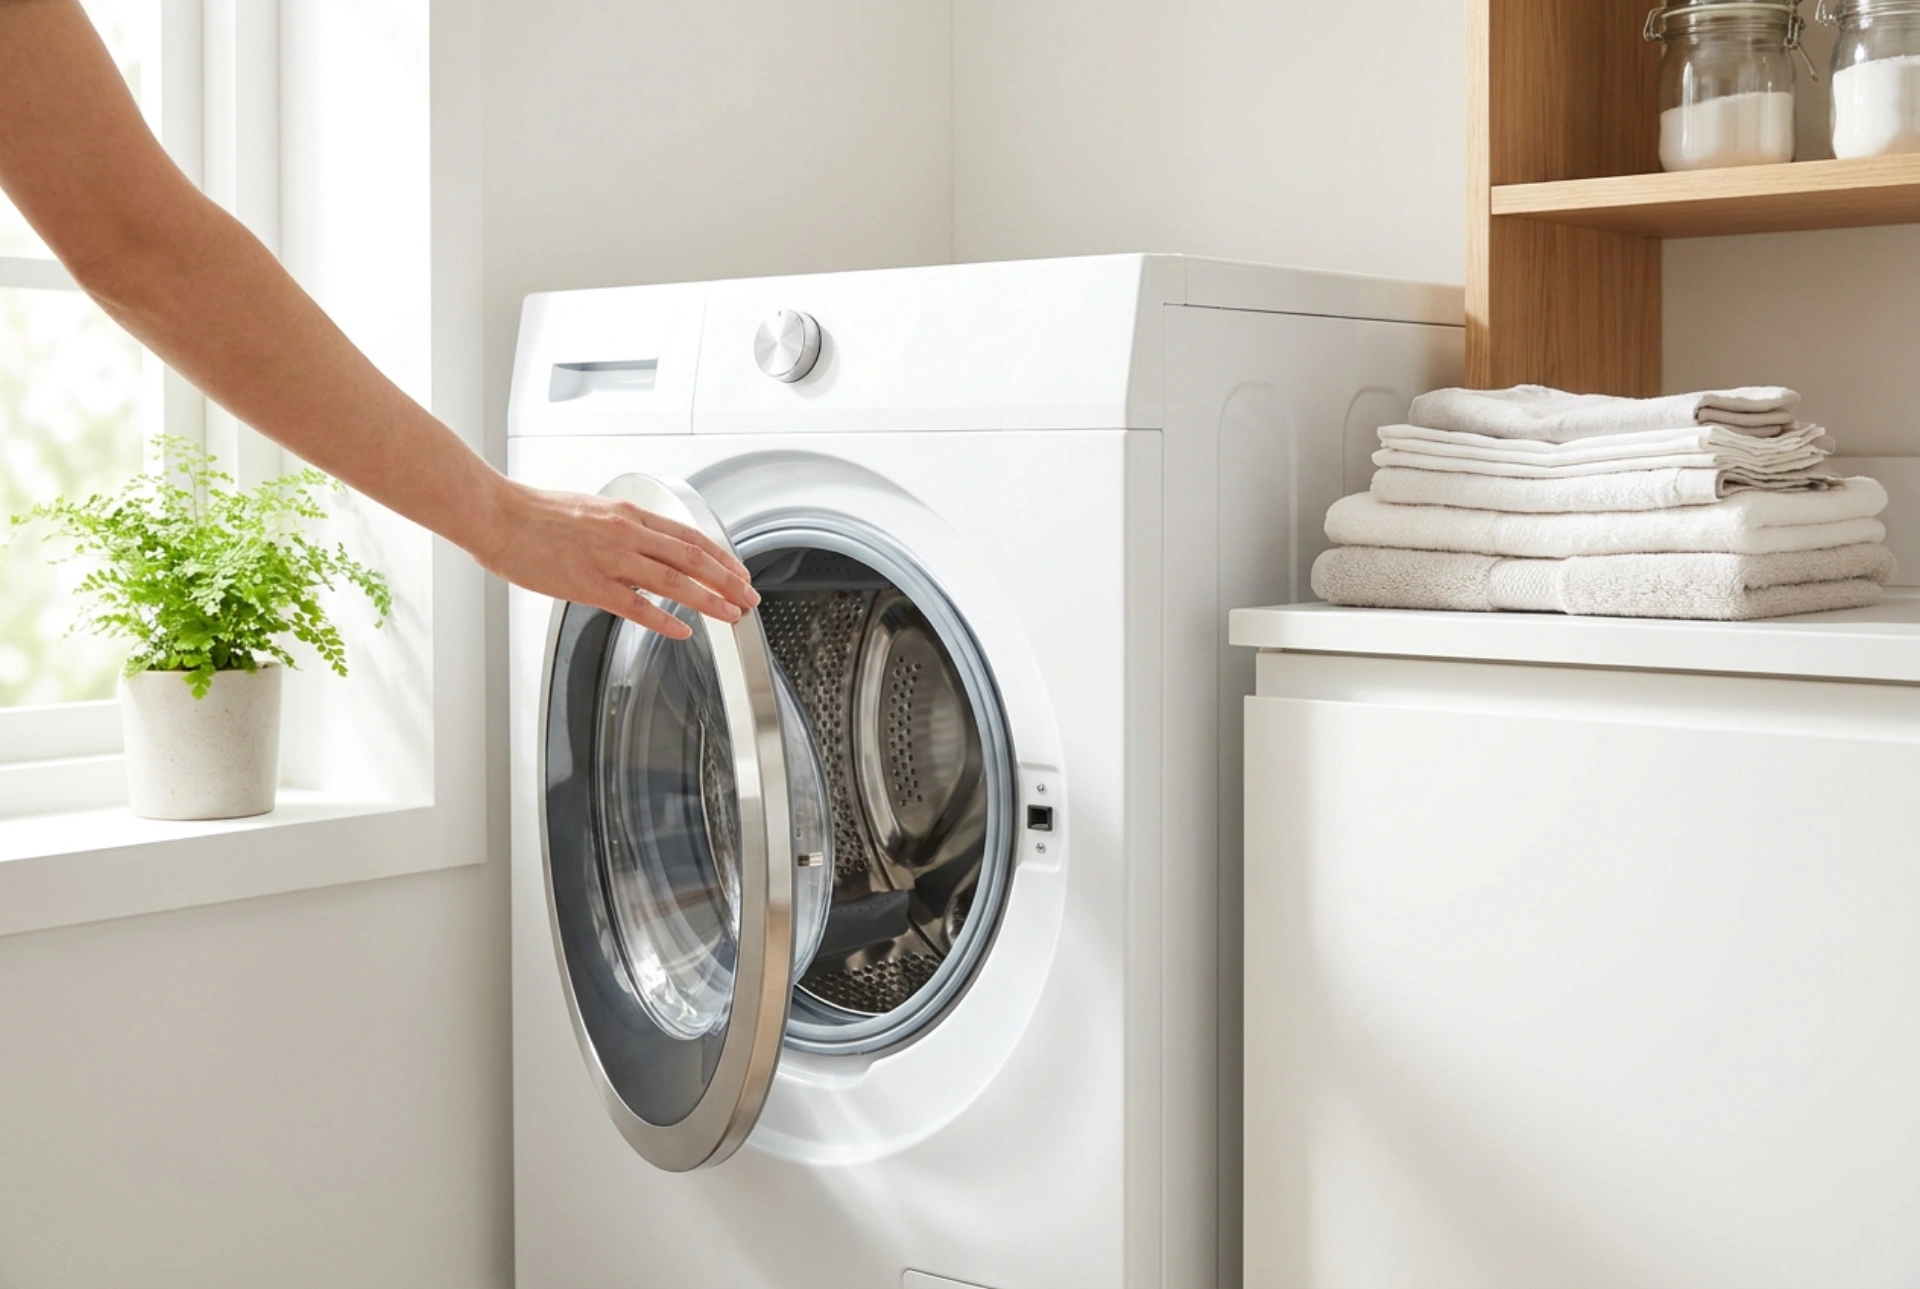
The first run acts as a diagnostic phase. As the machine fills with water, observe the glass door and the detergent drawer for any signs of seepage. The rubber gasket must form a perfect seal against the glass door under hydrostatic pressure.
During the draining phase, listen to the pump's acoustic profile. A steady hum indicates normal operation, while loud rattling could suggest debris in the filter chamber. Ensure that the drain hose connection is secure and does not backflow due to airlocks or improper positioning in the standpipe. Once the cycle finishes, leave both the door and the detergent drawer slightly ajar. This allows airflow to dry the interior, preventing the damp environment that fosters microbial growth on the newly cleaned surfaces.