

A loose or dirty refrigerator door seal does more than just leak cold air; it forces the compressor to work harder, accelerating wear and increasing your energy bills. Understanding how to properly clean and maintain the magnetic gasket using the correct chemical agents and physical techniques ensures your appliance remains airtight and thermally efficient.
The Mechanics of the Magnetic Seal
The gasket on your refrigerator door relies on two key components to function: a flexible elastomer sleeve, usually made of polyvinyl chloride or silicone, and a continuous magnetic strip housed inside. The magnetic force holds the door firmly against the metal frame of the appliance. However, magnetic attraction decreases rapidly with distance. Even a microscopic layer of grease, dust, or food residue acts as a physical barrier, spacing the magnet away from the metal and breaking the airtight seal. Over time, organic matter trapped in the folds of the gasket can harbor mold, which physically degrades the polymer structure, leading to microscopic cracks and loss of elasticity.
The Material Science: Choosing the Right Cleanser
To clean a gasket safely, you must understand its chemical makeup. The flexible plastics used in gaskets contain plasticisers, which are chemical additives that keep the material soft and pliable. Using harsh solvents, concentrated vinegar, or strong chlorine bleach can extract these plasticisers, leaving the gasket brittle, warped, and prone to cracking. Once a gasket loses its elasticity, it can no longer deform to match the contours of the refrigerator frame, rendering the magnetic strip useless.
Instead, rely on mild, non-reactive solutions. A mixture of warm water and a small amount of neutral dishwashing detergent is highly effective. The surfactants in the detergent lower the surface tension of water, allowing it to penetrate and emulsify fatty acids and grease. Alternatively, a dilute solution of sodium bicarbonate dissolved in warm water acts as a mild alkaline agent that neutralises acidic food spills and deodorises without damaging the polymer matrix.
Step-by-Step Precision Cleaning Technique
Proper cleaning requires a methodical approach that addresses both the visible surfaces and the deep, hidden folds of the gasket structure. Follow these precise steps to restore the seal:
- Preparation: Mix a solution of warm water (approximately 35°C) and a mild surfactant. The moderate temperature helps temporarily soften the elastomer, making it more pliable and easier to manipulate without causing thermal shock.
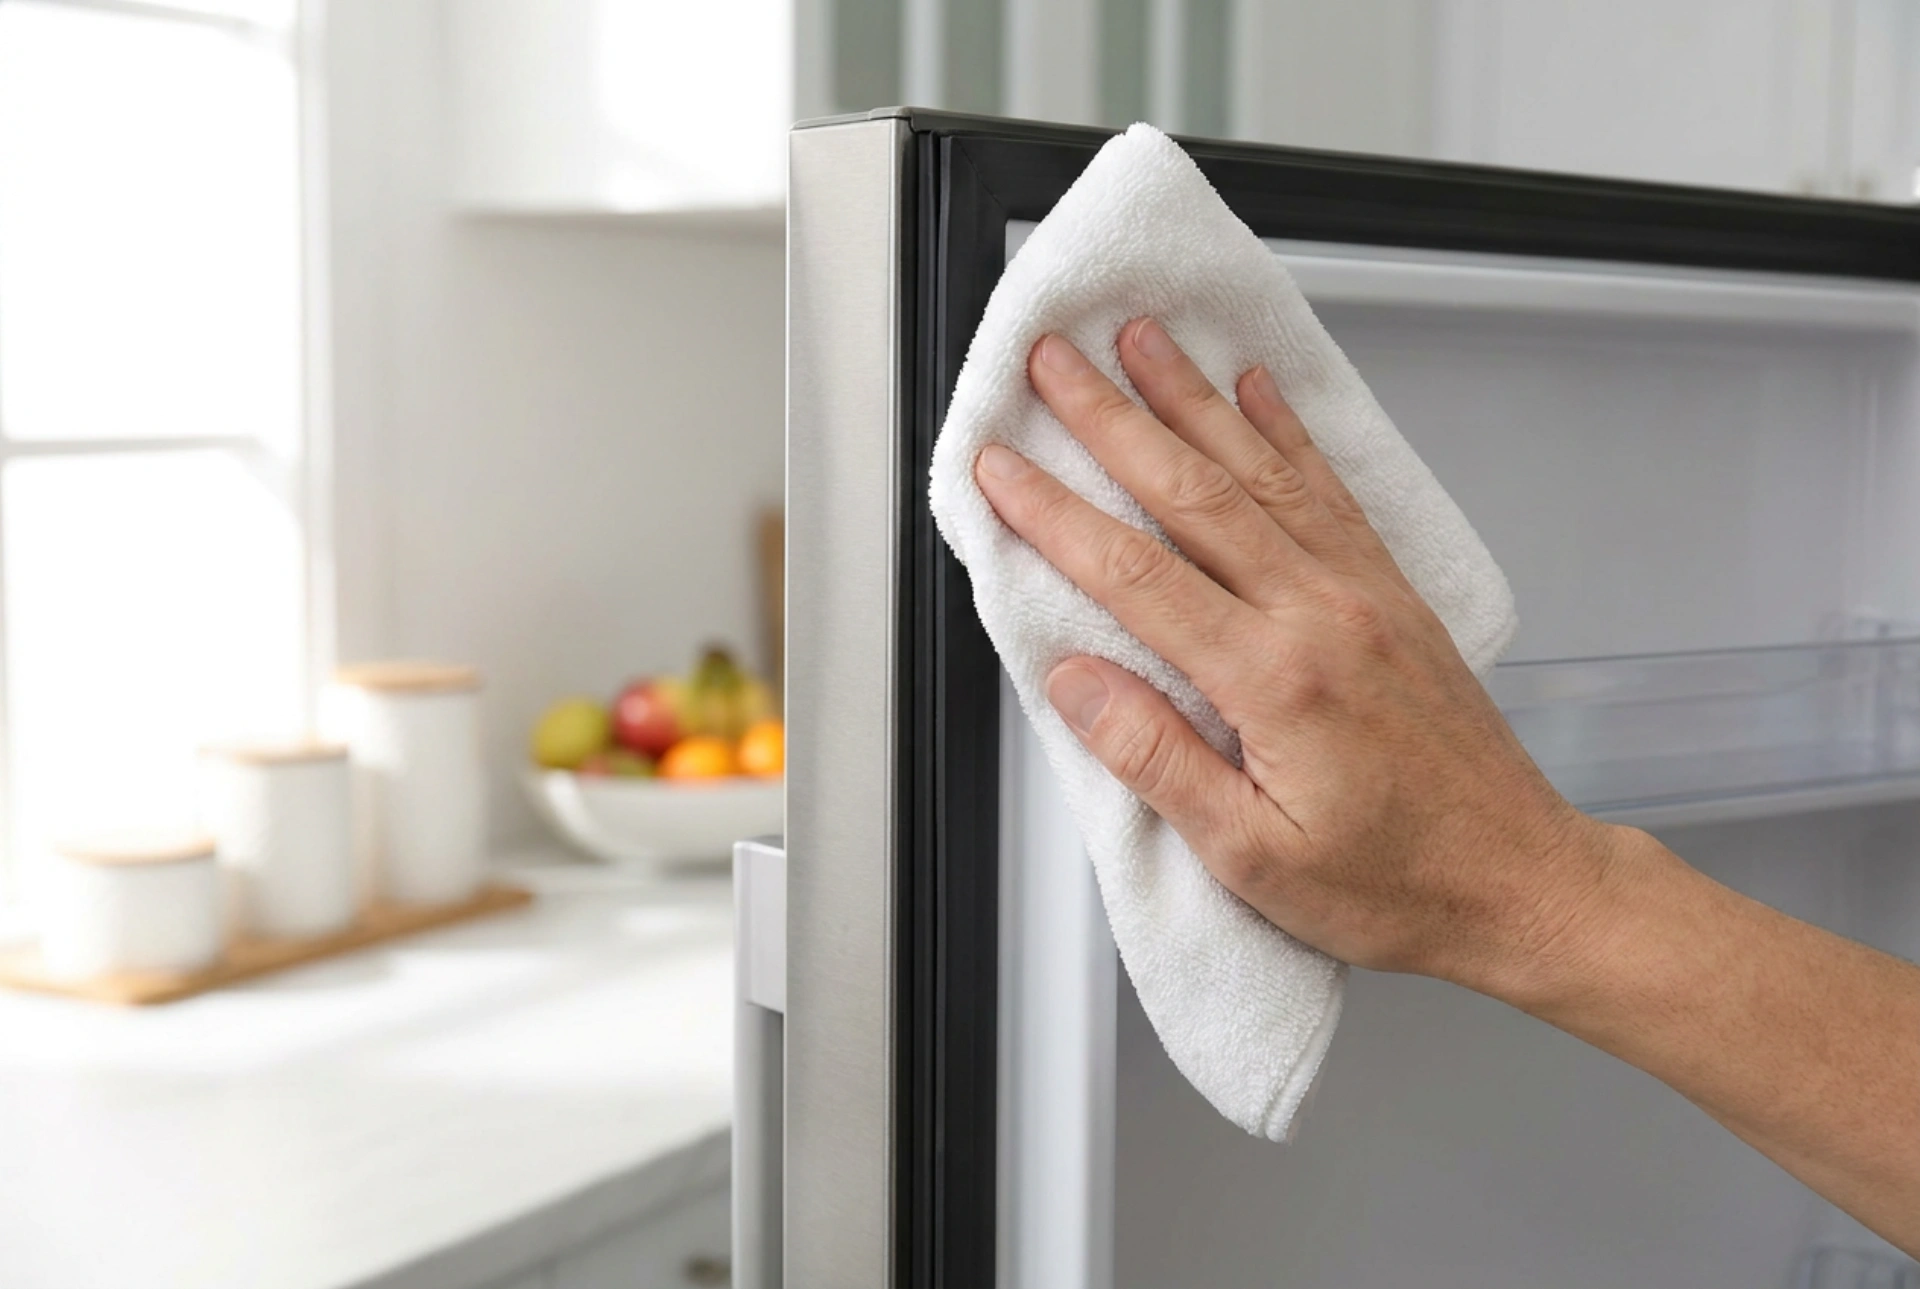
- Gentle Agitation: Soak a clean microfiber cloth in the solution and wring it out until it is damp. Microfiber is ideal because its microscopic polyester and polyamide fibers lift dirt out of the textured rubber surface without abrasive scratching.
- Crevice Cleaning: Gently pull back the folds of the gasket to expose the inner channels. Use a soft-bristled brush or cotton swabs dipped in the solution to clear out crumbs and mold spores. Do not use sharp objects like knives or screwdrivers, which can easily puncture the thin elastomer wall.
- Rinse and Dry: Wipe down the entire gasket with a second cloth dampened with pure, clean water to remove any soapy residue. Follow immediately with a dry microfiber cloth. Moisture trapped in the folds is the primary catalyst for mold growth, so thorough drying is critical.
Reconditioning the Elastomer and Verifying the Seal
Once clean and dry, the elastomer requires conditioning to prevent it from sticking to the metal cabinet, which can cause tearing when the door is opened. Apply a microscopic layer of pure mineral oil, paraffin oil, or technical petroleum jelly to the outer edge of the gasket. This creates a hydrophobic barrier that maintains elasticity and prevents the rubber from fusing with the painted metal frame over time.
To verify the success of your cleaning, perform a simple paper test. Insert a thin sheet of paper or a banknote between the door and the frame, then close the door. Try to pull the paper out gently. If you feel firm resistance, the magnetic seal is operating correctly. Repeat this test at various points along the perimeter of the door to identify any localised gaps or warping.