

Organising a sliding wardrobe requires more than just piling clothes onto shelves; it demands a strategic understanding of door mechanics, ergonomics, and material properties to ensure seamless daily access.
The Physics of Sliding Doors and Collision Zones
The primary constraint of any sliding wardrobe is that you can never view or access the entire interior simultaneously. Because the doors overlap when opened, certain sections—specifically the central overlap area—become dead zones if not planned correctly. When designing internal zones, the placement of drawers is critical. Drawers must never be aligned with the door overlap, as they will collide with the door frame when pulled out.
To prevent this, divide your wardrobe into distinct vertical bays that correspond exactly to the width of the individual door panels. For a two-door wardrobe, create two equal bays; for a three-door system, create three. Always position drawer units dead centre within these bays. This ensures that when a door is fully slid to one side, the drawer front has a clear, unobstructed path of travel, preserving both the runner mechanisms and the delicate timber or lacquer finishes on your wardrobe doors.
Ergonomic Vertical Stratification
Human ergonomics dictates how we should distribute weight and frequency of use within a wardrobe. Dividing the vertical space into three distinct physical zones maximises efficiency and reduces physical strain.
- The Active Zone (80 to 180 cm): This is the prime ergonomic height, requiring no bending or stretching. Reserve this zone for daily wear, hanging rails for shirts and trousers, and mid-level drawers for undergarments and accessories.
- The Lower Zone (Below 80 cm): This area requires bending. It is ideal for heavy items, shoe pull-outs, and deep drawers containing heavier knitwear or bedding. Storing weightier items low down also lowers the centre of gravity of the wardrobe structure, increasing stability.
- The High Zone (Above 180 cm): Requiring a stretch or a step stool, this zone is reserved for seasonal storage, spare bedding, and rarely used items. Keep lightweight items here to prevent safety hazards when retrieving them from height.
Material Science in Textile Preservation
Different fabrics respond uniquely to gravity, moisture, and compression, which should dictate their assigned zone and storage method within the wardrobe. Wool, cashmere, and heavy knits should never be hung. Gravity stretches the fibres, leading to irreversible garment distortion, particularly around the shoulders. Instead, store knits flat on open shelves or loosely folded in breathable drawers in the lower or middle zones.
Conversely, woven fabrics like linen, cotton, and structured wool suits require hanging to maintain their shape and prevent stubborn creases. Assign these to the active zone's hanging rails. When hanging garments, ensure adequate airflow between items; compressing clothes too tightly restricts ventilation, trapping residual moisture and body oils which can lead to mustiness and fibre degradation over time.
Optimising Drawer Internals and Mechanics
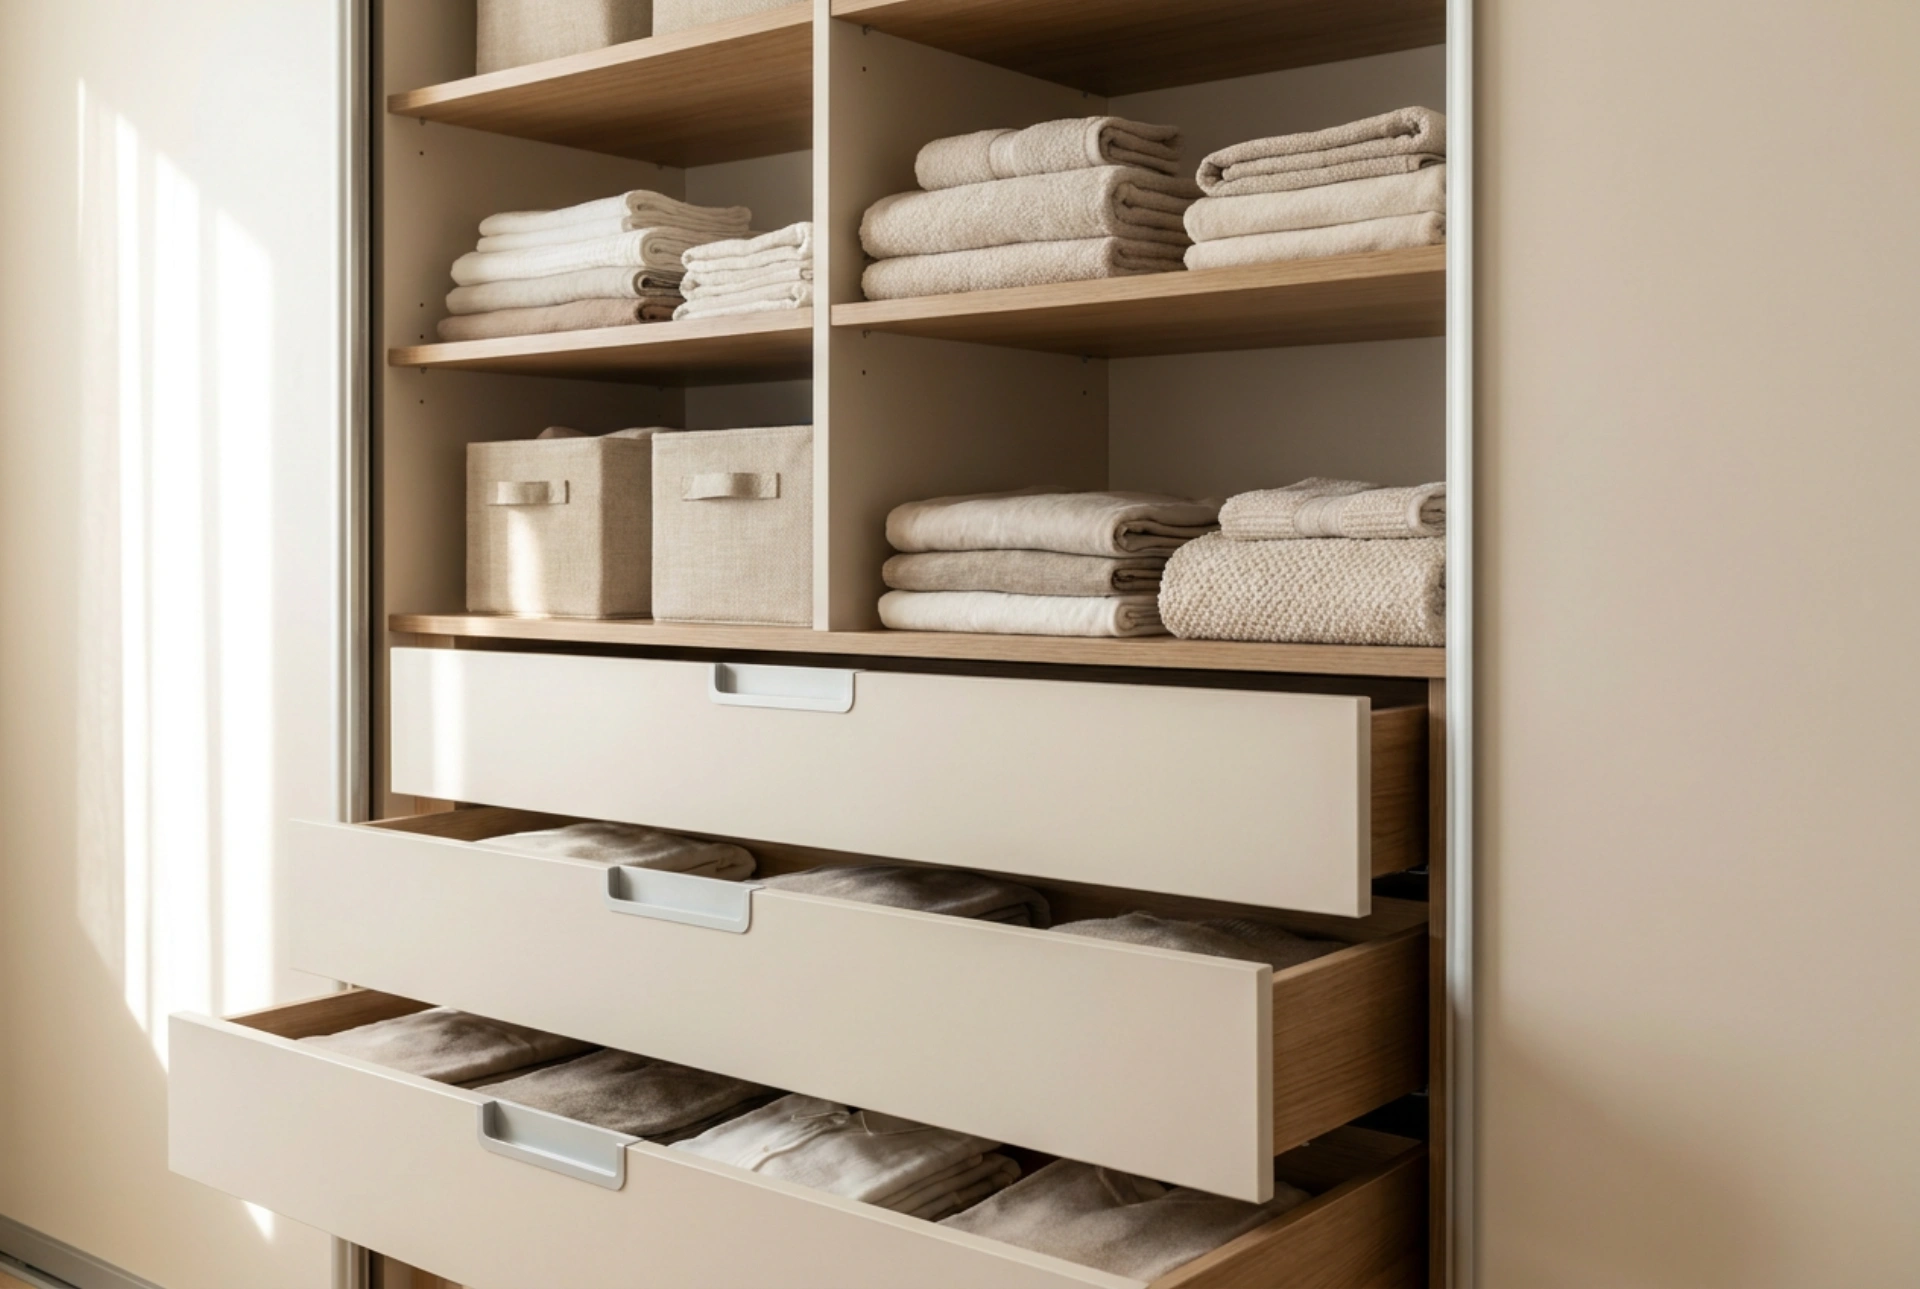
Drawers are the most efficient way to utilise depth in a wardrobe, preventing items from getting lost at the back of deep shelves. To maximise this efficiency, implement the filing method of folding rather than vertical stacking. Stacking shirts vertically creates compression on the bottom layers, making them difficult to retrieve without disrupting the entire pile. Folding items to stand upright side-by-side in a drawer allows complete visibility and instant retrieval.
Furthermore, choose drawers with full-extension runners. Standard runners only expose three-quarters of the drawer depth, leaving a dark, inaccessible pocket at the rear. Full-extension runners bring the entire drawer box clear of the carcass, ensuring every square centimetre of space is usable and visible under ambient light.





