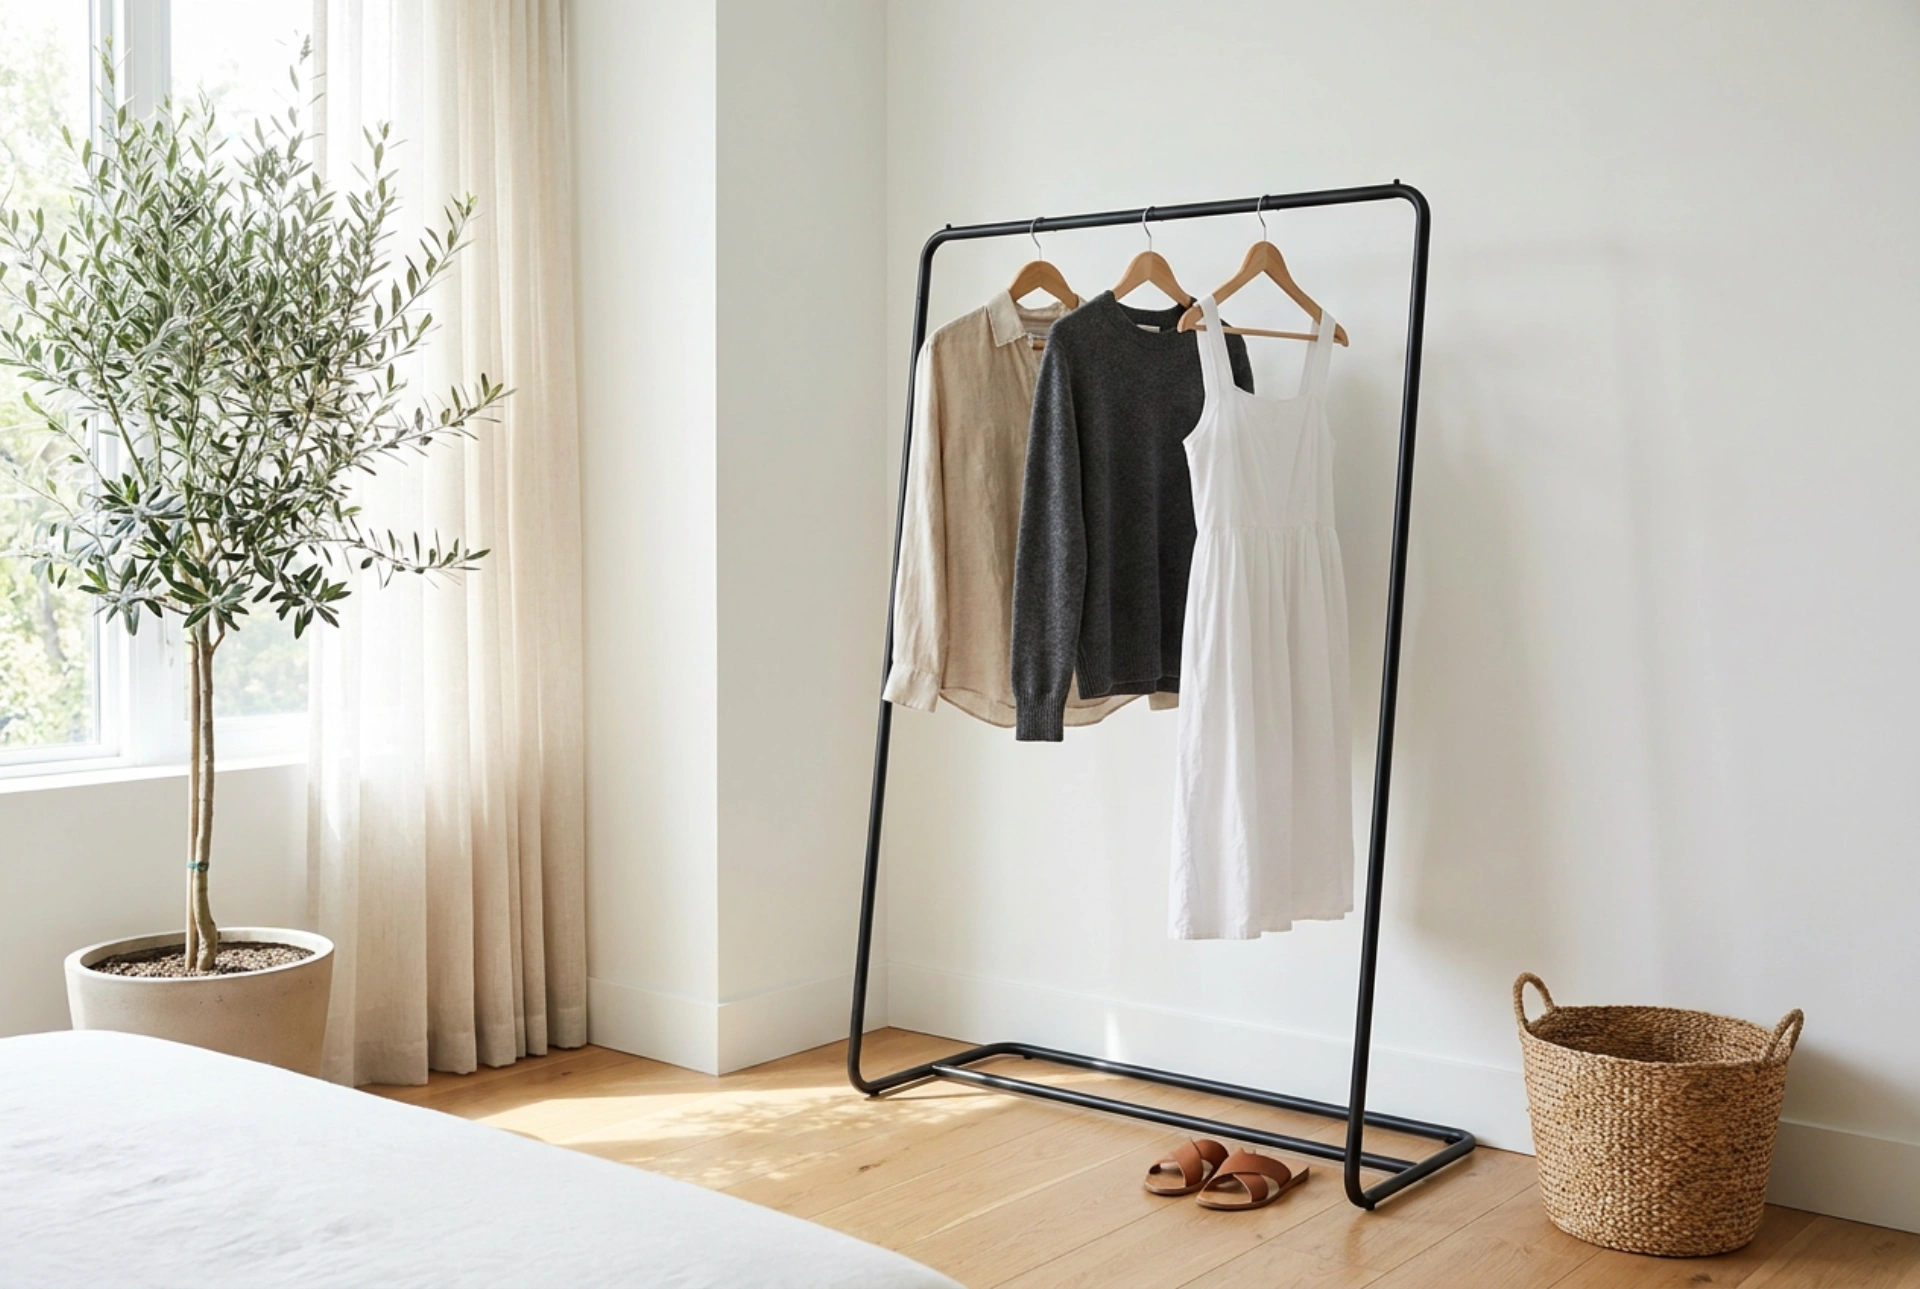


Positioning a standing clothes rack requires more than just finding an empty corner; it involves understanding spatial dynamics, sightlines, and structural physics to maintain a balanced, clutter-free environment. By applying basic principles of geometry and air circulation, you can transform a potential obstacle into a functional, visually integrated storage asset.
Understanding Room Sightlines and Spatial Geometry
The human eye naturally registers spatial volume by tracking uninterrupted floor lines and corner boundaries. Placing a bulky clothes rack directly in the primary line of sight—such as immediately opposite a doorway—creates an instant visual barrier that makes a room feel significantly smaller. To counter this, position the rack parallel to the longest wall or tucked into a recessed nook.
Utilising corners is a highly effective strategy, but the rack must not block natural light paths. Standard window light disperses at an angle; placing a fully loaded rack directly in front of or immediately adjacent to a window casts deep shadows across the room, reducing perceived space. Position the rack at least 1.5 metres away from light sources, preferably on the same wall as the window, so light flows past it rather than being blocked by it.
The Mechanics of Weight Distribution and Physical Stability
A standing clothes rack is subject to gravity and structural leverage. Incorrectly loaded racks not only pose a physical hazard but also look disorganized due to sagging bars and leaning frames. To ensure maximum stability and a clean aesthetic, apply the principles of a low centre of gravity.
- Place heavier items, such as winter coats, boots, or storage boxes, on the lowest shelf or closest to the vertical support pillars.
- Distribute weight evenly across the horizontal bar to prevent bowing. Concentrating weight in the centre causes metal fatigue over time and creates a sagging visual line that screams clutter.
- Maintain a load ratio where the bottom third of the rack holds approximately 60% of the total weight, stabilizing the base against accidental tipping.
Floor surface materials also dictate placement. On high-pile carpets, a wheeled rack can sink and tilt; static leveling feet are preferred here to maintain a perfect vertical alignment. On hard wood or laminate floors, use felt pads under the feet to prevent micro-movements that can gradually shift the rack out of its designated spatial zone.
Managing Airflow and Protecting Fabric Integrity
Microclimates within a room affect both the lifespan of your garments and the air quality of your living space. Clothes closely packed on a rack restrict airflow, trapping ambient moisture and accelerating the accumulation of dust. To prevent musty odours and fabric degradation, position the rack in an area with active thermal circulation.
Avoid placing the rack directly against radiators or heating vents. Heat accelerates the drying of natural fibres like wool and silk, leading to brittleness, while also creating convection currents that draw dust particles directly onto your clean clothes. Maintain a minimum distance of 1 metre from any heat source. Additionally, ensure there is a gap of at least 10 centimetres between the rack and the wall behind it to allow continuous air exchange, preventing moisture from pooling and causing mould growth on wall surfaces.
Systematic Hanging Techniques for Visual Order
The physical arrangement of garments on the rack determines its visual weight. Randomly hung items of varying lengths and high-contrast colours create visual noise. Implementing a systematic order based on physics and geometry can restore harmony.
Always hang garments facing the same direction, preferably with the front of the clothing pointing away from the room's main entrance. Arrange clothes by length, creating a clear ascending diagonal line. Placing shorter items (like shirts and folded trousers) on one end and longer coats on the other opens up the floor space beneath the shorter garments, creating an illusion of openness and leaving room for a low-profile storage box. Use uniform hangers made of dense wood or sturdy metal; mismatched plastic hangers bend under weight and create inconsistent hanging heights, disrupting the clean horizontal plane.





