

Installing and levelling an integrated dishwasher requires precision to ensure quiet operation, prevent leaks, and achieve a seamless kitchen aesthetic. Correct alignment protects the internal pump mechanism, ensures optimal water drainage, and guarantees that the cabinet door opens and closes without friction.
The Science of Appliance Stability
An integrated dishwasher relies on precise horizontal and vertical alignment to function efficiently. When an appliance is unlevel, gravity alters the water path inside the tub, potentially causing uneven washing cycles, pooling, or false leakage triggers in the safety tray. Furthermore, the high-speed rotation of the spray arms generates minor centrifugal forces; if the appliance is tilted, this rotation can cause subtle vibrations that eventually loosen plumbing joints or degrade the door seal over time. Perfect levelling ensures even distribution of weight across all four adjustable feet, absorbing vibrations and maintaining the integrity of the door hinges.
Preparing the Cavity and Cable Routing
Before sliding the appliance into the kitchen niche, the layout of the supply hose, drain hose, and power cable must be carefully managed. Ensure that the water inlet hose and the waste pipe are routed through the cabinet sidewall without tight bends or kinks. The drain hose should ideally feature a high-level loop (often secured to the back of the cabinet) to prevent siphoning—where dirty sink water flows back into the clean dishwasher. Slide the appliance slowly into the cavity, pulling the hoses and cables from the adjacent cabinet to prevent them from getting trapped or squashed beneath the heavy chassis.
Adjusting the Feet and Achieving Perfect Level
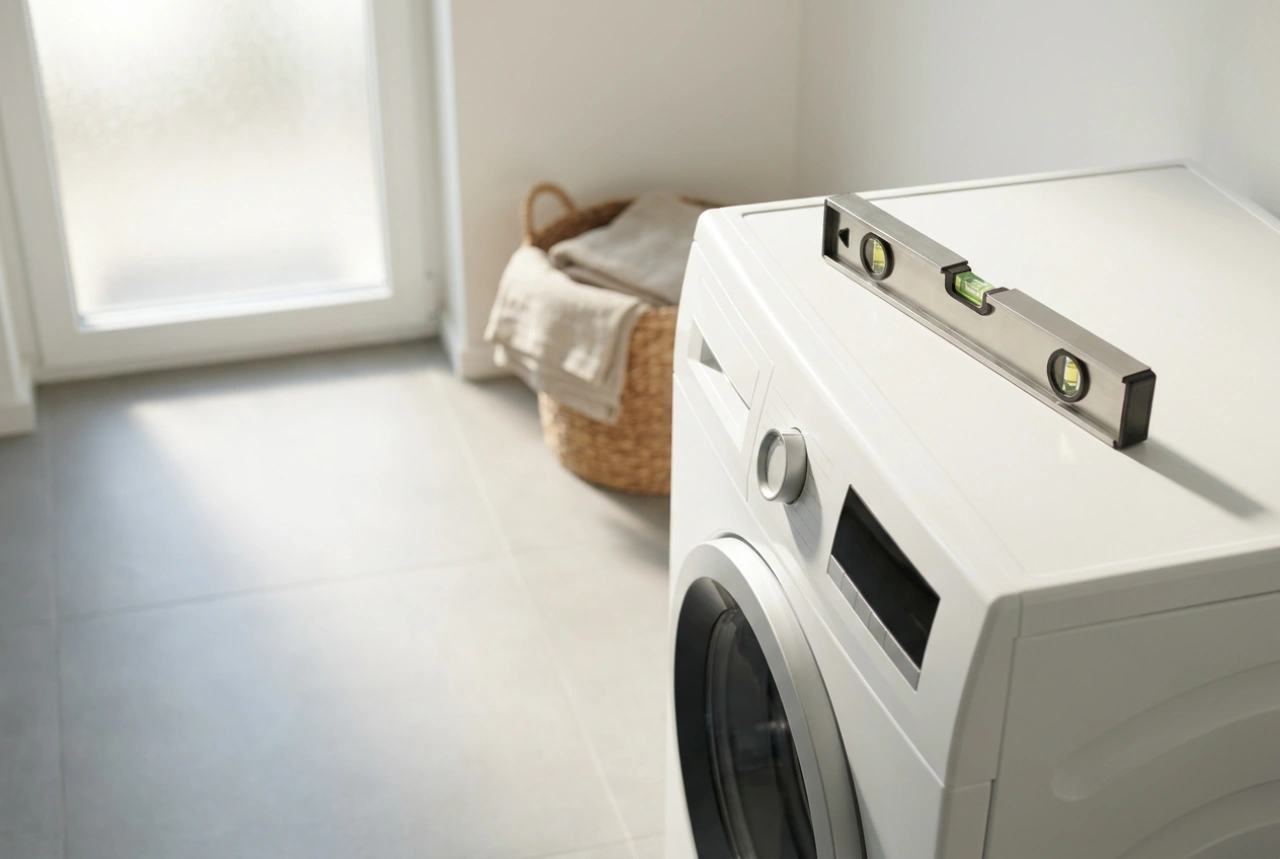
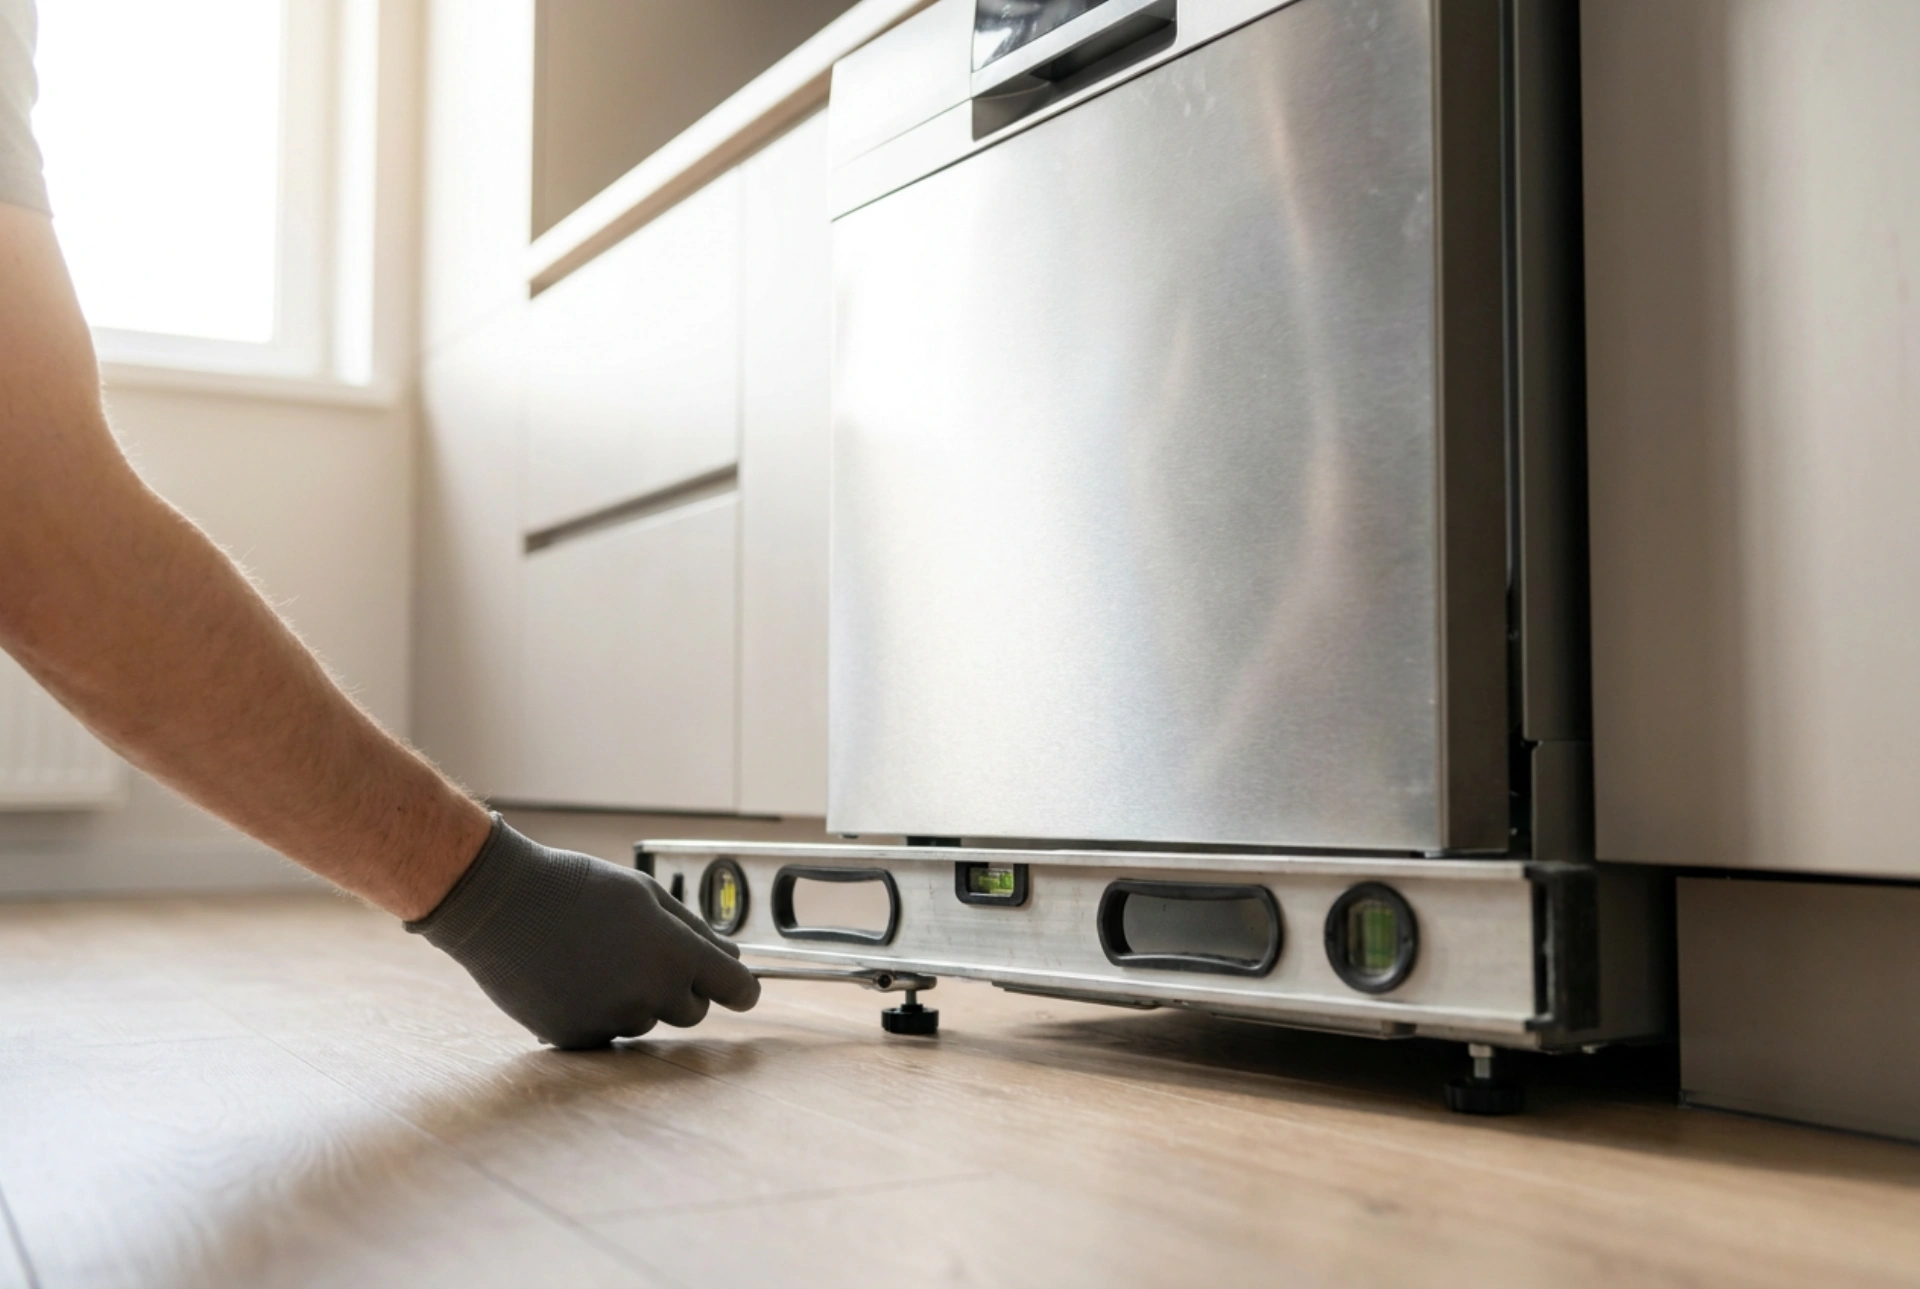
Once the dishwasher is positioned in its niche, the adjustment process begins. Integrated dishwashers feature mechanical levelling systems designed to be operated from the front. The two front feet are adjusted by turning them directly, while the rear foot is typically raised or lowered using an adjustment screw located at the bottom centre of the front kickplate. Place a spirit level along the front upper lip of the dishwasher to check the lateral level. Adjust the front feet until the bubble sits perfectly between the lines. Next, place the spirit level along the side runner or the top edge from front to back to verify the depth level. Slowly turn the rear adjustment screw to raise or lower the back of the unit until the machine is perfectly upright. The top gasket of the dishwasher should compress slightly against the underside of the worktop, creating a stable wedge that prevents lateral movement.
Securing the Appliance and Mounting the Decor Panel
With the unit level, it must be anchored to prevent tipping when the heavy, loaded door is opened. Use the supplied brackets to secure the dishwasher chassis to the adjacent cabinets or the underside of a wooden or composite worktop. For stone worktops, always anchor laterally into the side cabinets to avoid damaging the stone. Next, prepare the decorative cabinet front using the manufacturer’s template. Precise measurement of the bracket positions on the back of the timber panel is crucial; even a two-millimetre error will cause the door front to sit crookedly against the neighbouring drawers. Once mounted, adjust the door spring tension screws (usually located at the bottom sides of the chassis) so that the door remains stationary at any open angle without slamming shut or springing closed automatically.