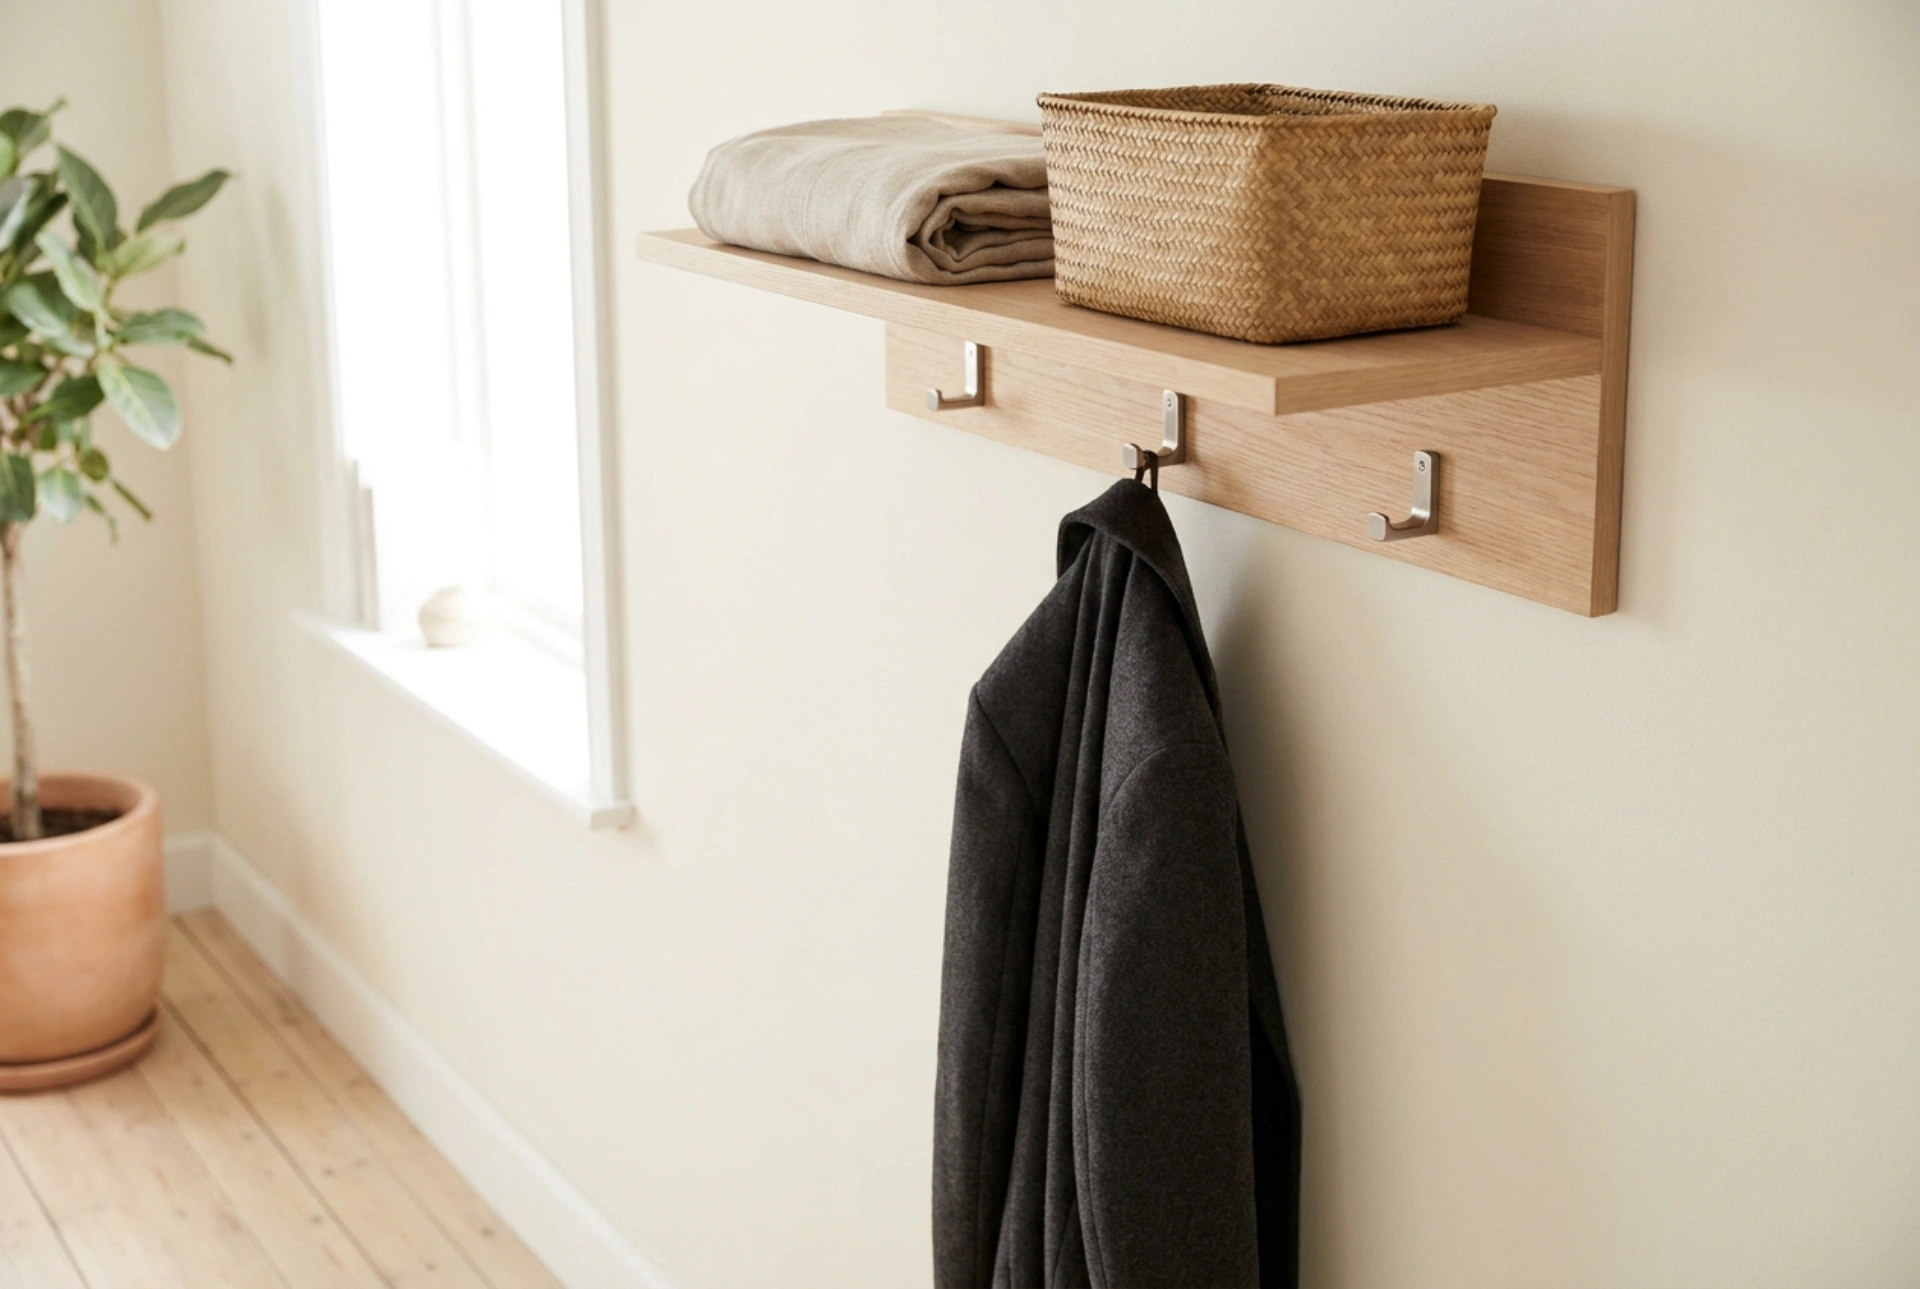


Maximising hallway storage requires utilising vertical surfaces, and a wall-mounted coat rack with an integrated shelf offers the ideal balance of hanging space and flat-surface storage. Successful installation and long-term durability rely on understanding wall physics, material properties, and correct anchoring techniques.
The Physics of Wall Mounting: Load and Shear Force
When you hang multiple heavy coats and place accessories on a shelf, the wall-mounted assembly experiences two primary physical forces: shear force and tension force. Shear force acts downwards, parallel to the wall, trying to slide the rack down the vertical surface. Tension force, or pull-out force, acts perpendicularly, pulling the top of the rack away from the wall. Because the top shelf extends outward, any weight placed on it acts as a lever, significantly multiplying the tension force exerted on the upper fasteners.
To counteract these forces and prevent the rack from pulling out of the wall, your choice of fixing hardware must match the specific wall substrate:
- Drywall and Cavity Walls: Standard plastic expansion plugs will fail under leverage. Instead, use metal toggle bolts or self-drilling nylon plasterboard anchors that expand or open behind the board, distributing the load over a wider surface area of the gypsum core.
- Solid Brick or Concrete: Standard nylon expansion plugs work exceptionally well. When a screw is driven in, the plug expands against the solid walls of the drilled hole, relying on high friction and compression to resist both shear and pull-out forces.
- Wooden Studs: Screwing directly into structural timber studs using heavy-duty wood screws provides the highest load-bearing capacity without the need for wall plugs, as the wood fibres grip the screw threads directly.
Material Selection and Environmental Resilience
Entryways are transitional zones exposed to sudden temperature shifts and high humidity from wet umbrellas, snowy coats, or damp footwear. The materials of your rack must withstand these elements to prevent structural failure over time:
- Timber Elements: Solid hardwoods such as oak, beech, or ash are highly durable but naturally hygroscopic. They absorb and release moisture from the air, which can cause warping, cracking, or joint separation. Ensure the timber is sealed with a protective polyurethane varnish, acrylic lacquer, or a water-resistant hardwax oil to block moisture absorption.
- Metal Components: Steel hooks and brackets must be properly treated. Powder-coated or lacquered finishes are essential; untreated raw iron will oxidise rapidly when exposed to wet garments, leading to rust transfer onto your clothing and the gradual degradation of the metal itself.
Step-by-Step Installation and Precision Levelling
A skewed installation not only looks unprofessional but also causes uneven weight distribution, placing excessive stress on a single anchor point. Follow this precise sequence for a secure mount:
1. Ergonomic Positioning
Determine the mounting height based on the ergonomics of your household. Generally, the hooks should sit between 150 cm and 170 cm from the floor to prevent long coats from touching the ground. Ensure there is at least 30 cm of clearance above the shelf to allow comfortable access to stored items without hitting the ceiling.
2. Marking and Drilling
Position the rack against the wall and use a spirit level to ensure absolute horizontality. Mark the drill holes through the pre-drilled mounting holes of the rack. When drilling into masonry, start with a masonry drill bit of the exact diameter of your wall plug. Use a depth stop or a piece of tape wrapped around the drill bit to ensure the hole is drilled slightly deeper than the length of the plug.
3. Securing the Hardware
Always vacuum the dust out of the drilled holes before inserting the wall plugs; residual dust acts as a lubricant and can reduce anchor holding power by up to fifty percent. Tap the plugs flush with the wall surface. Align the rack and drive the screws in, ensuring you do not overtighten, which can strip the plastic threads inside the plug.
Optimising Weight Distribution and Storage
To preserve the structural integrity of your rack, distribute the weight strategically. Place heavier, infrequently used items towards the back of the top shelf, closer to the wall, to minimise the leverage effect. Hang heavy winter coats on the hooks closest to the mounting screws, leaving the outer hooks for lighter items like keys, scarves, or bags.





