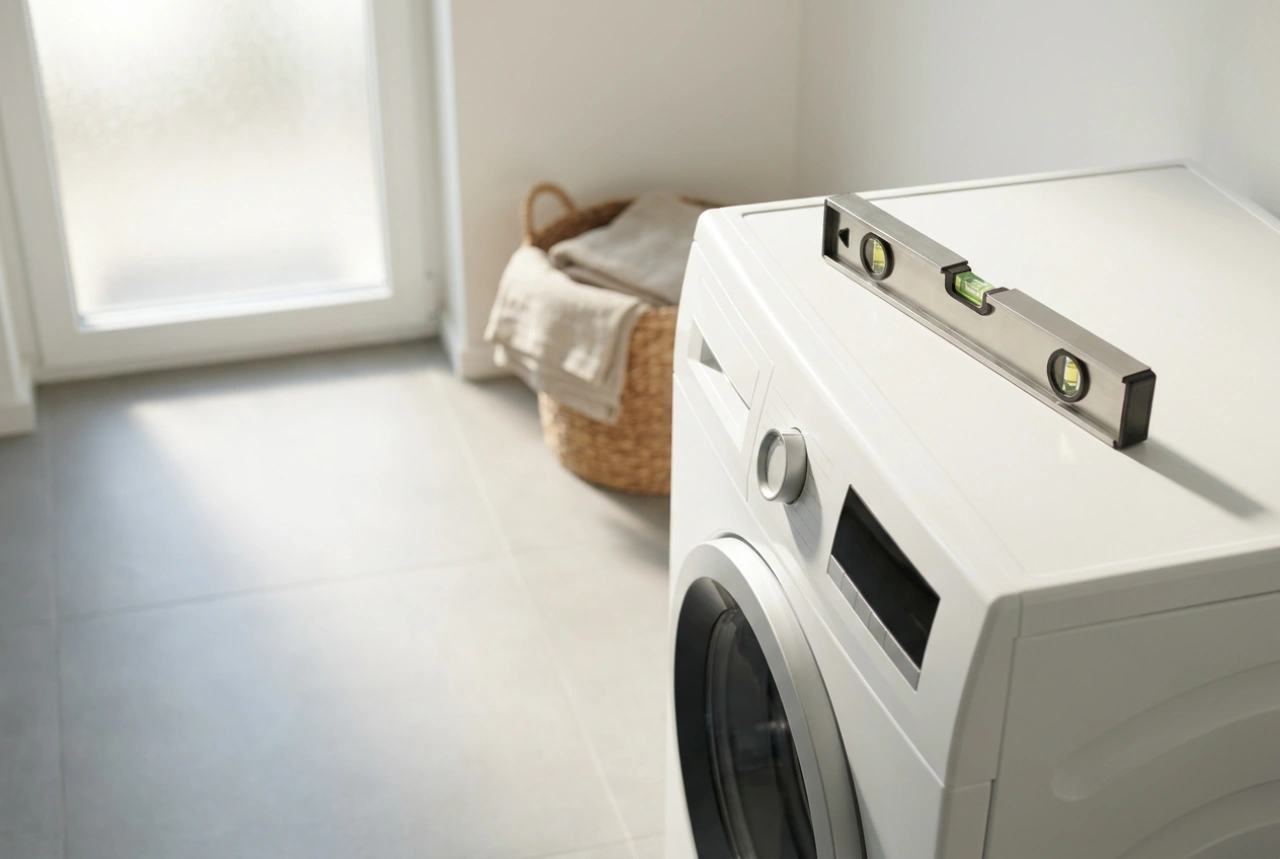


A clogged washing machine filter disrupts the entire hydraulic and drainage cycle, leading to standing water, poor spin performance, and musty odours. Recognizing these physical symptoms early prevents mechanical strain on the drain pump and ensures optimal fabric hygiene.
Physical Signs of a Restricted Drainage Path
The primary function of a washing machine filter is to protect the drain pump impeller from foreign objects and loose fibers. When debris accumulates, it restricts water flow, altering the pressure dynamics within the drainage system. One of the most immediate indicators of a clog is wet laundry at the end of a cycle. When the drain path is restricted, the machine cannot evacuate water quickly enough during the spin phase. The electronic control unit detects the excess weight and water level, preventing the drum from reaching maximum spin speeds to protect the suspension system from violent imbalances.
Another clear symptom is sluggish draining or water remaining completely stagnant in the drum after the cycle completes. If you hear a continuous, strained humming noise coming from the bottom of the machine, it indicates that the drain pump is operating but cannot push water past the physical obstruction in the filter. This sustained resistance causes the pump motor to overheat, potentially leading to premature failure of the component.
The Chemistry of Filter Clogging
A washing machine filter does not just collect coins and buttons; it acts as a trap for a complex mixture of organic and inorganic matter. The clogging process usually begins with microfibers—primarily cellulose from cotton and synthetic polymers from polyester—shed during the wash cycle. These fibers create a dense web that sits inside the filter mesh.
This fibrous web quickly attracts and binds insoluble calcium and magnesium salts, commonly known as limescale, which precipitate out of hard water during heated cycles. Furthermore, if you regularly use excessive amounts of laundry detergent or fabric softeners, these unrinsed surfactants combine with body oils and skin flakes to form a sticky, waxy residue known as soap scum. This residue coats the filter screen, sealing the tiny gaps and drastically reducing hydraulic permeability. Over time, anaerobic bacteria colonise this wet, nutrient-rich matrix, producing volatile organic compounds that cause the characteristic sour, musty smell associated with dirty appliances.
Step-by-Step Safe Extraction and Cleaning
Cleaning the filter is a straightforward chemical and mechanical process, but it must be performed in a precise sequence to ensure safety and prevent water damage to your flooring.
- Power and Water Isolation: Before attempting any maintenance, unplug the appliance from the mains electricity socket to eliminate any risk of electric shock. Shut off the water supply valve to prevent accidental pressurisation of the system.
- Water Containment: Locate the filter access panel, typically situated at the bottom right corner of the machine's front panel. Place a shallow tray and several absorbent towels directly underneath the access door, as a clogged system can hold up to two litres of trapped water.
- Controlled Pressure Release: Many modern machines feature a small, flexible drain tube next to the filter cap. Pull this tube out, remove its plug, and allow the trapped water to drain into a container. If your machine lacks this tube, slowly turn the main filter cap counter-clockwise. Do not unscrew it fully at once; let the water trickle out gradually to avoid flooding.
- Debris Extraction: Once the water has fully drained, unscrew the filter completely and slide it out. Manually remove large debris such as hairpins, coins, or lint build-up.
- Descaling and Sanitising: Take the filter to a sink and rinse it under warm, running water. Use a soft brush to clear the mesh. If the filter is coated in hard limescale or greasy soap scum, submerge it in a warm solution of citric acid or white vinegar (acetic acid) for 15 minutes. The acid chemically dissolves the calcium carbonate and breaks down the surfactant bonds, restoring the filter's porosity.
Ensuring a Watertight Reassembly
Before reinserting the clean filter, inspect the internal housing cavity. Use a torch to check the pump impeller at the back of the chamber; it should spin freely when nudged with a finger. Remove any loose lint or grit from the housing threads, as even a tiny grain of sand can prevent a perfect seal.
Examine the rubber elastomer gasket on the filter cap. If it is dry, cracked, or deformed, it must be replaced to prevent leaks. Lightly lubricate the clean gasket with a drop of water or liquid soap, then thread the filter back into the housing. Ensure it is aligned perfectly straight to avoid cross-threading, which can ruin the plastic threads. Screw it clockwise until it is firmly hand-tight. Finally, run a short rinse cycle while monitoring the filter door with a dry paper towel to verify that the seal is completely watertight before returning the machine to its standard position.