

Polishing glass requires a precise balance of abrasive compound and applicator material to eliminate fine scratches without introducing new micro-abrasions. Choosing the wrong applicator can cause friction burns, localized haziness, or uneven light refraction across the surface.
The Science of Glass Polishing and Haziness
Glass is a highly amorphous solid with a Mohs hardness of approximately 5.5 to 6.5. When attempting to remove scratches, we rely on a process called micro-abrasion, typically using fine mineral oxides like cerium oxide. Unlike sanding wood, which cuts fibers, polishing glass relies on a chemical-mechanical planarization process. The abrasive particles chemically interact with the silica molecules on the glass surface under the influence of pressure and friction, temporarily softening the surface layer to smooth out microscopic imperfections.
Haziness, or dullness, occurs when the applicator material introduces uncontrolled micro-scratches that scatter light instead of reflecting it evenly. This is often caused by using materials that are too hard, contaminated with coarse dust, or incapable of holding the polishing slurry in a suspension. Additionally, excessive dry friction creates localized thermal spikes, which can permanently distort the optical properties of the glass or even cause micro-cracking.
Selecting the Ideal Applicator Materials
To avoid damaging the glass, the applicator must be softer than the glass itself but firm enough to transmit the mechanical force required for the polishing compound to work. There are three primary materials suitable for this task:
- Compressed Rayon or Felt Pads: This is the gold standard for glass polishing. The dense, interlocking fibers of high-density compressed felt hold the polishing slurry within their structure, ensuring a continuous supply of abrasive particles between the pad and the glass. Felt also distributes pressure evenly, minimizing the risk of localized pressure spots.
- High-Density Polyurethane Foam: Best suited for very light finishing or applying final protective sealers. While foam does not hold abrasive slurry as effectively as felt, it offers excellent conformity to curved glass surfaces, reducing the risk of edge-digging.
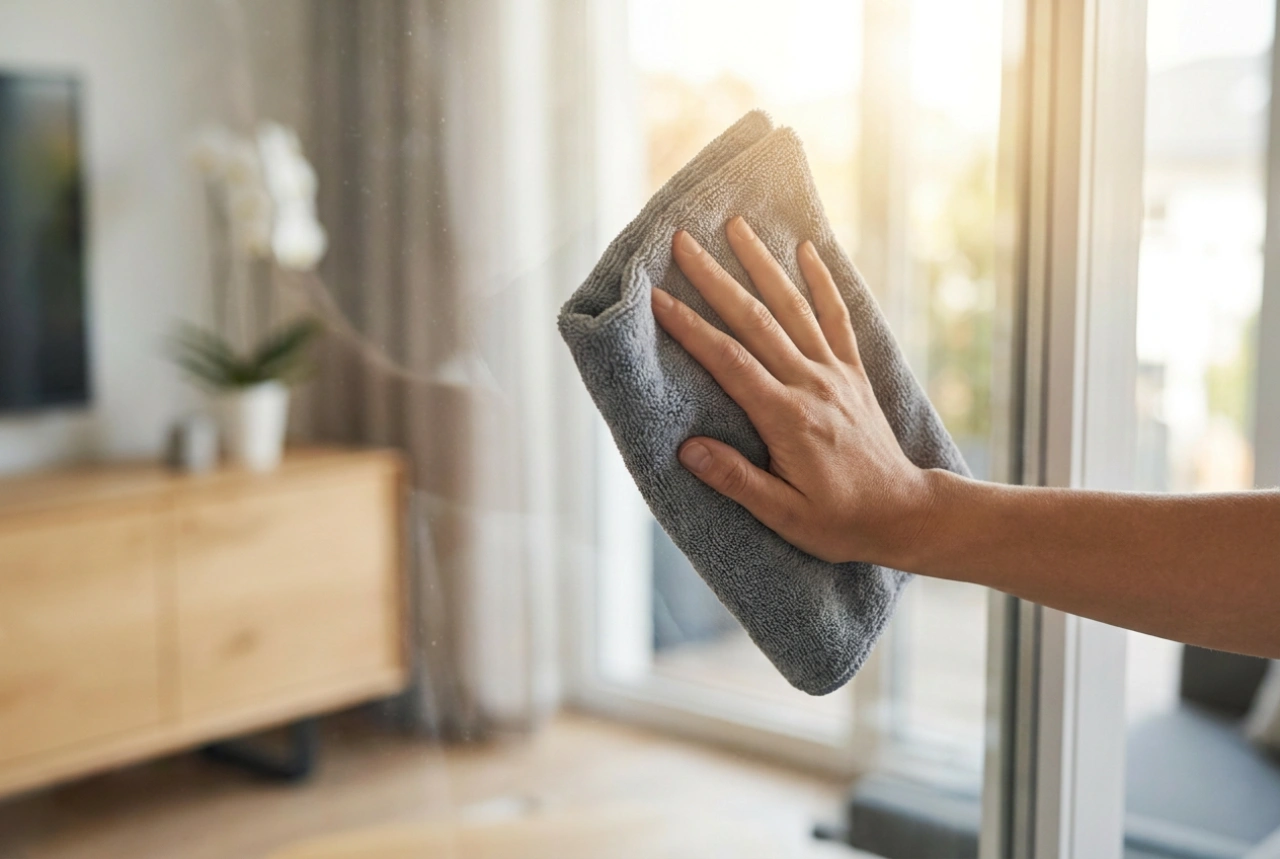
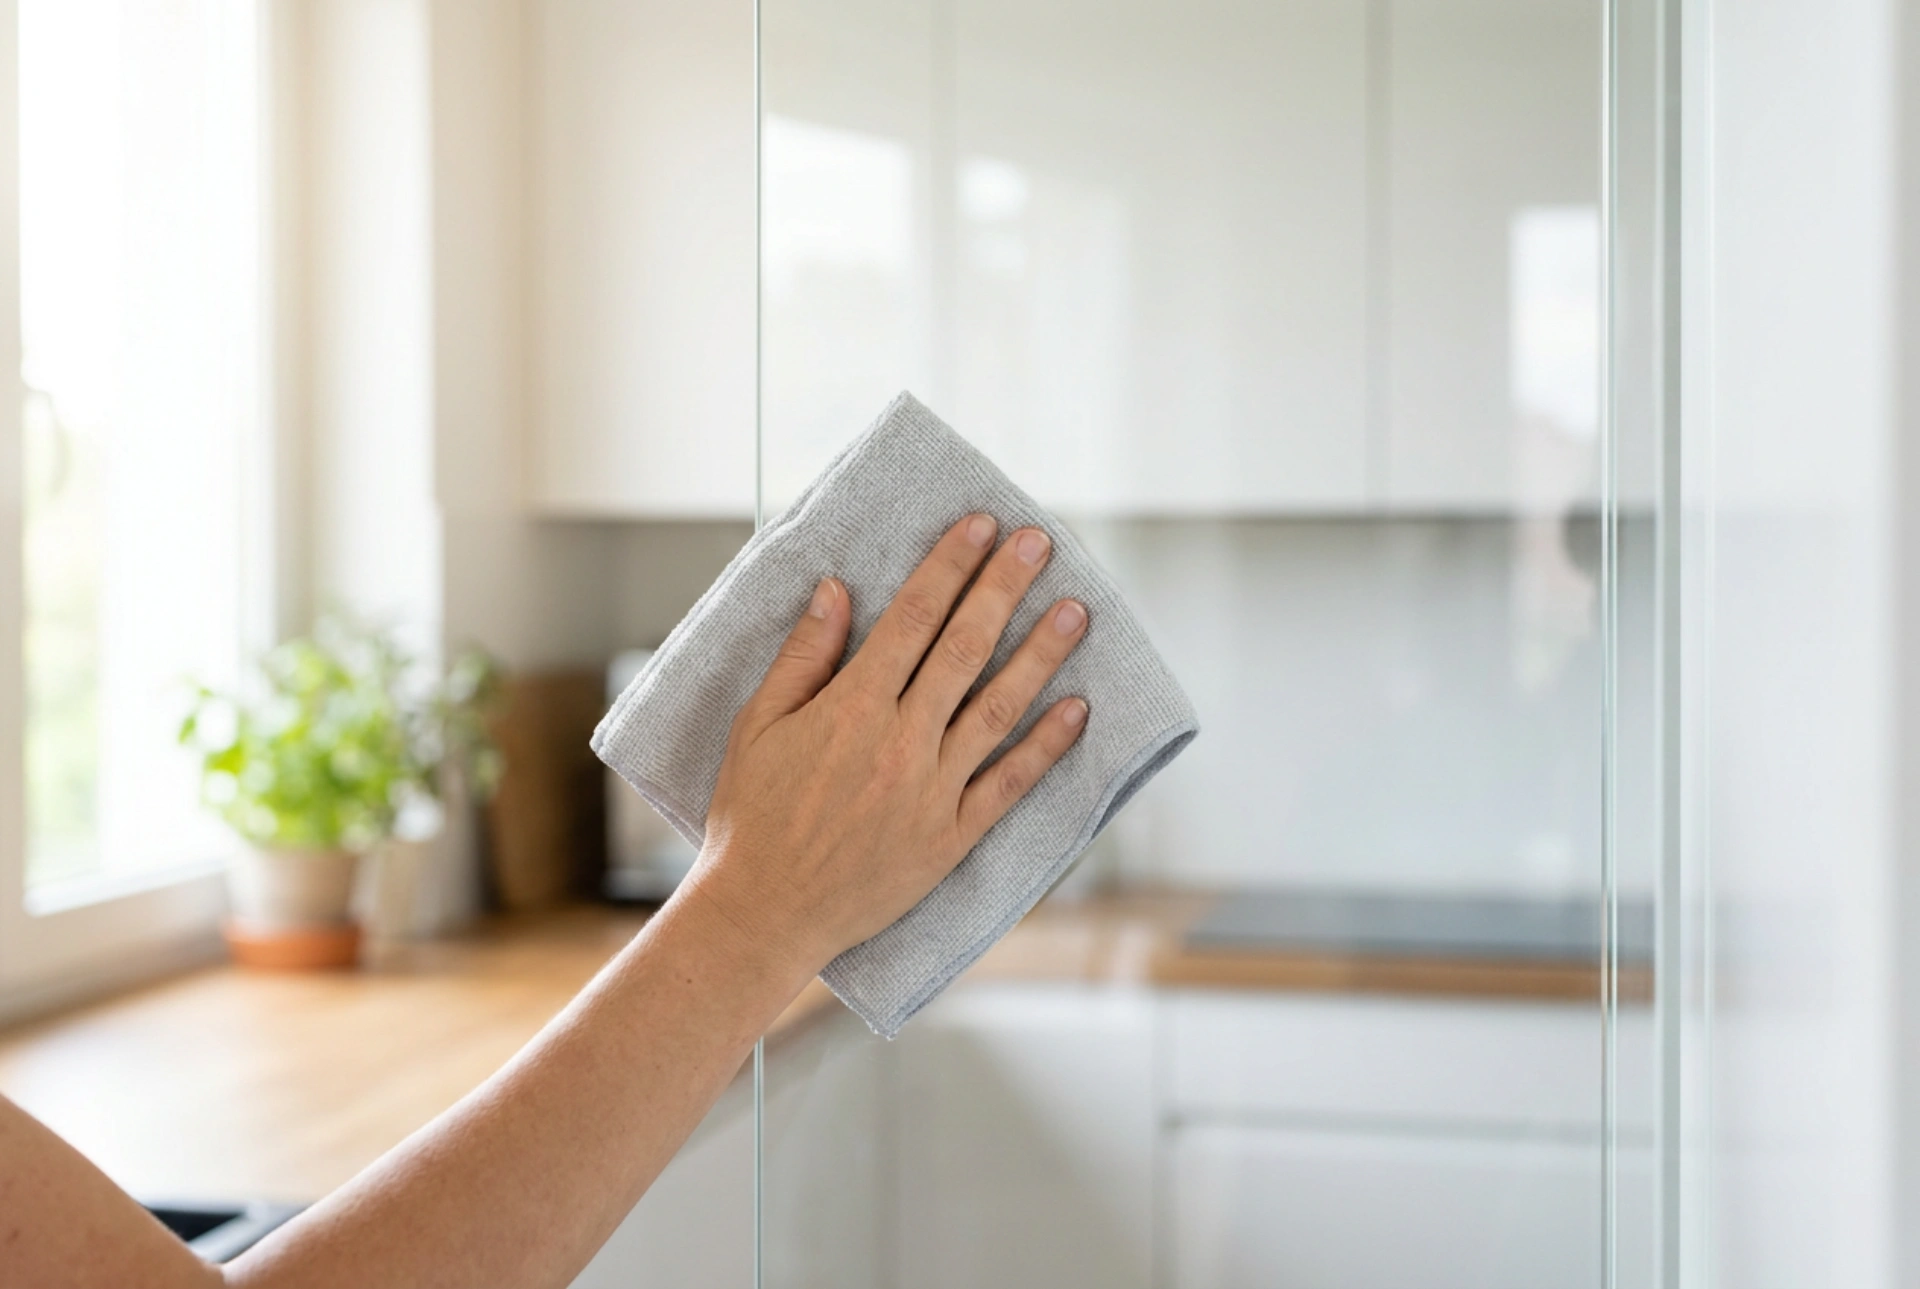
- Split-Fiber Microfiber Cloths: Suitable for manual, low-pressure hand polishing. The microscopic wedge-shaped polyester and polyamide fibers trap contaminants while allowing the polish to contact the glass smoothly. However, microfiber lacks the structural rigidity needed for deeper scratch removal.
The Mechanics of Safe Application
Success lies in the physical technique, pressure control, and moisture management during the polishing cycle. Follow these operational parameters to ensure a flawless finish:
1. Thorough Pre-Cleaning
Before any applicator touches the glass, the surface must be chemically clean. Any microscopic grit, silica dust, or road grime trapped under the polishing pad will act as a coarse abrasive, carving deep, unrepairable swirls into the glass. Use an alcohol-based cleanser to strip all oils and particulates.
2. Maintaining the Slurry State
Glass polishing compounds must never dry out. Dry polishing creates intense friction, leading to rapid heat buildup and immediate haziness. Always mix the compound with distilled water to form a creamy, milk-like slurry. Mist the applicator pad with water before applying the paste to ensure even saturation.
3. Pressure and Movement Patterns
When polishing by hand, apply light to moderate, uniform pressure. Use overlapping circular motions combined with linear paths in a cross-hatch pattern. This prevents the formation of directional optical distortions. Avoid dwelling on a single spot for more than a few seconds; keep the applicator moving constantly to distribute the frictional heat.
4. Temperature Monitoring
Regularly touch the glass adjacent to the work area. It should feel warm, never hot. If the glass becomes hot to the touch, stop immediately, mist the area with clean water to cool it down, and reduce your operating speed or pressure.