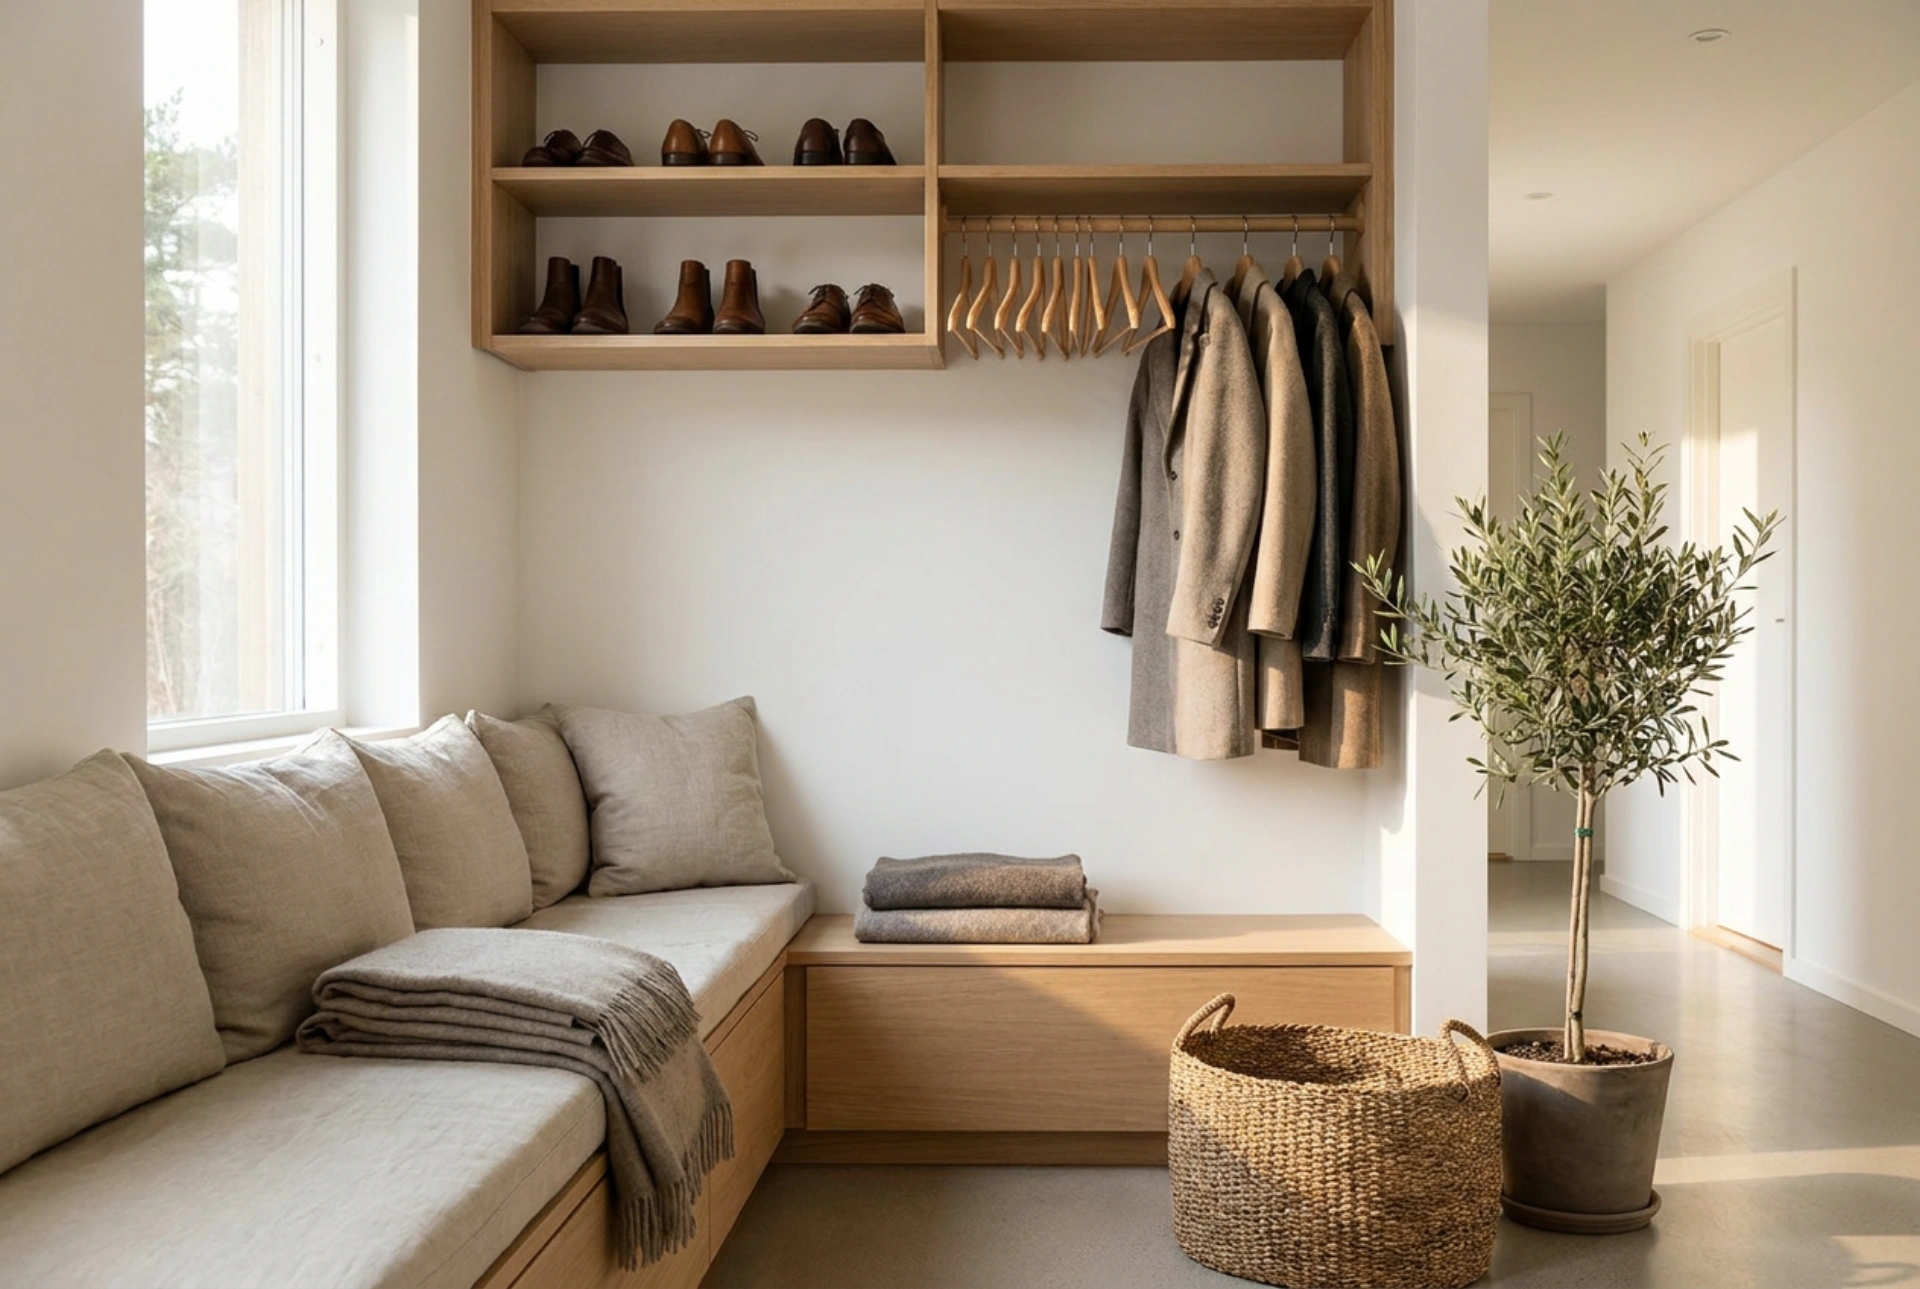


Designing a functional hallway wardrobe with an integrated seat requires a careful balance of ergonomics, material durability, and microclimate control. This guide explains how to construct an entryway system that handles daily wear, moisture, and heavy loads while maintaining structural integrity.
Ergonomics and Structural Dimensions
The spatial layout of a hallway wardrobe must accommodate human biomechanics. An optimal seating height ranges between 40 and 45 centimetres from the floor, which aligns with standard knee flexion when sitting down to tie shoes. To ensure comfortable seating without feeling cramped by hanging outerwear, the seat depth should be at least 45 to 50 centimetres. If the wardrobe incorporates a solid back panel, this depth prevents coats from pushing the occupant forward.
The vertical clearance above the seat is equally critical. To prevent tall individuals from striking their heads when standing up, maintain a minimum clear height of 90 to 100 centimetres from the seat cushion to the underside of any upper storage units. The coat hanging section requires varying vertical spans: at least 150 centimetres for long winter coats and 100 centimetres for short jackets. Understanding these physical dimensions prevents structural bottlenecks in narrow hallways.
Moisture Management and Material Science
The entryway is a high-humidity transition zone subjected to rainwater, melted snow, and road salt. Standard medium-density fibreboard (MDF) absorbs atmospheric moisture rapidly, leading to swelling and structural degradation. For the carcass and seating area, select moisture-resistant MDF (often tinted green) or marine-grade birch plywood. These materials utilise hydrophobic resins that resist water ingress.
To protect the wood from chemical degradation caused by winter de-icing salts (primarily sodium chloride and calcium chloride), seal all surfaces with a high-durability polyurethane or acid-curing lacquer. For the seating pad, select high-density polyurethane foam (minimum 35 kg/m³) wrapped in synthetic fabrics such as polyester or polyurethane-coated textiles. These fabrics feature high Martindale abrasion resistance and low capillary action, preventing moisture from soaking into the underlying foam structure.
Optimising Shoe Storage and Air Circulation
Storing damp footwear in closed, unventilated compartments creates a high-humidity microclimate ideal for fungal growth and bacterial proliferation. To prevent odour accumulation, footwear compartments must facilitate continuous passive ventilation. Avoid solid wooden doors; instead, implement slatted timber fronts, perforated metal panels, or open shelving.
The internal shelf design should assist water evaporation and dirt collection. Slanted shelves positioned at a 15-to-20-degree angle maximise vertical space while allowing water and debris to slide forward onto removable, non-porous trays. Utilise powder-coated steel wire grids rather than solid panels for the shelves. Steel grids allow air to circulate freely around the entire shoe, drying the sole and upper material simultaneously through convection.
Hanger Configurations and Load Mechanics
Heavy winter outerwear exerts significant downward force on hanging rods and hooks. A single wet wool coat can weigh up to 5 kilograms. To prevent sagging, a standard 25-millimetre steel hanging rod should not exceed a span of 90 centimetres without an intermediate support bracket. If space is tight, transverse pull-out hangers can replace traditional longitudinal rods, though they carry lower weight thresholds.
When installing individual coat hooks directly onto the backboard, secure them using through-bolts or heavy-duty toggle anchors rather than simple wood screws. Fastening hooks into a solid wood rail that is mechanically anchored into the masonry wall distributes the shear stress evenly, preventing the plasterboard or thin backing panels from tearing under load.
Step-by-Step Maintenance Checklist
- Weekly: Remove dirt and salt residue from the shoe trays using a damp microfibre cloth to prevent chemical etching of the protective coatings.
- Monthly: Inspect the ventilation paths behind the shoe racks to ensure dust accumulation is not restricting natural convective airflow.
- Seasonally: Apply a thin layer of natural wax or specialist wood polish to solid timber edges to reinforce their moisture-repelling barriers.





