

Maintaining a flawless, streak-free finish on a white side-by-side refrigerator requires more than a casual wipe; it demands an understanding of surface tension, emulsification, and material physics. Large appliances present expansive vertical planes where drying rates, light reflection, and static electricity combine to make every smudge and cleaning streak highly visible.
Understanding the Surface: Why White Fronts Show Streaks
White side-by-side refrigerators typically feature either powder-coated steel or high-gloss polymer panels. While powder coating is highly durable, it possesses a microscopic texture that traps organic lipids (oils from skin) and airborne dust. High-gloss surfaces, on the other hand, act like mirrors, where even a microscopic layer of residue alters light refraction, creating visible streaks. When you touch the refrigerator door, skin oils transfer to the surface. If you use a cleaning agent that merely redistributes these lipids instead of encapsulating them, they dry as a thin, uneven film. Furthermore, static electricity built up by dry wiping attracts particulate matter from the air, cementing it to any sticky residue.
The Chemistry of Streak-Free Cleaning Agents
To eliminate streaks, the cleaning solution must lower the surface tension of water, emulsify oils, and evaporate at a rate that prevents mineral deposition. Standard tap water contains dissolved minerals like calcium and magnesium carbonate. When tap water evaporates, these minerals remain behind as white chalky streaks, which are particularly visible on gloss white finishes. Therefore, distilled or demineralised water should always form the base of your cleaning solution. Adding a small amount of isopropyl alcohol serves two critical functions. First, it acts as a solvent that rapidly dissolves lipid bonds. Second, it accelerates the evaporation rate of the mixture, ensuring the surface dries before water spots can form. A tiny drop of a neutral surfactant, such as a basic washing-up liquid without added silicones or moisturisers, can be introduced. The surfactant molecules possess hydrophobic tails that bind to oils and hydrophilic heads that bind to water, allowing the oil to be lifted into the aqueous phase and wiped away.
Physical Mechanics: The Role of Microfibre and Technique
The tool is as important as the chemistry. Standard cotton cloths have flat, thick fibres that push dirt and liquid across the surface, leaving a trail of moisture that dries into streaks. Split-microfibre cloths, however, feature microscopic polyester and polyamide fibres that are split to create millions of tiny hooks and channels. These channels utilise capillary action to draw moisture and suspended soil deep into the cloth, away from the refrigerator surface. For a streak-free finish, use a dual-cloth technique. First, use a damp microfibre cloth to apply the cleaning solution and loosen soil. The moisture should be minimal so that evaporation occurs within seconds. Second, immediately follow with a dry, high-density microfibre cloth to buff the surface, removing any microscopic liquid droplets before they dry naturally. Movement technique also dictates the outcome. Circular motions redistribute soil and can create circular micro-scratches that catch the light. Instead, employ straight, overlapping horizontal or vertical strokes. Wiping in an S-pattern from top to bottom ensures that dirt is systematically guided off the surface rather than repositioned.
Step-by-Step Maintenance Protocol
To clean a large white side-by-side refrigerator efficiently, follow this precise order of operations:
- Dust Removal: Gently wipe the surface with a dry, clean microfibre cloth to remove loose dust particles. Wiping a dusty surface with a wet cloth creates an abrasive slurry that can dull the finish over time.
- Solution Preparation: Mix equal parts distilled water and isopropyl alcohol in a clean spray bottle. If grease buildup is present near the handle area, add one drop of neutral surfactant.
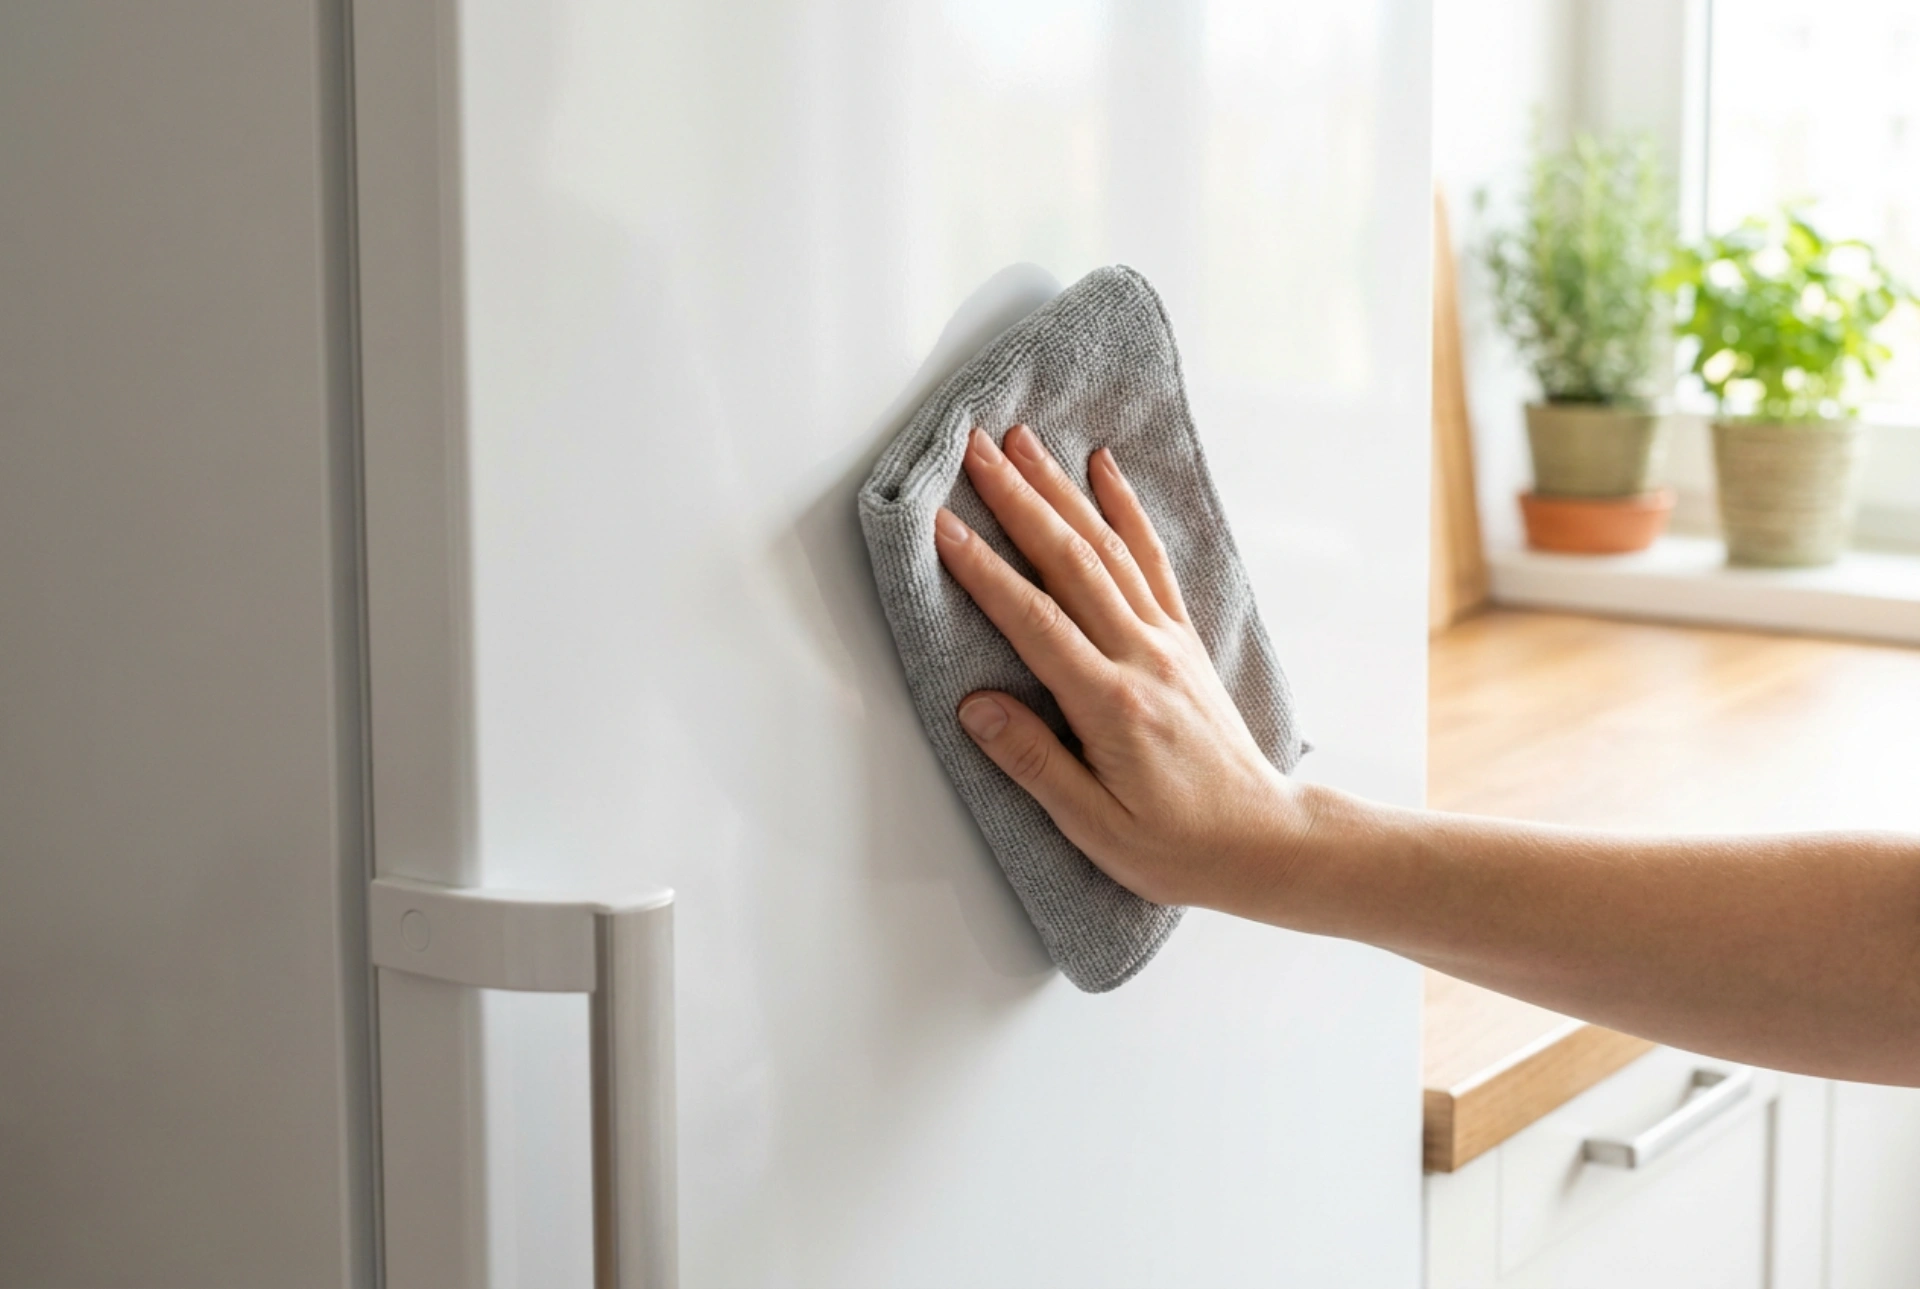
- Application: Spray the solution directly onto the damp microfibre cloth rather than the refrigerator panel. This prevents excess liquid from running down into door seals or handle seams, where it can stagnate and cause degradation.
- Agitation and Removal: Wipe the door panel using the S-pattern technique, starting from the top and working downwards. Focus on the handles and edges where hand contact is highest.
- Buffing: Immediately follow with the dry microfibre cloth, applying light, even pressure to absorb any residual moisture film.