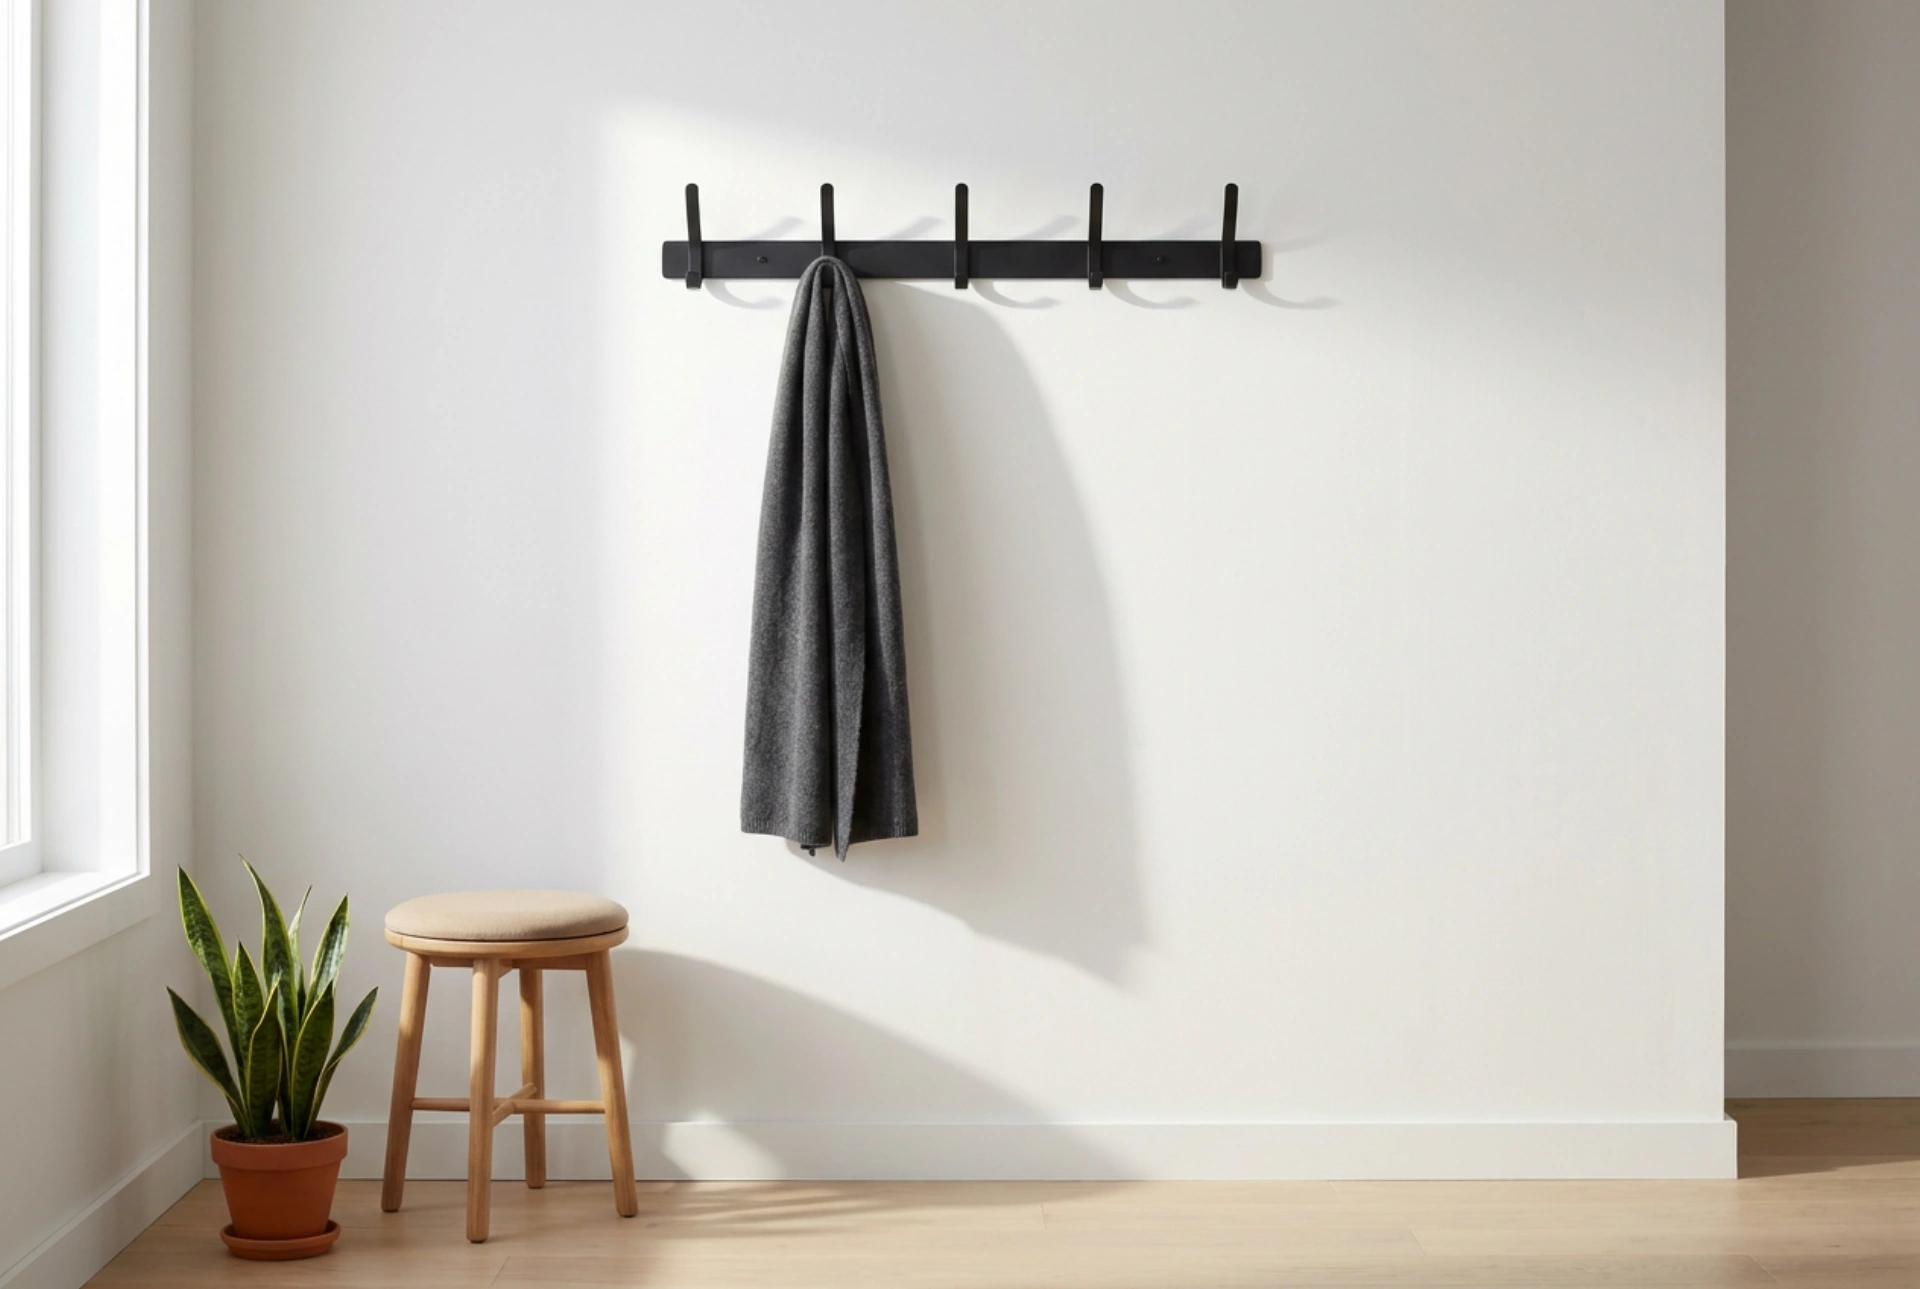


Positioning wall-mounted coat hooks requires a balance of human ergonomics, spatial geometry, and structural physics to ensure both accessibility and long-term durability. Correct placement prevents wall damage from overloaded fixtures while optimising the flow of your entry space.
The Ergonomics of Height: Designing for Accessibility
The primary consideration when mounting coat hooks is vertical positioning, which must accommodate both the physical reach of the users and the length of the garments. For standard adult use, the golden height range is between 150 cm and 170 cm from the finished floor level. This range keeps long coats from dragging on the floor while remaining within a comfortable reach without requiring excessive shoulder extension.
To create a highly functional hallway, implement a multi-tiered layout. If you share a home with children, install a secondary row of hooks at a height of 100 cm to 110 cm. This lower tier also serves as an excellent zone for bags, umbrellas, and dog leashes. When planning vertical stacking (mounting hooks directly above one another), ensure a minimum vertical clearance of 60 cm between the top and bottom rows to prevent the upper garments from completely draping over the lower hooks, which restricts access and traps moisture.
Horizontal Spacing and the Physics of Bulk
A common mistake is placing hooks too close together, leading to overlapping garments that create bulk, slip off, and prevent damp fabrics from drying. The spacing of your hooks must account for the natural volume of outer garments. A heavy winter coat or puffer jacket expands outwards by approximately 30 to 40 cm when hung.
For a clean, functional layout, space individual hooks at least 25 cm to 30 cm apart (measured from centre point to centre point). If your hallway is narrow and you need to maximise capacity, use a staggered pattern rather than a straight horizontal line. By offsetting the hooks vertically by 15 cm in a zig-zag configuration, you can reduce the horizontal distance between them to 20 cm while still allowing the bulk of the coats to sit in the negative space created by the height difference.
Substrate Physics and Load Distribution
When a heavy coat is hung on a hook, it exerts a combination of downward shear force and outward pulling tension (tensile force) on the wall fixture. The capacity of your hooks to withstand this load depends heavily on the wall substrate and the anchoring mechanism used.
- Solid Masonry Walls: Brick or concrete walls offer high load-bearing capacity. Use nylon expansion plugs (wall plugs) that grip the drilled cavity when the screw is driven in. Ensure the screw penetrates the plug fully to expand its midsection against the masonry.
- Plasterboard / Drywall: Hollow walls have low shear strength. Standard screws will quickly pull out under the weight of wet winter coats. Always locate the vertical wooden or metal studs using a stud finder to anchor your hooks directly into the framing. If stud placement does not align with your desired layout, mount a solid wooden mounting board (pattress) to the studs first, and then attach your hooks to the board. Alternatively, use heavy-duty metal hollow-wall anchors (such as umbrella or toggle bolts) that spread the load across a wider surface area behind the plasterboard.
Step-by-Step Installation Technique
To achieve a professional, level installation, follow a strict order of operations. First, apply a strip of low-tack painter's tape to the wall at the approximate installation height. This allows you to mark measurements and draw level lines without marking the wall surface. Use a spirit level or a self-levelling laser level to project a perfectly horizontal datum line across the tape.
Mark the precise hook centre-points onto the tape using a pencil. Before drilling, verify the substrate behind each mark using a multi-detector to ensure you are not drilling into electrical cables or water pipes. Use a drill bit that matches the exact diameter specified for your wall plugs. Drill straight and perpendicular to the wall surface to prevent the hole from ovalising, which weakens the anchor's grip. Clean the dust from the hole using a hand pump or vacuum, insert the wall plugs flush with the wall surface, peel off the painter's tape, and securely screw the hooks into place.





