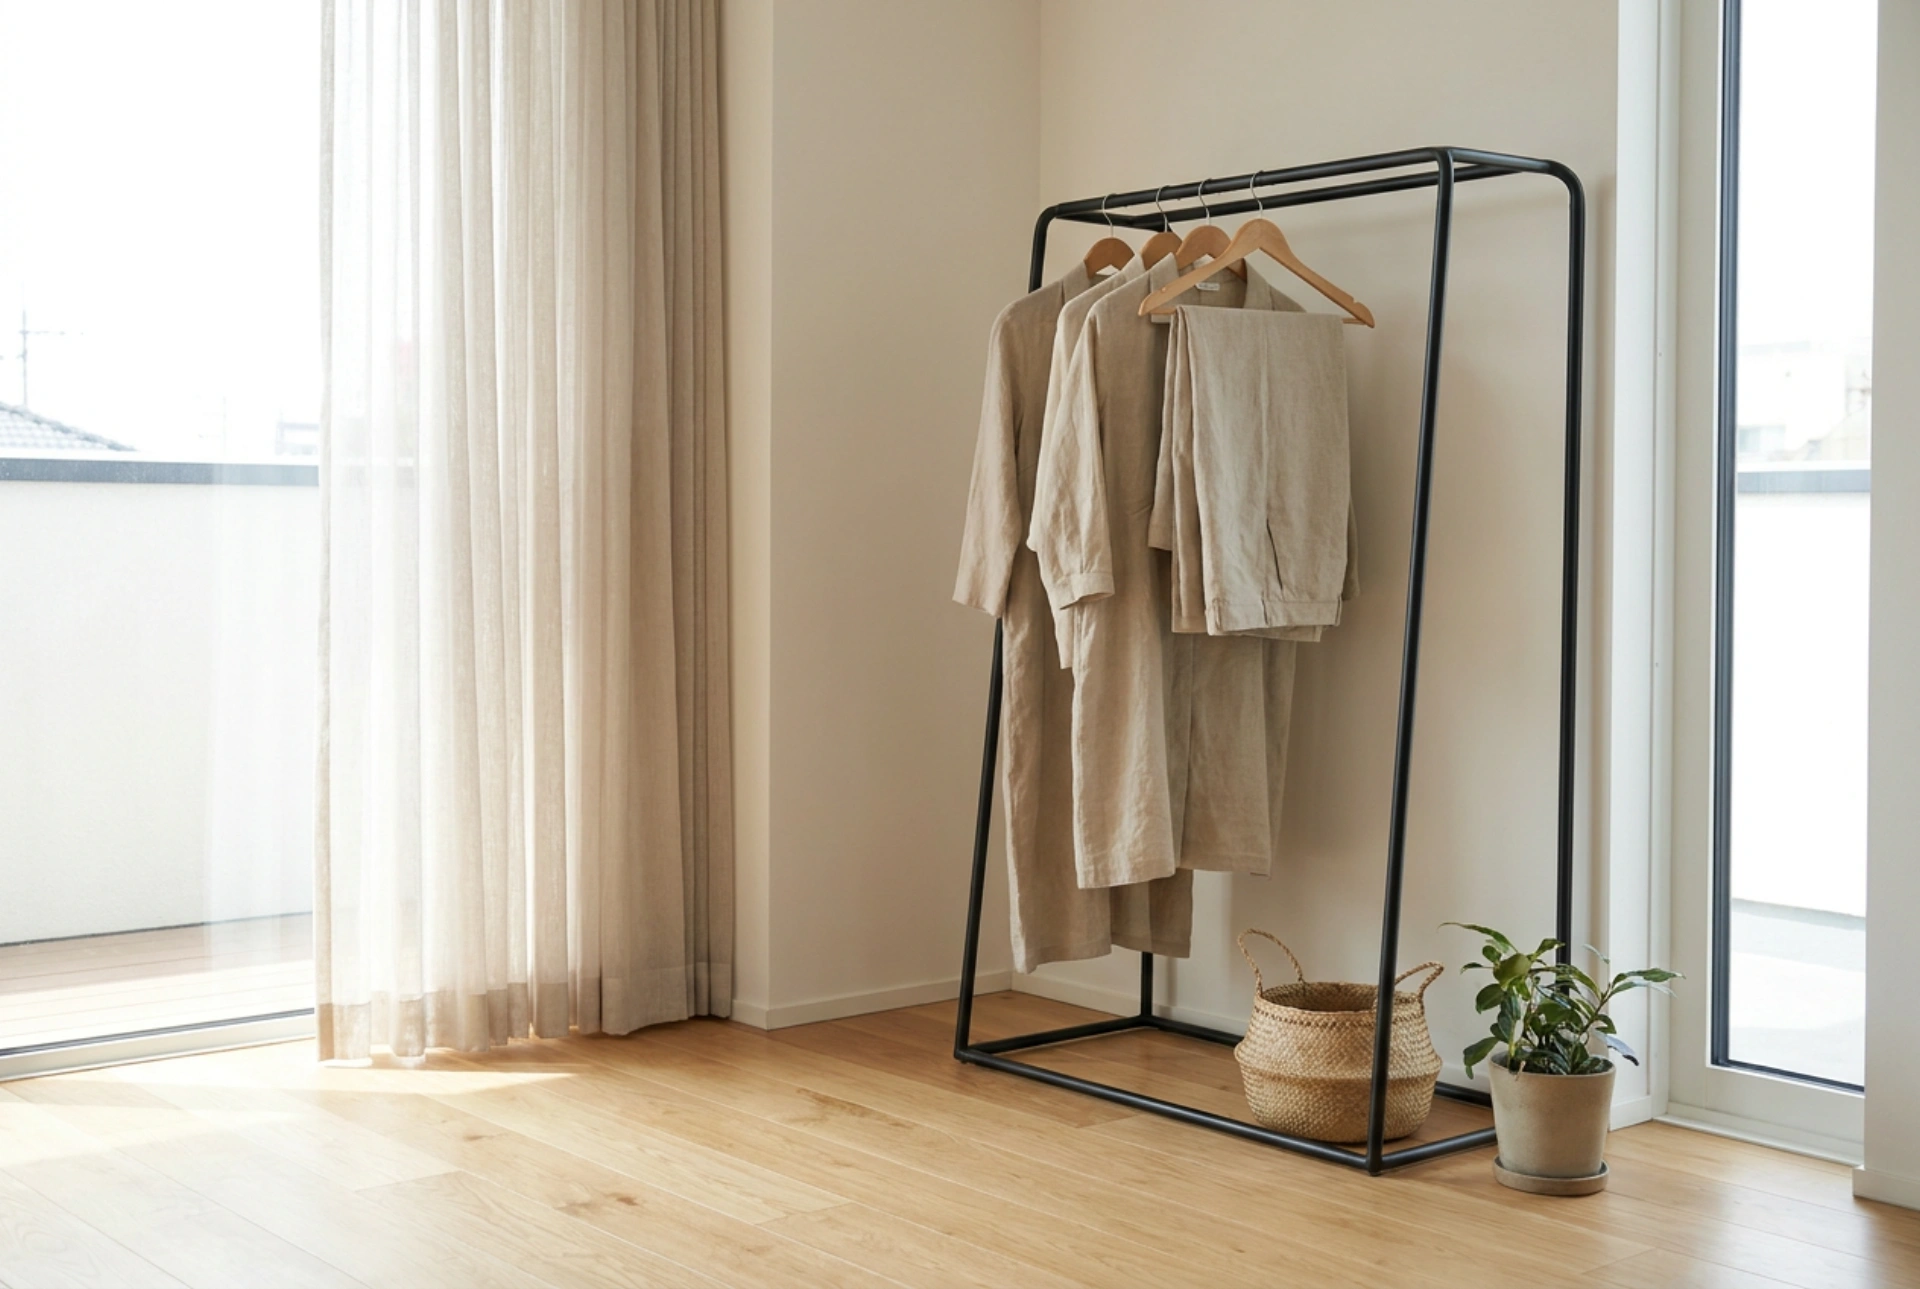


A clothing rack offers immediate access to your daily wardrobe, but without strategic placement, it quickly transforms from a stylish utility into a source of overwhelming visual clutter. By applying principles of spatial geometry, sightline management, and airflow dynamics, you can integrate this functional piece seamlessly into any room layout.
Managing Sightlines and Visual Weight
When you enter a room, your brain instantly processes the space based on dominant visual anchors. If a clothing rack loaded with multi-coloured garments is the first thing that catches your eye, the entire room will feel disorganized, regardless of how clean the floor is. To counter this, position the rack outside the primary line of sight.
The ideal location is often on the same wall as the entryway door, or tucked behind the door's natural swing path. When you walk into the room, your back is to this wall, meaning the busy textures of the clothing remain hidden until you actively turn around. Alternatively, placing the rack in a recessed niche or an alcove utilizes dead space and physically contains the visual footprint of your wardrobe.
Another factor to consider is the psychological impact of open storage. Closed wardrobes hide mess, whereas open racks expose every fold, wrinkle, and color clash. By placing the rack in a corner that is semi-obstructed by architectural details—such as a structural pillar or an outswinging window frame—you naturally limit its dominance over the room's aesthetic. This concept of structural shielding allows you to benefit from open-access wardrobe storage without sacrificing the visual tranquility of your resting space.
Anchoring the Rack Within Room Zones
A common mistake is placing a clothing rack in the middle of a blank wall, allowing it to "float" without context. In interior logistics, floating objects create spatial confusion. To prevent this, anchor your clothing rack next to larger, solid furniture pieces like a heavy chest of drawers, a wardrobe, or a tall bookshelf.
This grouping creates a unified functional zone dedicated to dressing or storage. When the rack is physically aligned with another structural element, its visual weight is absorbed by the larger object. Ensure there is a gap of at least fifteen centimetres between the rack and adjacent furniture to allow for physical clearance, preventing garments from getting crushed and ensuring easy cleaning of the floor beneath.
Utilizing Natural Light and Airflow
Positioning your clothing rack near a window offers distinct functional advantages, provided it does not block the glass itself. Natural daylight helps you accurately distinguish fabric colours and inspect garments for lint or stains before putting them on. More importantly, placing clothes near areas of air circulation prevents the accumulation of stagnant moisture and musty odours.
Textiles are highly porous materials that absorb environmental humidity and organic oils from our skin. Placing the rack in a well-ventilated corner encourages passive air exchange, which helps dissipate these moisture particles. However, avoid direct, prolonged sunlight exposure on delicate fabrics, as ultraviolet radiation can degrade synthetic fibres and bleach natural dyes over time.
To optimize air quality, the rack should not be jammed directly against the wall. Leaving a gap of five to ten centimetres between the wall and the rack allows convective air currents to flow freely around the hanging garments. This microclimate control is essential in preventing mold spores from settling on organic fibers like wool, cotton, and silk, which are particularly susceptible to moisture damage when kept in dark, stagnant corners.
The Science of Load Balancing and Layout Symmetry
A cluttered appearance is often a physical result of poor weight distribution on the rack itself. Gravity dictates that heavy coats and long dresses pull the structure downward, creating a sloped, chaotic line if mixed randomly with light shirts. To maintain order, arrange your garments by length and weight, moving from longest on one side to shortest on the other.
This gradient organization creates a clean diagonal line that the eye perceives as structured and intentional. It also leaves open floor space directly beneath the shorter garments, which can be utilized for a low storage box or a shoe tray, keeping the footprint neat. Additionally, using uniform hangers made of wood or sturdy recycled plastics prevents garments from slipping and ensures consistent spacing along the rail, further reducing visual friction.
Maintaining the System: Operational Rules
To ensure your strategically placed clothing rack remains a functional asset rather than a mess, establish clear operational limits. The rack should never be loaded to more than eighty percent of its physical rail capacity. Compression causes wrinkling and limits the airflow necessary for fabric freshness.
- Implement a strict "one-in, one-out" rule to keep the density consistent.
- Reserve the rack exclusively for current-season garments to prevent overcrowding.
- Leave a two-centimetre gap between each hanger to facilitate easy retrieval and air circulation.





