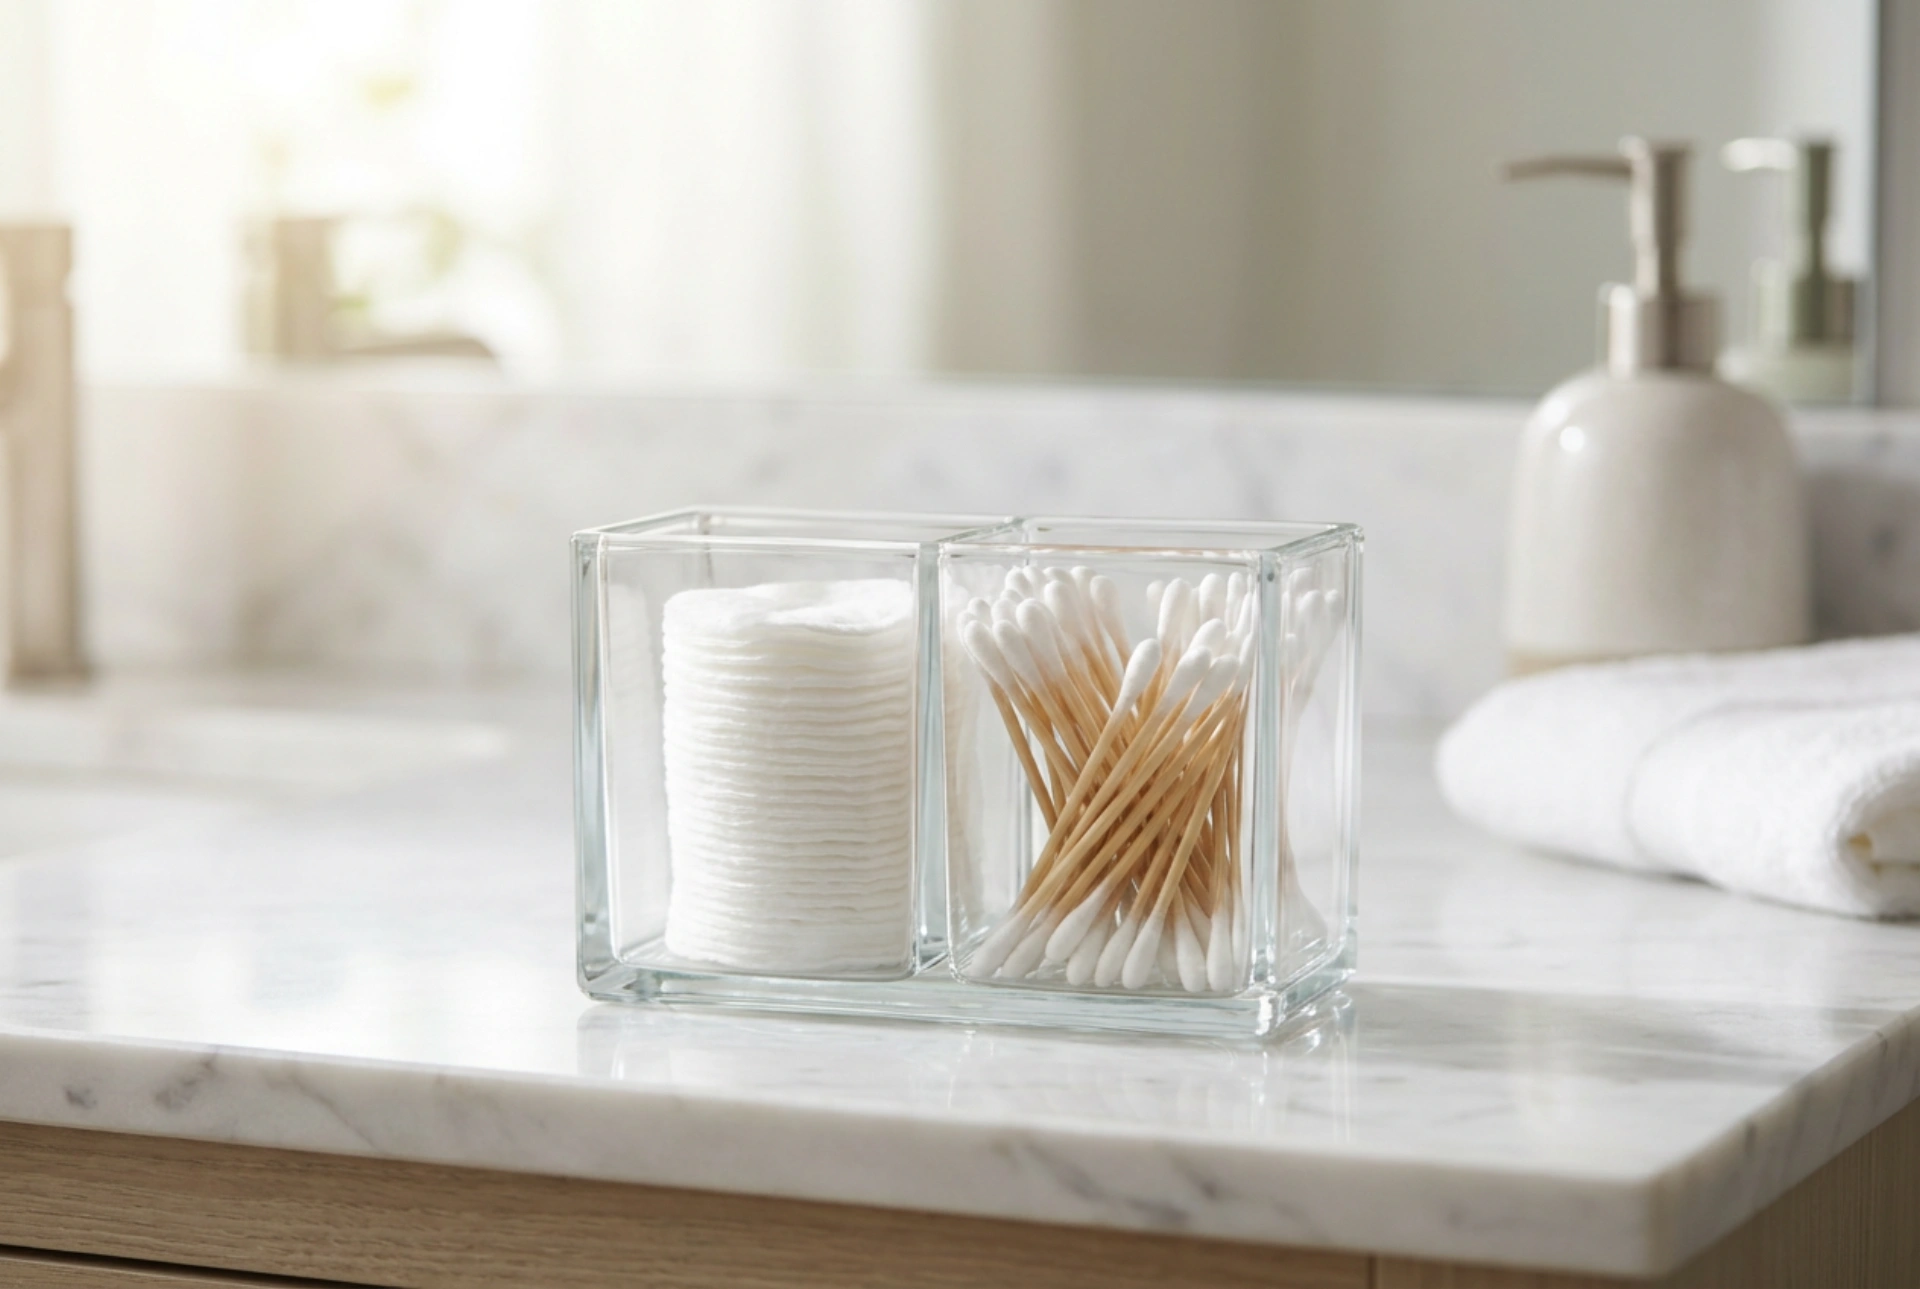


Storing cotton pads and buds in the bathroom requires more than just aesthetic placement; it demands a strategic approach to prevent moisture absorption and microbial contamination. Because cotton is highly porous and hydrophilic, exposure to bathroom humidity can compromise its sterility before it ever touches your skin.
The Physics of Cotton: Why Humidity is the Enemy
Cotton fibers consist of almost pure cellulose, a natural polymer with a high density of hydroxyl groups. These groups readily form hydrogen bonds with water molecules, giving cotton its excellent absorbency. While this hydrophilic property is ideal for skin cleansing, it also means that loose cotton pads and buds act like sponges in a humid bathroom environment.
During and after a hot shower, the relative humidity in a bathroom can easily reach 90% or higher. Unprotected cotton products draw this moisture out of the air through capillary action. Once damp, the dense network of organic fibers provides an ideal microenvironment for the proliferation of bacteria, mold, and fungal spores. Using compromised cotton on sensitive areas like the eyes or open skin micro-tears can lead to irritation or localized infections.
Evaluating Storage Materials: Glass, Acrylic, and Ceramics
To shield hygiene products from airborne moisture and contaminants, the physical properties of the storage container are paramount. The material must be completely non-porous, chemically inert, and easy to sanitise regularly. Here is how common materials compare:
- Glass: The gold standard for bathroom storage. Glass is completely non-porous and amorphous, meaning it has no microscopic crevices where bacteria can hide. It is chemically inert, allowing for the use of strong disinfectants, and its transparency makes it easy to inspect the contents for any signs of dust or moisture buildup.
- Acrylic and PMMA: High-quality, medical-grade plastics offer excellent clarity and impact resistance. However, they are softer than glass and prone to micro-scratching over time during cleaning. These micro-scratches can become breeding grounds for microbes, meaning acrylic must be cleaned with soft, non-abrasive cloths.
- Ceramics: Glazed ceramics are highly effective and non-porous on the outer surface, but ensure the interior is also fully glazed. Unglazed clay or stoneware remains porous and can trap moisture within the material itself.
Regardless of the material, a tight-fitting lid is non-negotiable. A physical barrier is essential to protect the cotton from the toilet plume (the aerosol mist of microscopic particles released into the air during flushing) as well as floating skin scales and household dust.
Placement and Bathroom Microclimates
The layout of your bathroom dictates where hygiene containers should be placed. Avoid placing organisers directly next to the sink, where water splashes can seep under the lid. Similarly, avoid areas directly adjacent to the shower where steam concentration is at its highest.
The optimal location is inside a closed vanity unit or a mirrored cabinet. This provides a secondary physical barrier, buffering the container from rapid temperature swings and high humidity peaks. If you prefer to keep containers on an open countertop for convenience, ensure they are placed at least two metres away from the toilet and are elevated off the damp surface of the sink deck.
A Rigorous Cleaning and Refilling Protocol
To maintain a truly hygienic storage zone, you must establish a routine for sanitising the containers before refilling them. Simply topping up a half-empty jar traps older, potentially contaminated items at the bottom.
First, empty the container completely. Wash it thoroughly with warm water and a surfactant-based detergent to break down any accumulated lipids, oils, or dust films. Rinse with clean water to remove soap residue. Next, spray the interior with a 70% isopropyl alcohol solution. At this specific concentration, alcohol penetrates cell walls more effectively than pure alcohol, denaturing proteins and killing bacterial cells. Allow the container to air-dry completely; refilling a damp container will trap moisture inside, accelerating mold growth.