

Finding the exact screw or washer in a cluttered toolbox can turn a quick repair into a frustrating search, often leading to damaged threads or misplaced components. Establishing a systematic arrangement in your toolbox drawers is not just about aesthetics; it is an application of mechanical sorting and material preservation that protects your hardware from wear and corrosion.
The Physics of Hardware Storage: Preventing Contact Corrosion
When storing small metal parts, the first consideration must be material compatibility. Mixing different metals in a single compartment can lead to galvanic corrosion, especially in high-humidity environments like garages or workshops. When two dissimilar metals, such as brass and zinc-plated steel, come into direct contact in the presence of moisture, an electrochemical reaction occurs, accelerating the degradation of the less noble metal.
- Segregate by Alloy: Keep stainless steel, brass, copper, and carbon steel components in strictly separated compartments to avoid electrochemical degradation.
- Protect Plated Coatings: Zinc-plated and black-oxide screws rely on a thin protective layer. Friction from loose storage can chip these coatings, exposing the raw steel underneath to rapid oxidation.
- Control the Micro-Climate: Drop a small sachet of silica gel desiccant into each compartment. This actively lowers the relative humidity inside the drawer, preventing the formation of rust on iron-based fasteners.
Geometric Sorting: Hierarchy and Accessibility
An efficient drawer layout relies on geometric hierarchy. Grouping fasteners arbitrarily by project leads to redundant stock and wasted time. Instead, organize your components by their physical dimensions and mechanical properties.
The Dimensional Grid
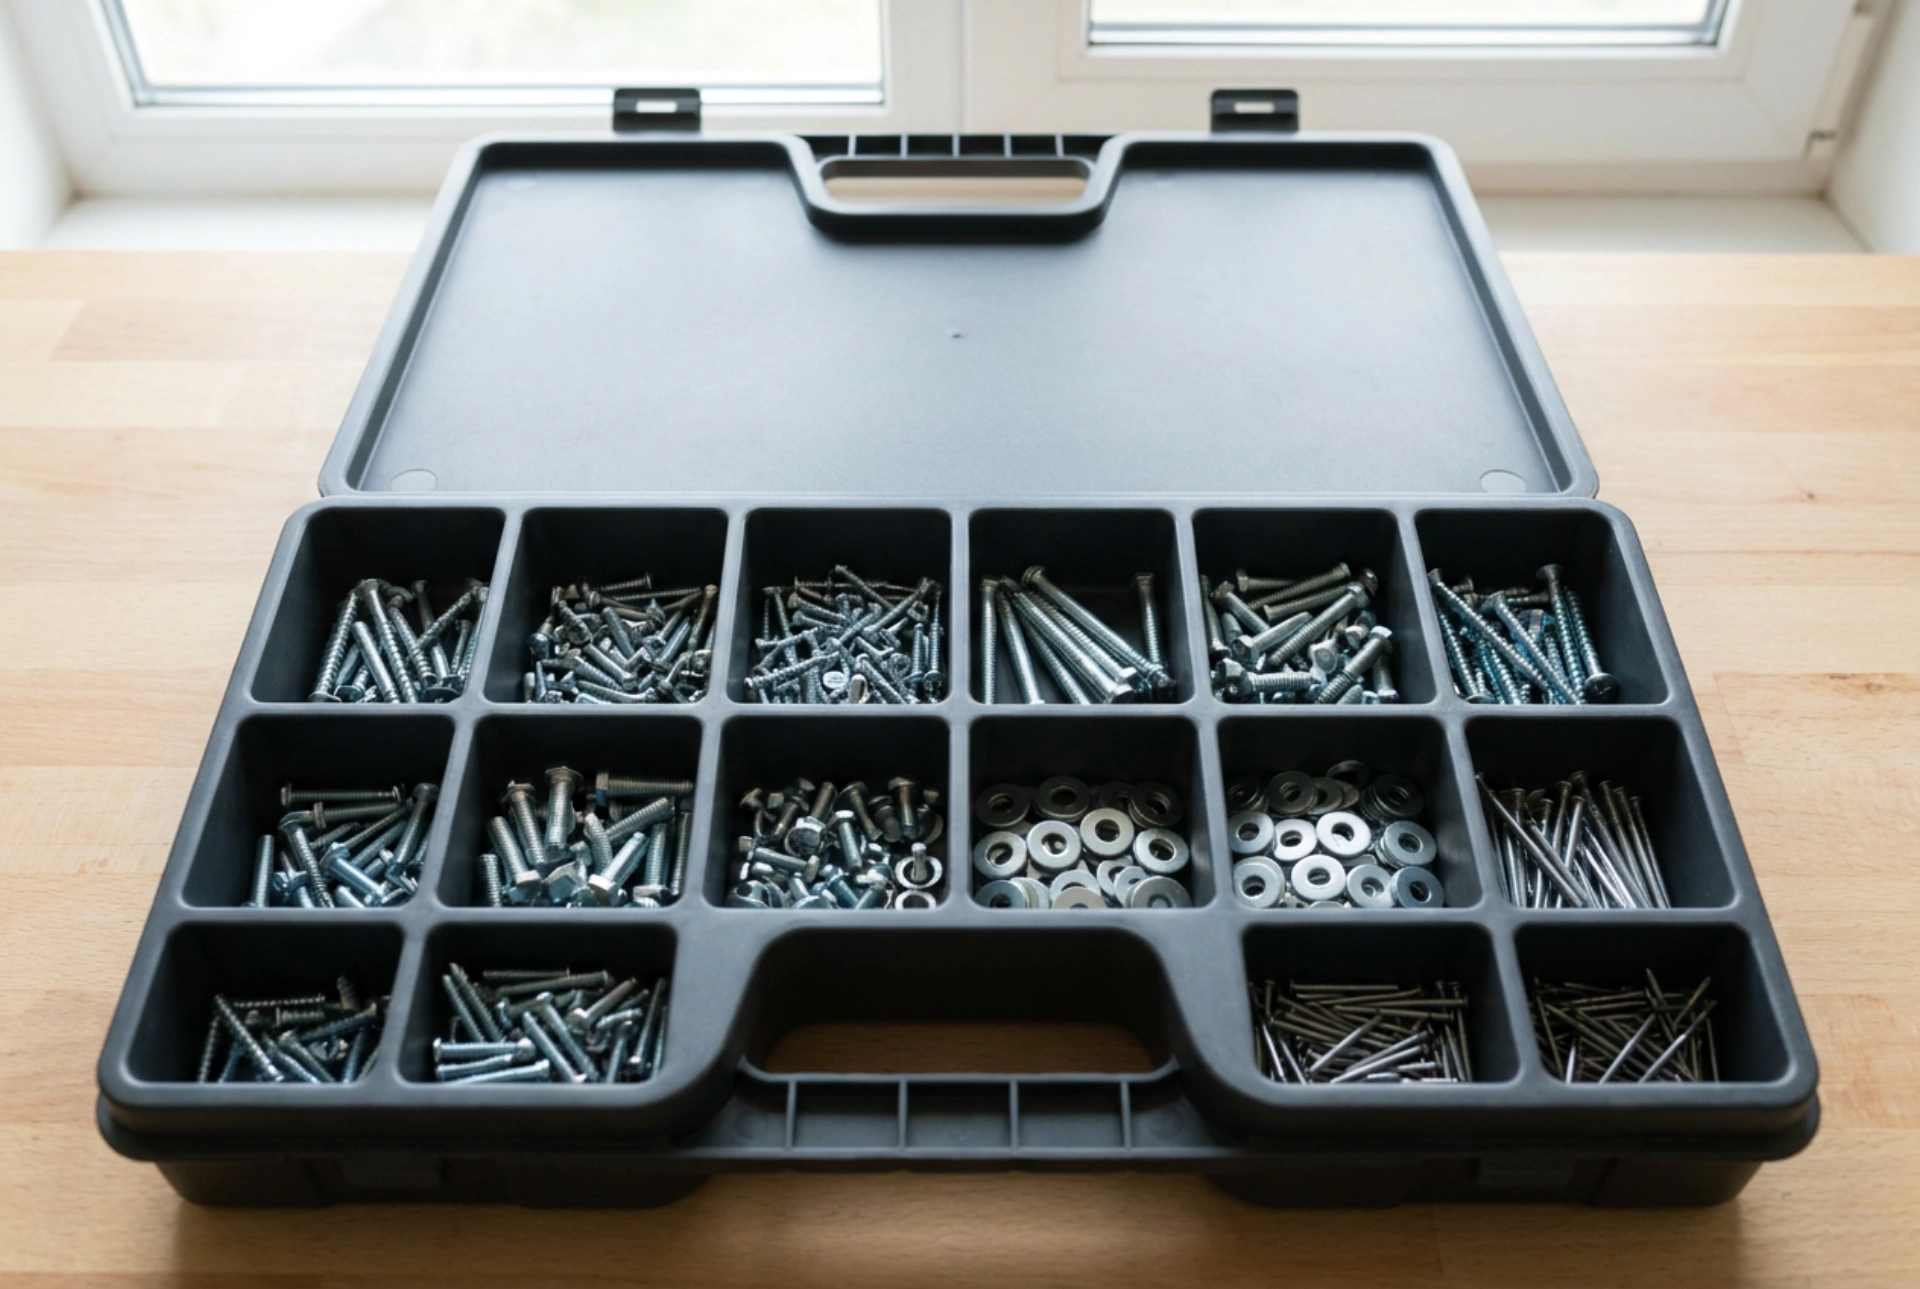
Arrange your compartments from left to right by thread diameter (e.g., M3, M4, M5, M6) and from front to back by length. This intuitive grid allows your hand to move automatically to the correct zone without searching. Always store nuts and washers directly adjacent to their corresponding bolt diameters to streamline assembly tasks.
Weight Distribution and Center of Gravity
The physical placement of drawers within the toolbox affects both tool lifespan and physical safety. Always place the heaviest hardware, such as large anchor bolts, heavy nuts, and solid steel brackets, in the bottommost drawers. This lowers the center of gravity of the entire toolbox, preventing tipping when upper drawers are fully extended. Reserve the top, shallow drawers for lightweight items like wire terminals, cotter pins, and small machine screws.
Surface Friction and Motion Control
Every time a toolbox drawer is opened and closed, the contents are subjected to kinetic energy. Without stabilization, small parts slide, bounce, and mix, damaging fine threads and creating noise.
To counteract this, line your drawer compartments with high-friction, non-reactive liners. Ethylene-vinyl acetate (EVA) foam or textured nitrile rubber liners absorb the kinetic energy of sliding metal. Avoid PVC-based liners, as they can release plasticizers over time that degrade plastics and leave a sticky residue on metal surfaces. Modular, removable bins within the drawers allow you to carry only the specific hardware section to your workspace, preventing unnecessary agitation of the remaining stock.
Systematic Reorganization: Step-by-Step Order of Operations
Achieving a lasting organization scheme requires a methodical process of clearing, cleaning, and classifying. Do not attempt to sort your hardware while it remains inside the toolbox.
- Empty and Clean: Completely empty the drawers. Use isopropyl alcohol (99% concentration) to wipe down the drawer interiors and compartment dividers. This removes accumulated oils, metal filings, and dust without leaving water residue that could trigger rust.
- Mechanical Sorting: Pour unsorted hardware onto a clean, flat surface. Use a simple thread pitch gauge and a caliper to precisely measure unknown diameters and thread pitches rather than relying on visual estimation.
- Sifting: Use a coarse mesh screen to quickly separate tiny debris, wood shavings, and metal dust from your reusable hardware before returning them to the clean drawers.
- Labeling: Apply clear, oil-resistant labels to the lip of each compartment. Specify the material, thread size, and length (e.g., "Stainless Steel - M5 x 16mm - Hex Button Head") to ensure rapid identification and easy inventory tracking.