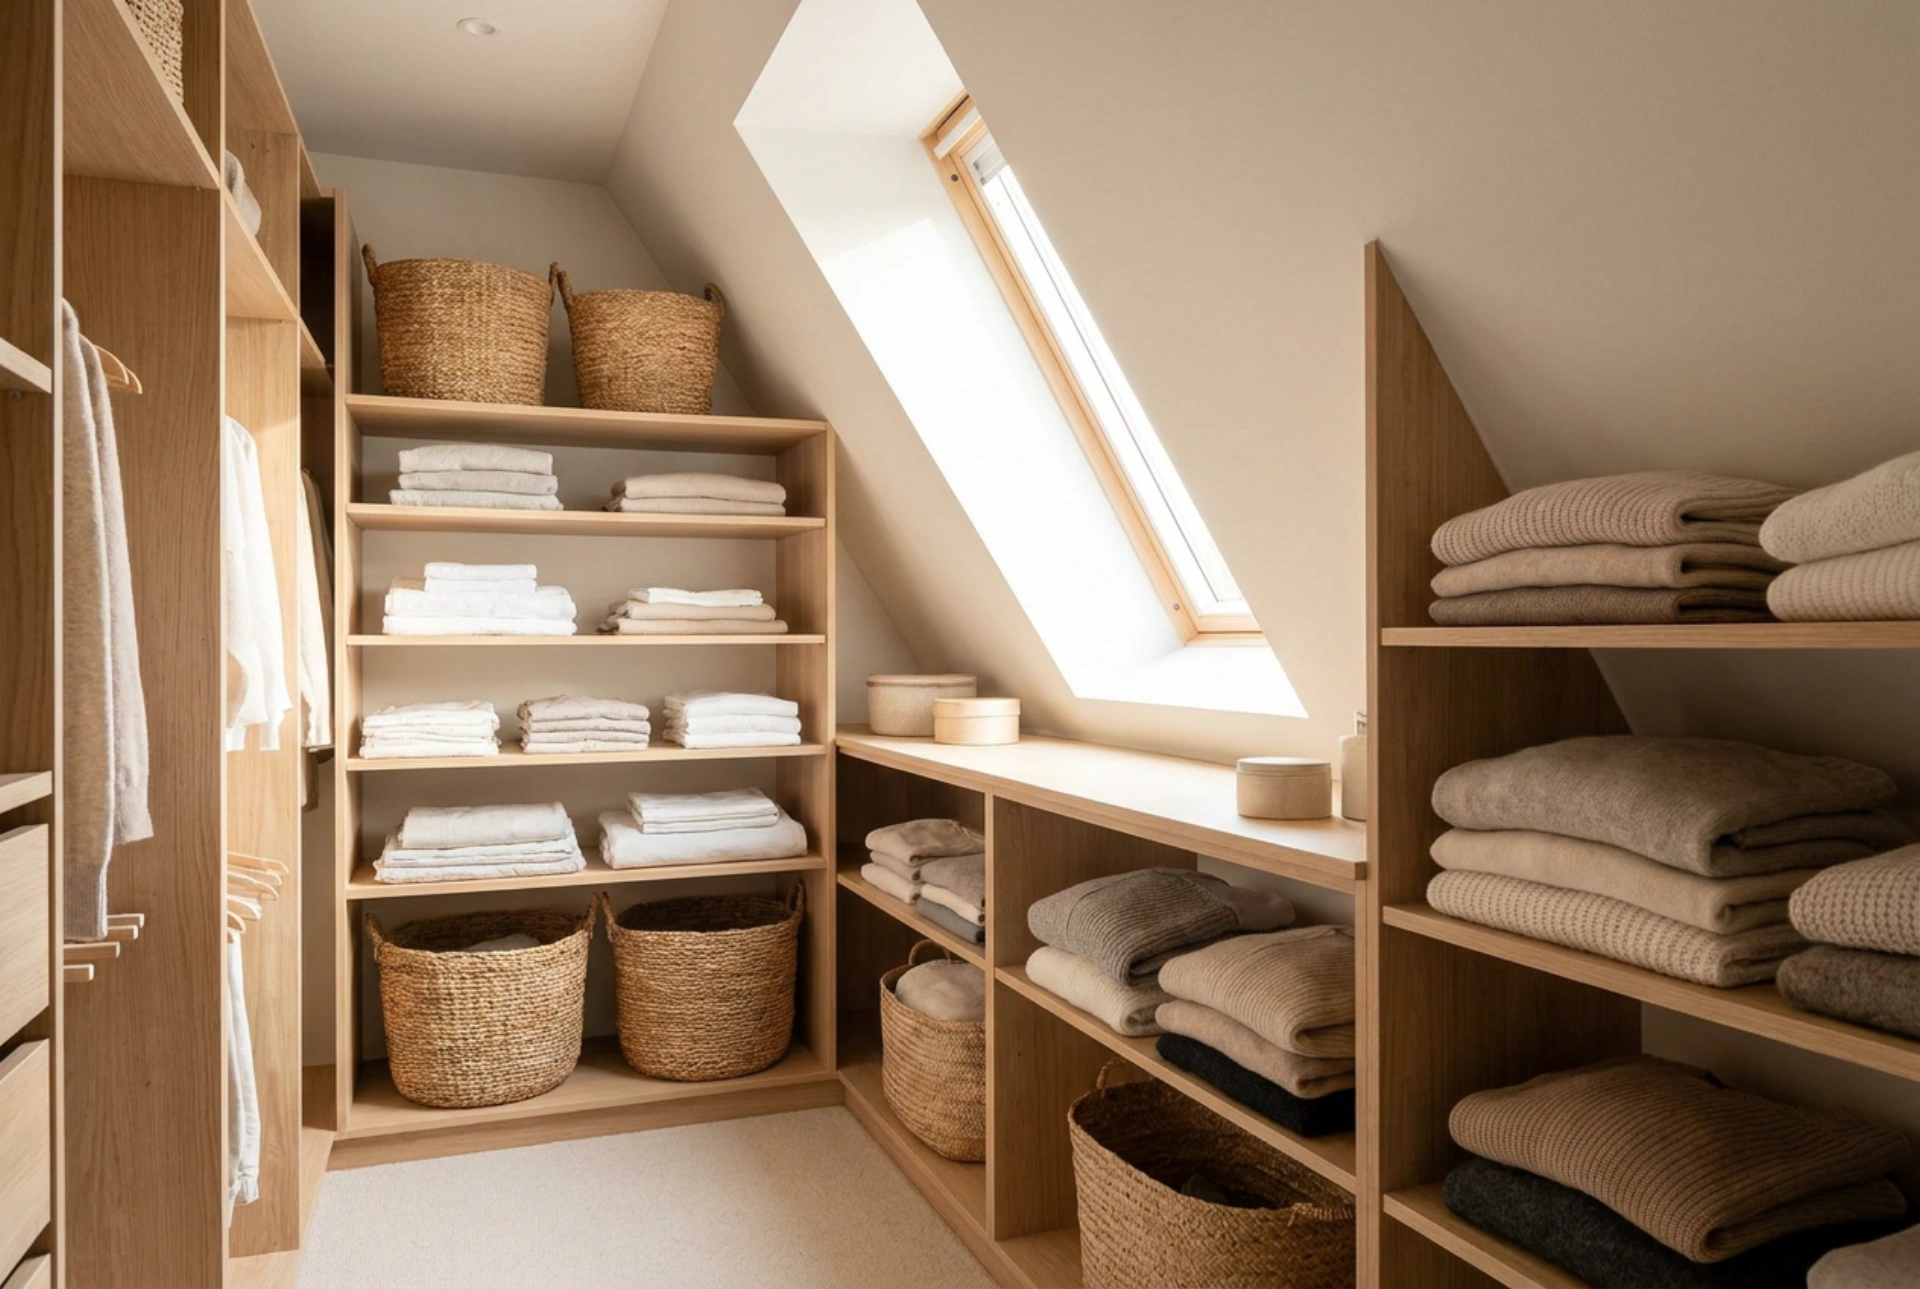


Designing storage under a sloped attic ceiling requires a precise understanding of spatial geometry and structural ergonomics to transform awkward, low-clearance angles into highly functional wardrobe zones.
Mapping the Geometry: Active versus Passive Storage Zones
The first step in utilizing a sloped ceiling is dividing the space based on physical accessibility. Vertical clearance dictates how you interact with your storage. Zones with a height of less than 100 cm are considered passive storage zones; they are ideal for deep pull-out drawers, wheeled bins, or seasonal items that do not require daily access. Attempting to install hanging rails or frequent-use shelving here forces uncomfortable bending, straining the lower back. The active storage zone starts where the height exceeds 140 cm, allowing you to comfortably reach for folded garments, while full hanging space for shirts and coats requires at least 160 to 180 cm of vertical clearance. By mapping these thresholds onto your wall profile, you establish a logical layout where the frequency of item use directly correlates with the ease of physical access.
Physics of Sliding Doors and Angle Alignment on Slopes
Standard hinged doors are often impractical under a slope because their swing path is obstructed by the descending ceiling line. Sliding systems or open-shelving concepts are far more efficient, but they require careful calibration. When installing a sliding door on an angled track, gravity and friction play critical roles. The top track must be securely anchored to a structural timber rafter, not just the plasterboard, to prevent sagging over time under the weight of the doors. If using custom-cut angled doors, the sliding mechanism must use high-quality bottom-rolling tracks rather than top-hung systems. This transfers the door's weight directly to the floor, reducing the mechanical stress on the angled ceiling joint and ensuring smooth, parallel movement without binding or derailment.
Managing Air Circulation and Microclimates in Enclosed Attic Spaces
Attics are highly susceptible to extreme temperature fluctuations and localized humidity accumulation due to their proximity to the roof structure. When you enclose a sloped space with built-in wardrobes, you risk creating dead-air zones where stagnant, warm, humid air meets cold external walls, leading to condensation and subsequent mold growth on fabrics. To prevent this, design the wardrobe with passive ventilation in mind. Leave a 5 cm gap between the back panel of the furniture and the external wall to allow vertical air convection. Additionally, incorporate slatted doors or milled ventilation slots in the plinths and top cornices. This encourages continuous thermodynamic airflow, balancing the microclimate inside the wardrobe with the rest of the room.
Step-by-Step Installation Technique for Modular Shelving
To maximize every cubic centimeter under a slope, follow a precise installation sequence. Begin by finding the exact angle of the roof pitch using an adjustable bevel gauge. Transfer this angle to your side panels, ensuring your cuts mirror the slope precisely to eliminate gaps. When assembling the internal carcase, construct the units in modular vertical columns rather than one massive frame. This allows you to slide each module into place individually, accommodating any slight irregularities in the floor or ceiling line. Use adjustable heavy-duty leveling feet at the base of each module to compensate for uneven attic floors, ensuring that all horizontal shelves remain perfectly level to prevent folded clothing stacks from sliding or leaning.





