

A shaky ironing board and poor posture turn a simple chore into an exhausting, physically straining task. Understanding the mechanical principles of board stability and ergonomic height adjustment is essential to protect your spine and improve the efficiency of your pressing routine.
The Mechanics of Ironing Board Stability
Stability is determined by the frame geometry and the surface area of the floor contact points. Ironing boards generally utilise either a T-leg, Y-leg, or a four-legged asymmetric design. While T-leg frames are lightweight and easy to fold, they offer less resistance to lateral torque when you apply diagonal force with an iron. Four-legged and wide-base Y-leg designs distribute the downward and lateral forces more evenly across a larger footprint, preventing wobbling.
The interface between the board legs and the floor relies heavily on materials science. High-friction rubber or thermoplastic elastomer (TPE) caps on the feet are critical. These caps serve two purposes: they absorb the micro-vibrations generated by the rapid motion of the iron, and they prevent the legs from sliding on smooth surfaces like tile or polished wood. If your board wobbles, check these foot caps for uneven wear or hardening, which reduces their coefficient of friction.
The Ergonomic Angle: Finding Your Perfect Working Height
Adjusting the board to the correct height is not just about comfort; it is about leverage and skeletal alignment. Operating an iron on a surface that is too low forces you to flex your thoracic spine, putting excessive pressure on your lumbar discs. Conversely, a board that is too high forces you to elevate your shoulders, causing tension in the trapezius muscles and reducing your ability to apply downward force naturally.
- The Hip-Level Rule: Stand upright with your shoulders relaxed. The surface of the ironing board should align with your hip joint (specifically, the greater trochanter of the femur).
- The Elbow Angle: Bend your elbow at a 90 to 100-degree angle. Your hand should rest comfortably on the handle of the iron when it is placed on the board surface. This allows the weight of your arm to assist in applying downward pressure, minimizing muscular effort.
- The Seated Alternative: If you prefer to iron while seated, ensure the board clearance allows your knees to fit underneath comfortably at a 90-degree angle, maintaining a straight spine and keeping the board surface at elbow height.
Thermodynamics and Cover Tension
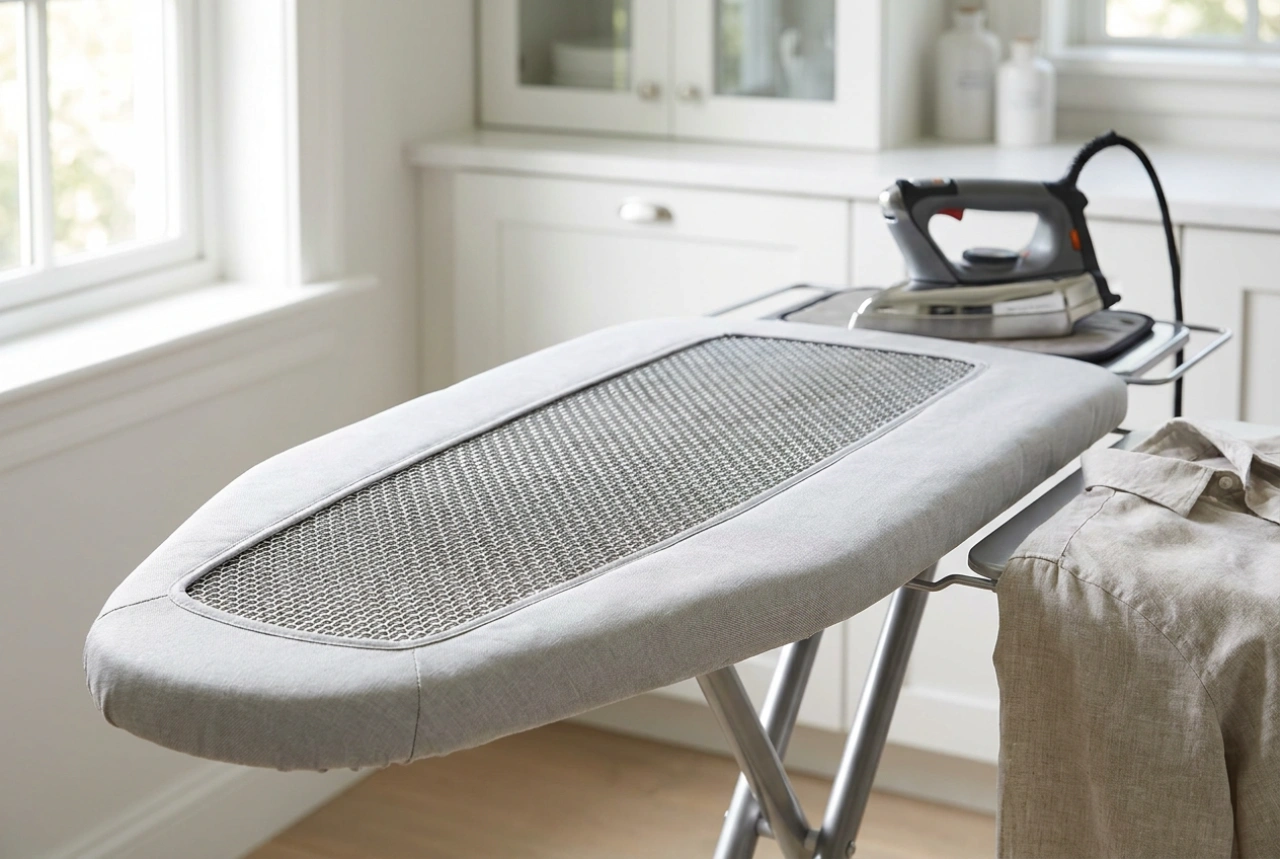
A stable board requires a taut, stable surface. Loose covers create friction pockets and wrinkles, which counteract your ironing efforts. The physics of steam ironing require a balance between heat retention and moisture dissipation. A high-quality setup uses a porous mesh metal top that allows excess steam to escape downwards, preventing water from condensing on the underside of the frame.
The padding beneath the cover plays a functional role in this process. Thick felt padding (made of needle-punched polyester or wool) absorbs a controlled amount of moisture and provides a resilient cushion that conforms to buttons and seams. Ensure the cover is tightly secured using adjustable elastic clips or drawstring toggles underneath the board. A tightly secured cover ensures the fabric remains static, allowing the iron to glide smoothly without pulling the board off-balance.
Maintaining the Mechanical Integrity of Your Board
Over time, the mechanical pivot points and locking mechanisms of an ironing board are subjected to wear and moisture-induced corrosion. The spring-loaded height adjustment lever relies on a notches-and-pin system or a continuous friction lock. To ensure safety and stability, regularly inspect these components:
- Check Pivot Rivets: Loose rivets cause lateral play, making the frame feel unstable even on flat ground. Gently tightening loose joints can restore structural rigidity.
- Lubricate Moving Parts: Apply a dry, non-greasy PTFE (polytetrafluoroethylene) lubricant to the sliding tracks and spring hinges. Avoid wet oils, which attract dust and textile fibres, clogging the mechanism.
- Verify Locking Engagement: Ensure the height selection teeth are fully engaged before applying weight. A faulty locking mechanism can lead to a sudden collapse under pressure.