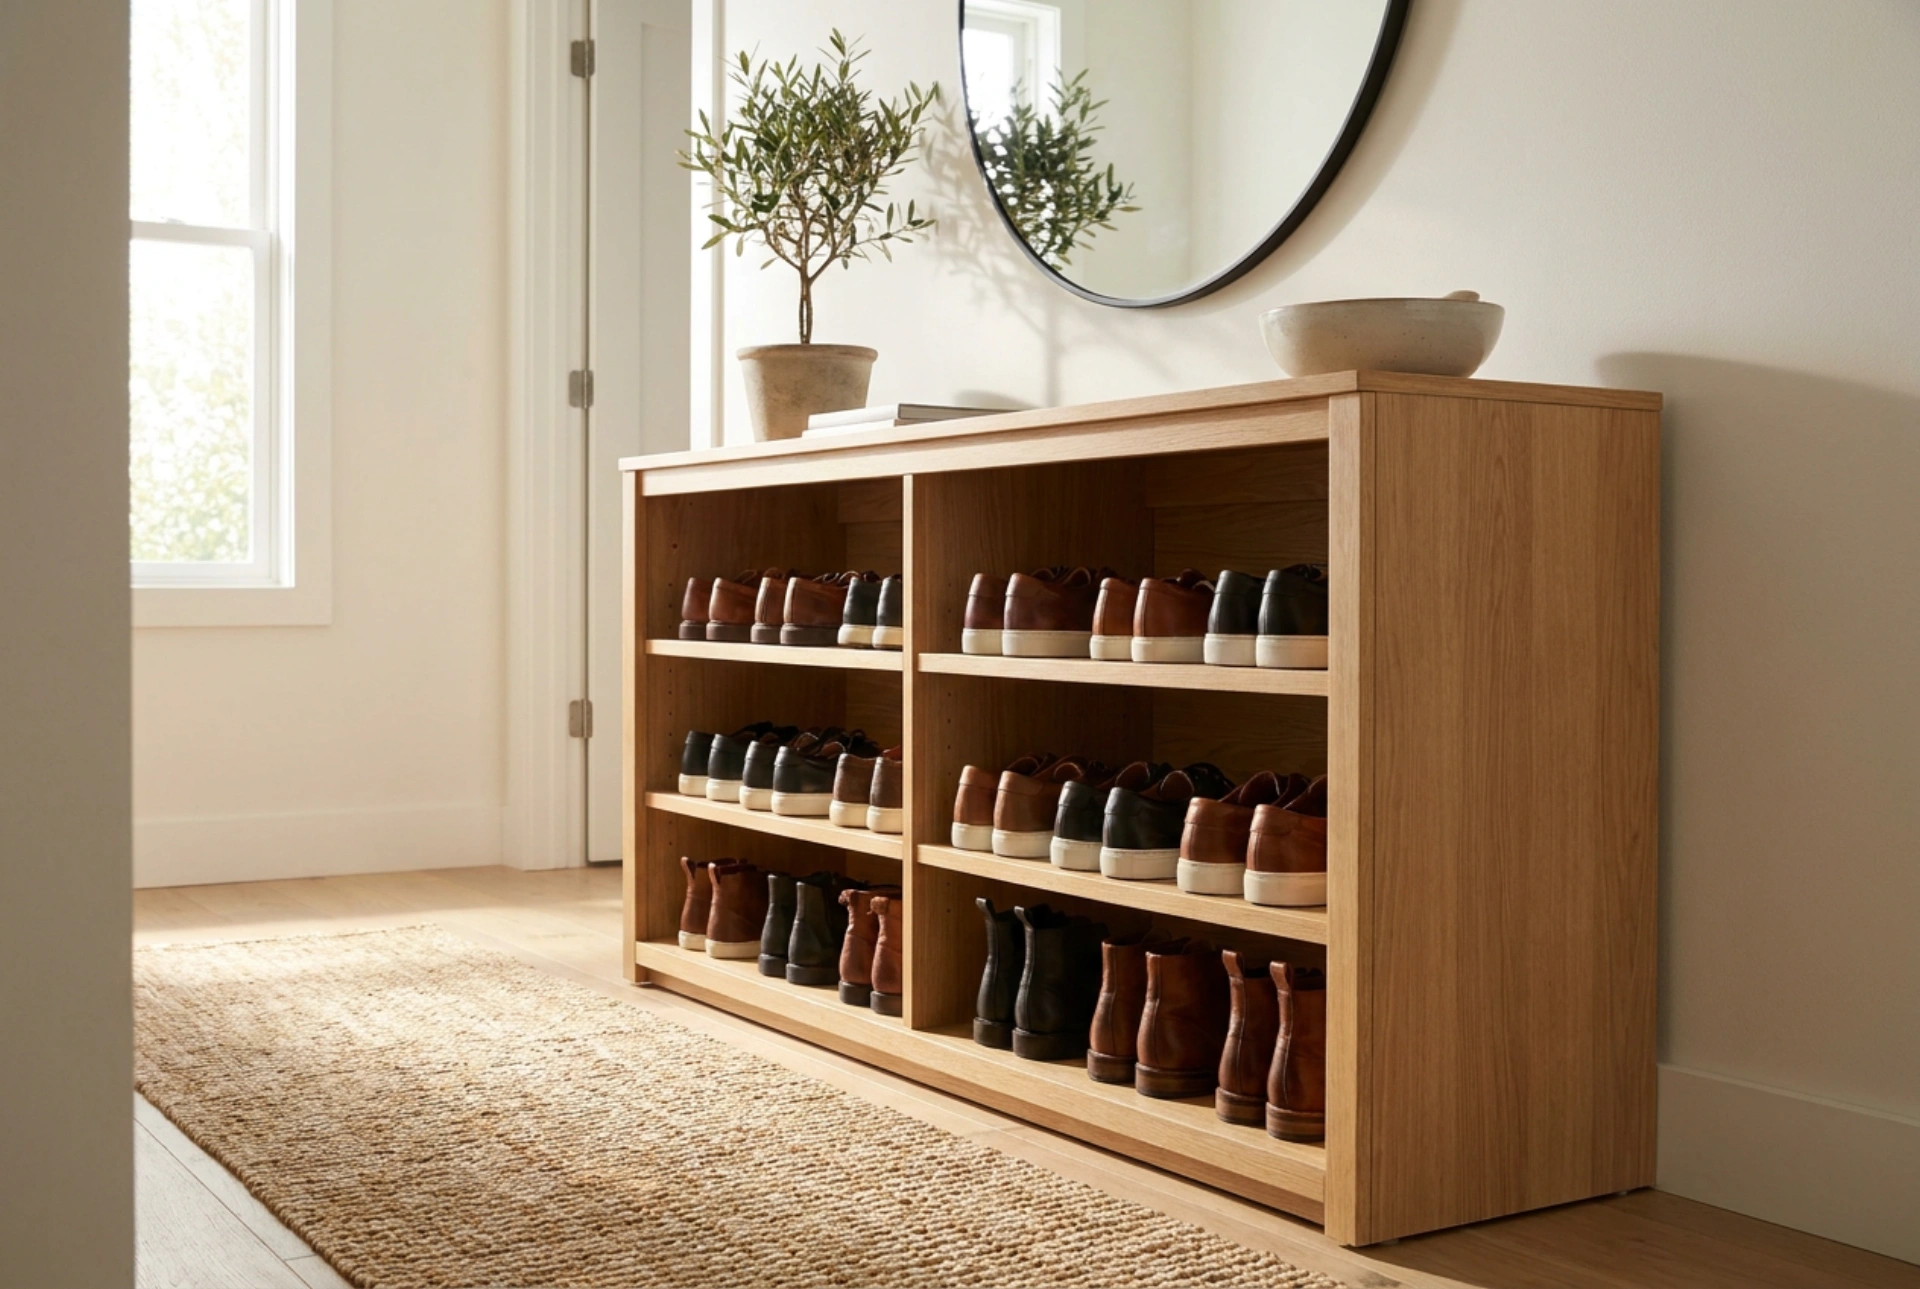


Organising a tall shoe rack for a busy household requires a systematic approach that balances ergonomics, air circulation, and weight distribution. By structuring storage space based on daily physical reach, footwear weight, and seasonal utility, you can maintain an orderly hallway while preserving the materials of your footwear.
Ergonomic Zoning: The Physics of Accessibility
The key to a functional tall shoe rack lies in dividing its height into distinct functional zones based on human ergonomics. Placing the most frequently worn shoes in the optimal zone—between hip and shoulder height—minimises bending and reaching, which naturally encourages family members to return shoes to their designated places.
- The Active Zone (Waist to Shoulder Height): This is the most accessible area. Reserve these shelves for daily footwear, such as work shoes, school shoes, and seasonal favourites. Quick access prevents clutter from accumulating on the entryway floor.
- The Lower Zone (Floor to Hip Height): This area requires bending. It is ideal for heavy footwear, such as leather boots, hiking shoes, and wellington boots. It is also the perfect height for children's shoes, allowing young family members to access and put away their footwear independently.
- The Upper Zone (Above Shoulder Height): This zone requires reaching or using a step stool. Use these top shelves exclusively for off-season storage, formal footwear, or specialised sports shoes that are only used occasionally.
Ventilation and Thermodynamics: Preventing Moisture Accumulation
Footwear absorbs significant sweat and ambient moisture during wear. If stored in a confined, unventilated space, this moisture creates an ideal breeding ground for bacteria and fungi, leading to unpleasant odours and the degradation of natural materials like leather and canvas. Because warm, moist air naturally rises, a tall shoe rack must be planned with thermodynamic principles in mind.
To ensure proper air circulation, leave at least 5 to 10 centimetres of lateral space between each pair of shoes. Avoid solid back panels on your shelving unit; open-backed designs or slatted shelves allow air to flow freely around the shoes, speeding up the drying process. Additionally, never place freshly worn, damp shoes directly onto the top shelves where warm air pools. Allow them to dry in a well-ventilated lower area first, or use natural cedar shoe trees to absorb moisture and maintain shoe shape before storing them high up.
Structural Balance: Center of Gravity and Safety
A tall shelving unit is subject to gravitational forces that can make it unstable if loaded incorrectly. To prevent tipping hazards and structural strain on the unit, you must manage its center of gravity. Always place the heaviest footwear—such as thick-soled boots and heavy leather shoes—on the lowest shelves. Lightweight sandals, slippers, and canvas trainers should occupy the upper tiers.
For safety, any shoe storage unit taller than 120 centimetres must be securely anchored to the wall. This simple mechanical precaution prevents accidental tipping, especially in households with active children or pets who might attempt to climb or pull on the shelves.
Optimising Shelf Heights for Different Footwear Profiles
A one-size-fits-all shelf spacing leads to wasted vertical space. Different types of shoes require different vertical clearances. When planning your layout, measure the heights of your family's footwear and adjust the shelves accordingly to maximise capacity:
- Flat shoes, slippers, and sandals: Require a clearance of only 10 to 12 centimetres.
- Standard trainers, running shoes, and low heels: Require 15 to 18 centimetres of vertical space.
- Ankle boots and mid-top shoes: Require 20 to 25 centimetres.
- Knee-high boots and tall wellies: Require 35 to 45 centimetres. To prevent creasing and material cracking in tall leather boots, store them with boot shapers or hang them using specialised non-marking clips on the bottom shelves.
By customising the vertical spacing, you can easily increase the storage capacity of a tall rack by up to 40 percent without increasing its floor footprint.





