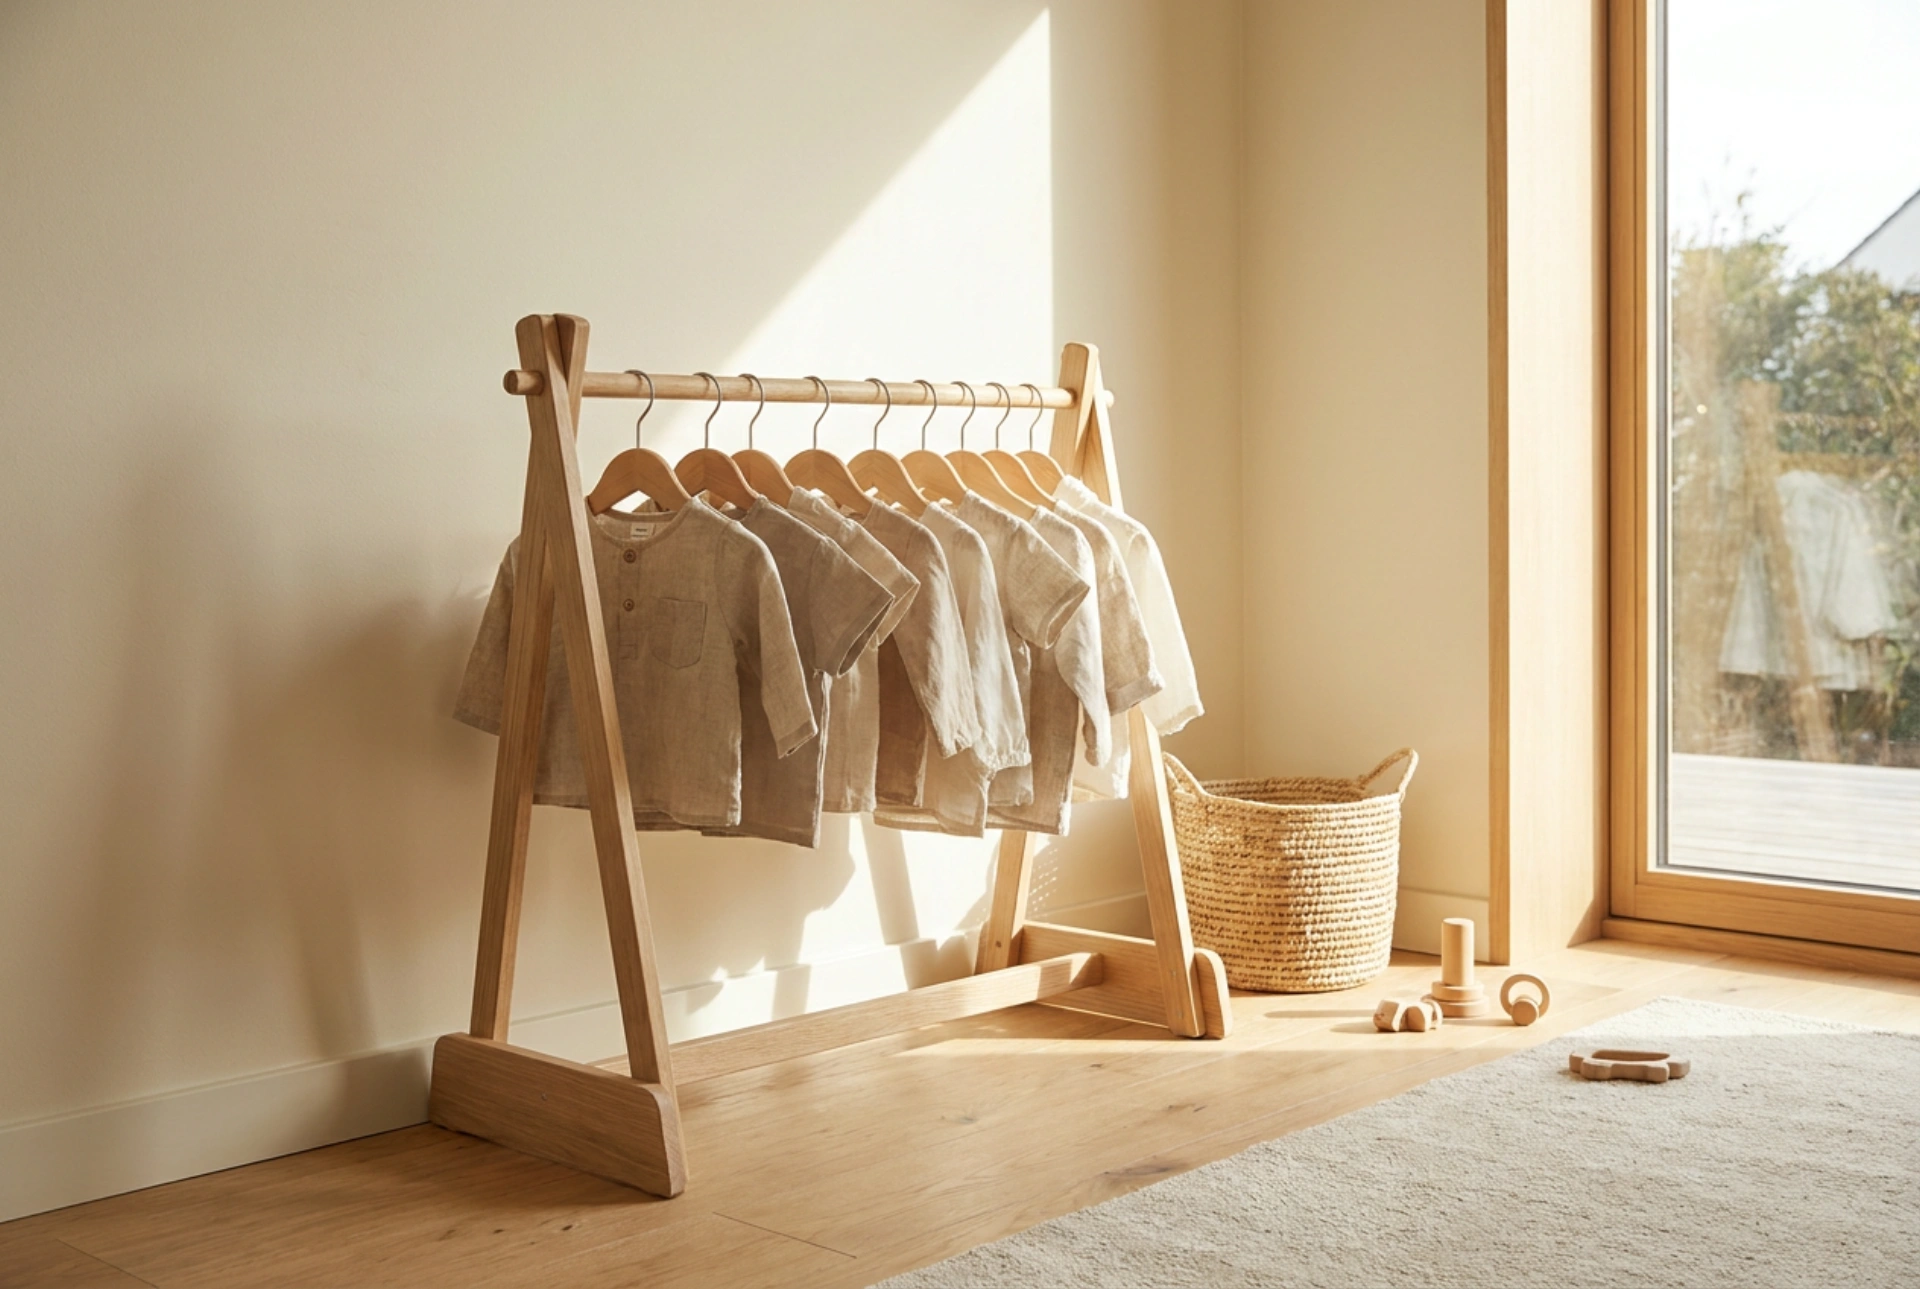


Setting up a clothing rack at your child's height encourages self-reliance and simplifies morning routines by aligning with their natural physical and cognitive development.
Understanding Child Ergonomics and Reach Zones
To design an effective wardrobe system, you must first calculate the optimal height based on your child's functional reach. A child’s comfortable vertical reach is generally equal to their shoulder height plus half the length of their forearm. For toddlers aged two to four, this translates to a rail height of 80 to 90 centimeters from the floor. For older children aged five to seven, the comfortable range extends to 100 to 110 centimeters. Placing the rail within this specific zone ensures they can easily lift hangers off and replace them without straining or tipping the rack over.
By positioning the rail at eye-to-chest level, you remove the physical and psychological barriers of high closets. This visibility aids cognitive processing, allowing the child to identify and choose garments independently, which reinforces spatial orientation and decision-making skills.
Optimizing Hanger Selection and Friction Mechanics
Standard adult hangers are unsuitable for children's wardrobes; they stretch small collars and make sliding garments difficult. Use dedicated child-sized hangers, typically measuring 28 to 30 centimeters in width. The material of the hanger significantly affects how easily a child can use the rack. Wooden hangers provide durability and aesthetic consistency, but they can be heavy for small hands. Lightweight, textured plastic or silicone-coated hangers offer the ideal balance: they provide enough friction to prevent silk or cotton shirts from slipping off spontaneously, yet allow easy removal when pulled deliberately.
When hanging garments, ensure all hangers face the same direction—ideally with the open hook pointing toward the back of the rack. This uniform orientation creates a predictable physical movement when removing items, reducing frustration and accidental drops.
Categorization and Cognitive Load Management
Too many choices overwhelm a child's decision-making capacity, leading to frustration. Limit the rack's capacity to 8 to 12 active items at any given time, reflecting the current season. This technique, known as visual rationing, helps children focus and choose quickly.
Organize the garments from left to right, matching the natural reading direction in Western cultures. Group them by category or by routine:
- Daily flow: Place school or daycare outfits on the left and play clothes on the right.
- Type classification: Group tops together, followed by outer layers, and place matching bottoms on lower shelves or in bins.
Weight Distribution and Structural Stability
A child-height clothing rack must be structurally sound and physically stable to withstand daily pull forces. The key to preventing tip-overs lies in managing the rack's center of gravity. Always place heavier items, such as shoes, storage baskets, or heavy knitwear, on the bottom shelf of the rack. This lowers the center of mass, making the unit significantly more stable.
Distribute the weight of the hanging clothes evenly across the rail rather than bunching them on one side. If the rack is lightweight wood, consider placing felt pads under the feet to protect the floor and damp vibrations, or position the rack against a flat wall to limit lateral movement. Regular inspections of the joinery and tension screws will ensure the structure remains rigid over time.





