

Applying a wax-infused wood preservative is one of the most effective ways to shield indoor timber from humidity fluctuations, dust, and minor abrasions while highlighting its natural beauty. By understanding the chemical interaction between wood fibres, solvents, and natural waxes, you can achieve a durable, highly water-resistant finish that remains tactile and breathable.
The Science Behind Wax-Infused Preservatives
Unlike pure oils that penetrate deeply or synthetic varnishes that form a plastic film on top, a wax-infused wood preservative offers a dual-action protective mechanism. It consists of liquid carriers—usually organic solvents or water-based emulsions—and a blend of hard and soft waxes, such as carnauba and beeswax. When applied, the low-viscosity liquid carrier exploits capillary action to seep into the wood pores, carrying the dissolved waxes deep into the cellular structure of the timber.
As the solvent evaporates, the solid wax particles remain trapped within the wood fibres. At the surface, these wax molecules align to form a microscopic, hydrophobic barrier. Water droplets cannot wet this surface because the high surface tension of the wax prevents liquid water from spreading and penetrating. Instead, moisture beads up on the surface, allowing the timber beneath to remain dimensionally stable and preventing warping or splitting.
Surface Preparation: Opening the Wooden Pores
To ensure uniform penetration of the wax preservative, the wood surface must be prepared to accept the treatment. Any existing synthetic finishes, such as old polyurethane lacquers, must be completely removed, as they block the cellular pores of the wood. Sanding is the crucial mechanical step here, and it must be done with precision:
- Progressive Sanding: Begin with a medium-grit sandpaper (typically 120-grit) to level any imperfections, and progress to a fine 180-grit paper. Avoid using extremely fine grits (above 240) on raw wood, as this can burnish the fibres, effectively sealing the pores and preventing the preservative from penetrating.
- Grain Alignment: Always sand parallel to the wood grain. Cross-grain scratches will disrupt the flat plane of the timber and become highly visible once the wax is applied.
- De-dusting: Remove all wood dust. Use a vacuum cleaner with a brush attachment first, followed by a dry, lint-free microfibre cloth. Residual dust mixes with the liquid wax to form an unsightly, gritty paste that ruins the finish.
How to Apply the Wax-Infused Preservative
The application method determines the uniformity of the protective layer. You will need a high-density, synthetic brush or, preferably, a lint-free cotton cloth. Working in a well-ventilated room at temperatures between 15°C and 25°C ensures optimal solvent evaporation rates.
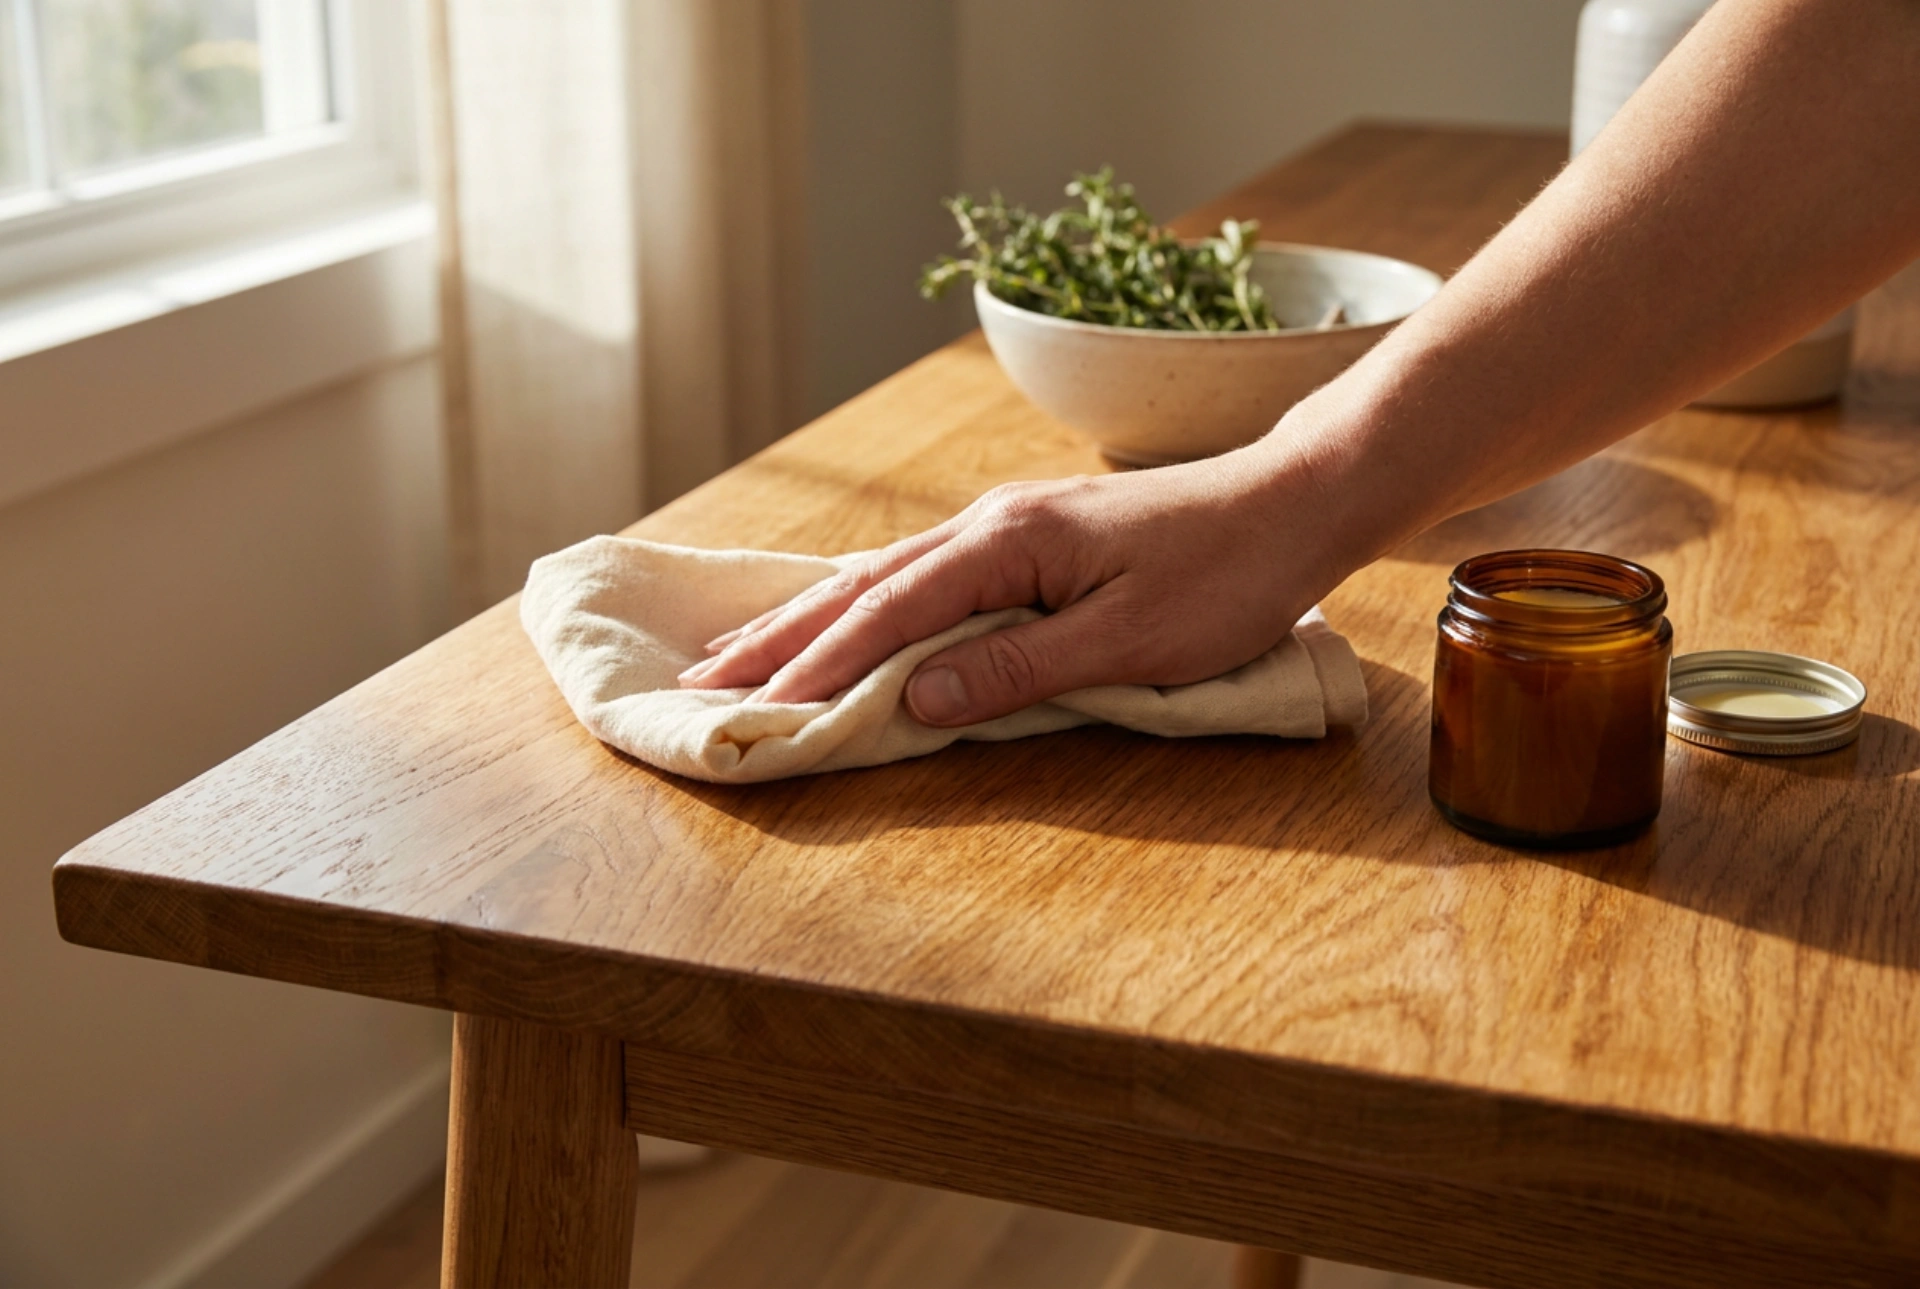
Dip your applicator lightly into the preservative. Start applying the product in circular motions, pressing it gently into the pores to ensure thorough coverage. This mechanical action coaxes the formulation into the microscopic crevices of the wood grain. Once a section is covered, finish with long, light strokes along the direction of the grain to level out the wet film.
Crucially, you must apply thin coats. A common mistake is leaving a thick layer of wet preservative on the surface. Thick layers trap solvents underneath, preventing the wax from drying properly and leaving a sticky, hazy residue that attracts dirt. After allowing the product to sit for 10 to 15 minutes—allowing the timber to absorb what it needs—use a clean, dry cotton cloth to vigorously wipe away any unabsorbed excess.
Curing, Buffing, and Thermal Activation
After the excess is removed, the remaining wax-solvent mixture requires time to cure. This drying process typically takes between 2 to 4 hours, depending on ambient humidity and room temperature. During this phase, the remaining solvent evaporates completely, leaving behind a matte, crystalline wax structure.
To transform this matte finish into a smooth, satin sheen, the surface must be buffed. Using a clean, dry polishing cloth or a medium-stiff horsehair brush, buff the wood briskly along the grain. The friction generated by this rubbing action creates localised heat. This warmth slightly softens the wax crystals, allowing them to flow, self-level, and bond into a continuous, ultra-smooth layer. For enhanced protection, especially on high-use household elements like tabletops, apply a second thin coat after 24 hours, repeating the application and buffing cycle.